PART 2 ELEMENTS OF DESIGN

THE HORSE AND RIDER provide a point in this image. Positioning them towards the left edge of the frame provides a sense of tension as they have already left the larger space to the right and will soon be leaving the frame to the left. I also took a shot with them towards the right hand edge of the frame, but this felt too safe and uninteresting.
PROJECT – POINTS
In preparation for the first Exercise in Part 2 I was asked to think of as many types of situation as I could which would make a clear photograph of a point. This is the list that I produced. No doubt there are others.
POINTS IN PHOTOGRAPHS
1. Astronomical objects – sun, moon, star, planet.
2. Flying objects in clear skies – plane, hang glider, balloon, bird, bat, UFO, firefly at night.
3. Things floating on calm water – boat, seal, bird, buoy, flotsam, swimmer.
4. Distant objects in an open field – barn / shed, hay bale, rock, farm machinery, tree, flower, animal, scarecrow, person.
5. Underwater view in open water – fish, animal, diver, underneath of boat, buoy.
6. Object, person, animal, etc. in open landscape, e.g. snow field,plain, salt flat, beach, desert.
7. Light at end of tunnel.
8. Hole in opaque material with light source behind.
9. A single light source in otherwise dark environment, e.g. candle, lighthouse, cottage window, vehicle, torch light bulb.
10. Silhouette against an overall light background.
11. Illuminated object (reflected light) in dark surroundings e.g. on a darkened stage, spot lit ornament.
12. Point source of bright colour, e.g. flower head, jewel, ornament, against a plain contrasting background.
13. Dark object against a light background.
14. Light coloured object against a dark background.
———- o0o ———-
EXERCISE 1. POSITIONING A POINT
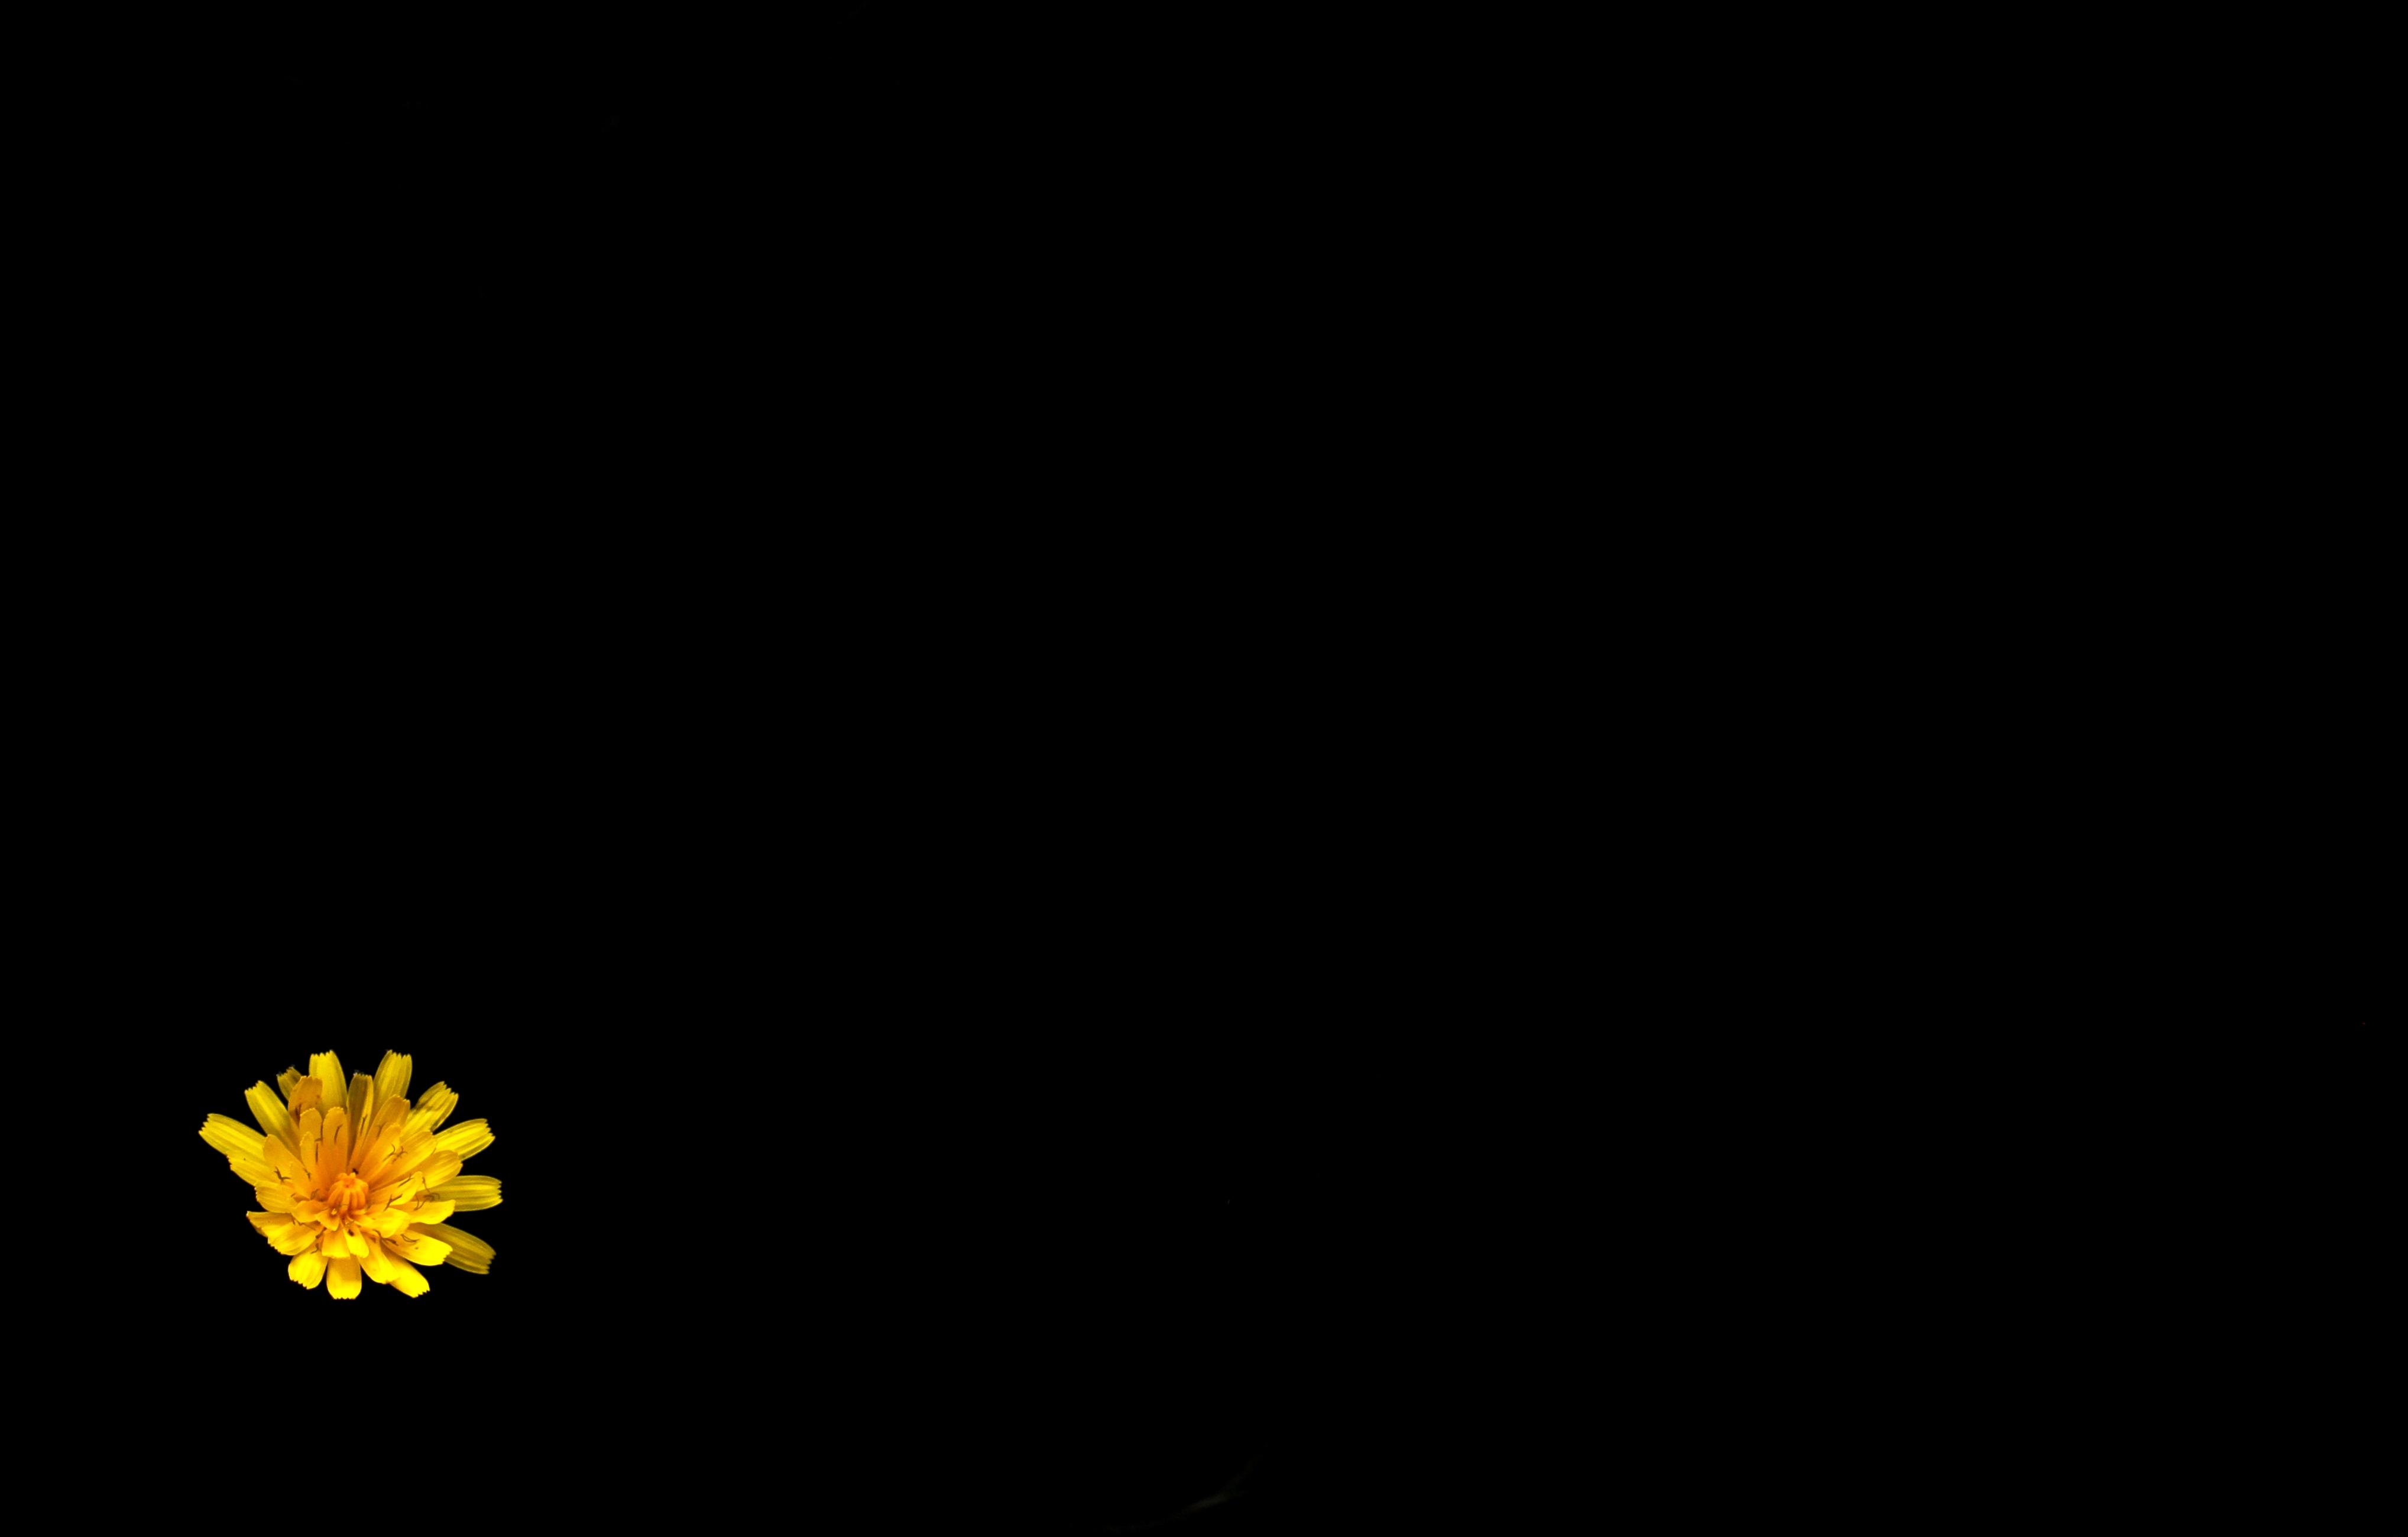
This exercise required me to take a number of photographs of a single point in different positions in the frame and to discuss the reasons for placing the points where chosen and the impact they have. I wanted the resulting images to be as clean and simple as possible and so I spent some time trying to design a way of addressing this exercise in a more creative way than just placing an object on a plain background. I eventually came up with the idea of isolating the point by using a shallow, dark coloured water bath and floating a brightly coloured flower head on it. I used a 100mm prime lens and mounted the camera on a tripod so that the subject was directly below the lens.

1. I first placed the flower head centrally as I was keen to see how it worked. The centrally placed point grabs the attention immediately and holds it there for a while as it forms the vertical and horizontal axis of the frame. However, the eye is not tempted to rove around the rest of the frame as there is nothing to attract it and the image is too stable and solid raising no questions or energy in the viewer. As a result, interest soon fades as the image has nothing more to give the viewer.
2. Placing the point in the bottom left corner immediately makes the image more interesting. The eye initially looks at the centre of the frame for a point and is then drawn to the corner by the brightness of the image. This creates movement, energy and interest which is maintained because the eye continues to flick around the frame before returning to the point.
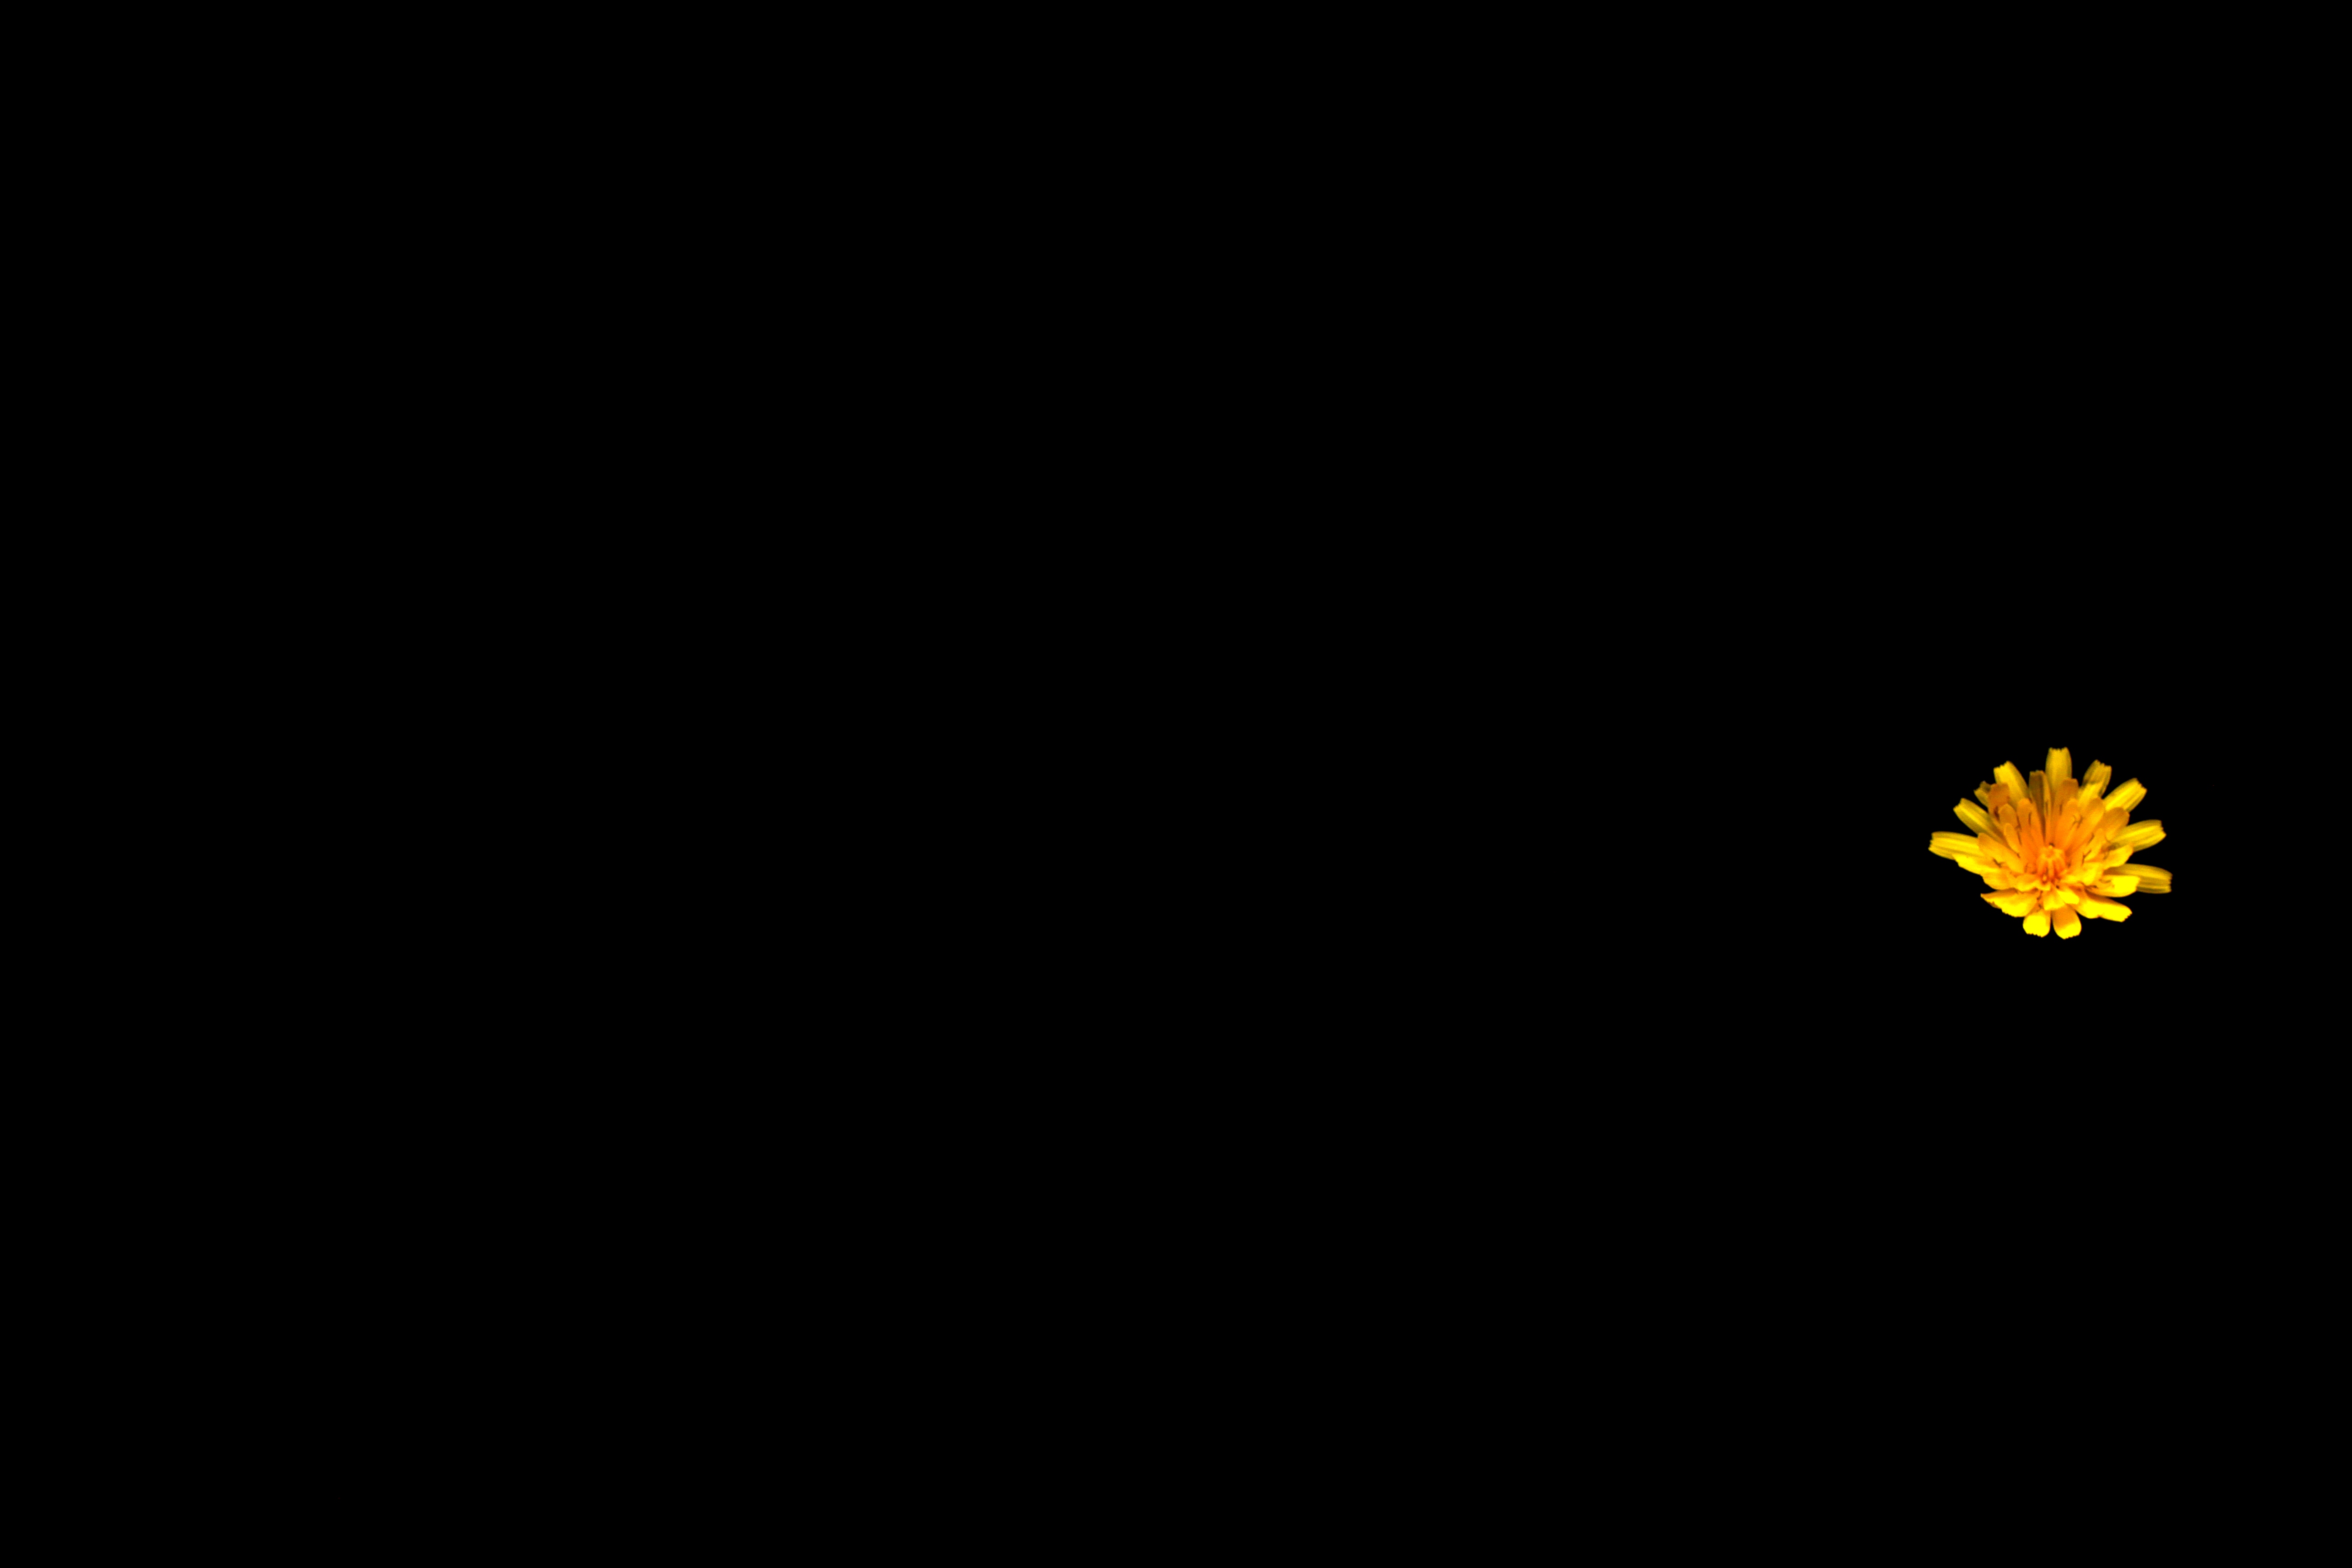
3. I wanted to see if placing the point towards the edge of the frame but on the horizontal central line would also create interest and energy or if it would have a similar impact to the centrally placed point. My experience of this image is that, whereas it created more tension and interest than the centrally placed point and the large area of empty space to the left hand side drew the eye away and back, the central positioning on the horizontal axis gave the subject a more stable and fixed feeling than the point in Photograph 2.

4. Although the exercise only required me to demonstrate 3 different locations for the point, I was intrigued to see if placing the point in the top right corner of the frame would have a similar or different effect to that in Photograph 2. Interestingly, although it created more interest and energy than the more centrally placed points, it did not have the same effect as the image with the point in the bottom left corner. I believe that the reason for this is the element of surprise. To have a point of interest in a bottom corner is completely unexpected, whereas it is much less surprising in the top left corner. It is where one expects to find a stamp on an envelope or an address on a letter. The top right corner is probably the second place the eye would normally look after the centre of the frame.
—– o0o —–
DISCUSSION
This exercise brought out far more than I expected it to do and I think this might be partly because I chose to create a very simple and striking image which created simple and clear effects. Whereas I expected the central image to feel the least dynamic and interesting, what it did show me was that it held the attention on the point subject with greater concentration as the eye roamed around less, and it was therefore the best place to position the subject to bring most attention to it. However, it lacked the energy and interest to hold the viewer’s attention and imagination for long, and these qualities were met much better in those images where the point / subject was closer to the edge of the frame.
—– o0o —–
ADDITIONAL EXERCISE
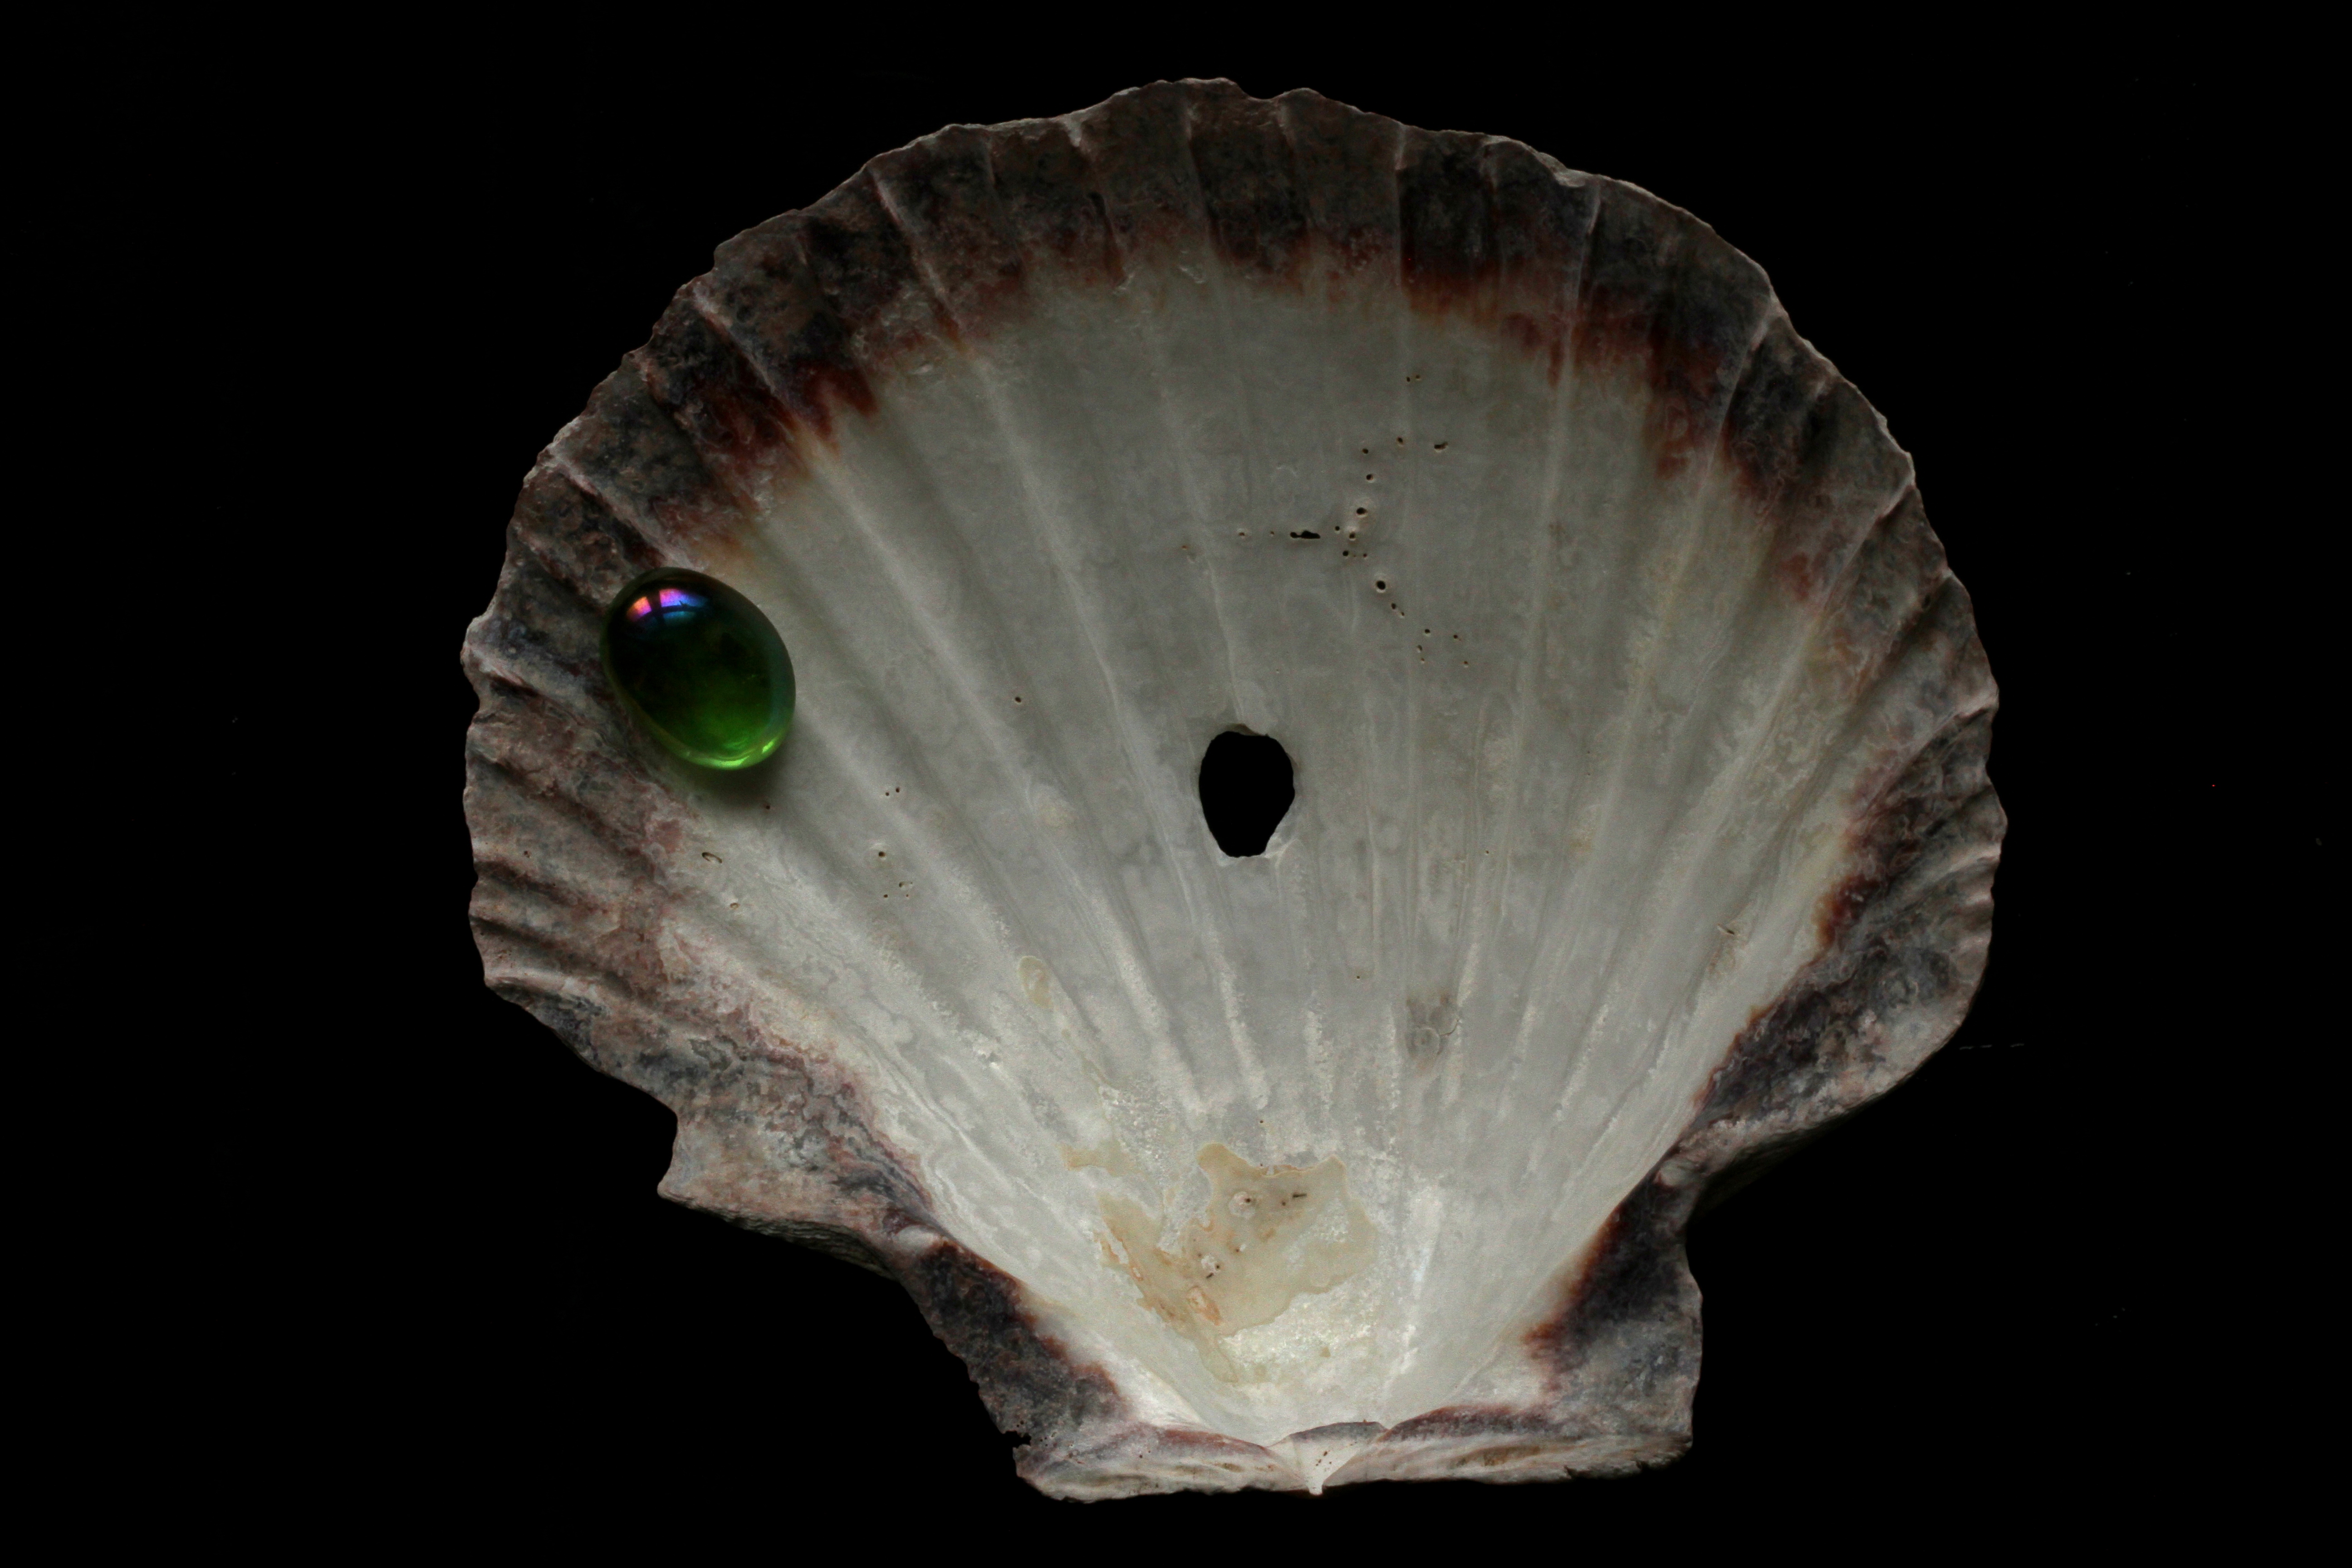
Although it is not in the brief for this project, I was interested to see what impact would be created by using an object in an image as a ‘frame’ and positioning a point within that ‘frame’. I used a scallop shell as the ‘frame’ and a glass drop as the point. Having taken the photographs I wondered if the use of a shell with a hole in it was a mistake (although it was only one I had of the right size!) as the hole serves as a point and possibly created some confusion. However, I was pleased with the images that were created and did observe that some worked better than others.
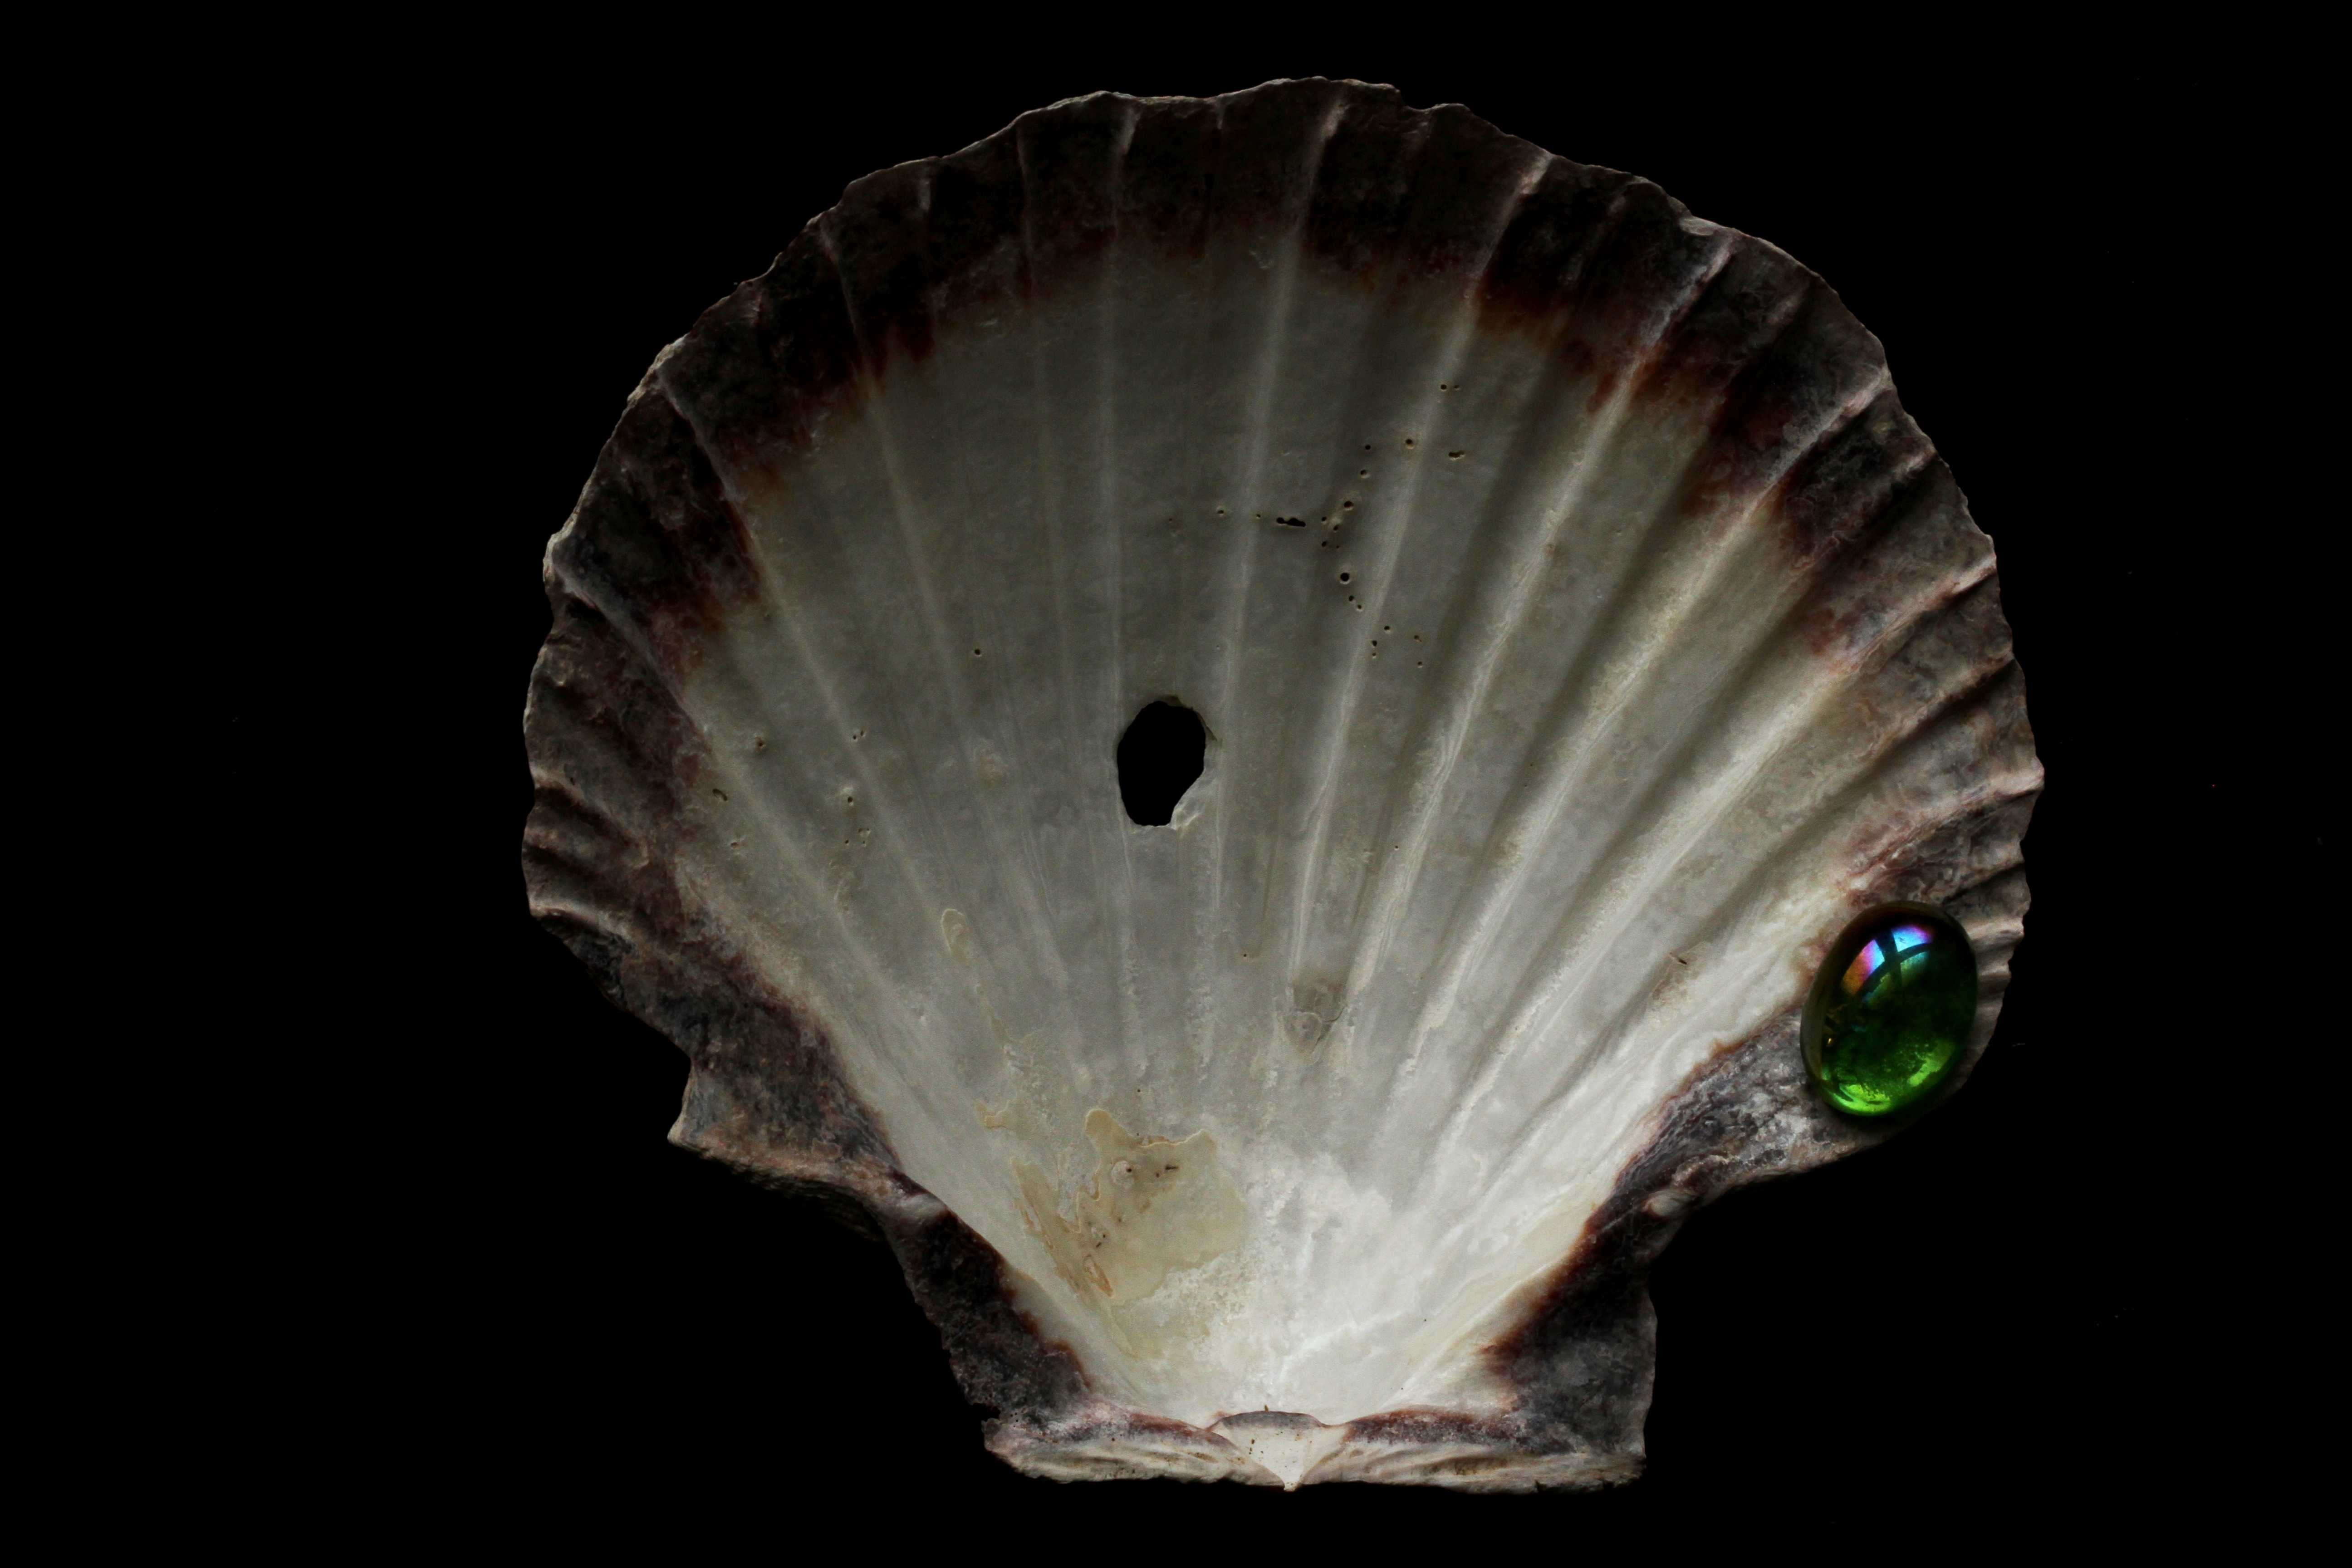
1. Point towards right edge of shell ‘frame’
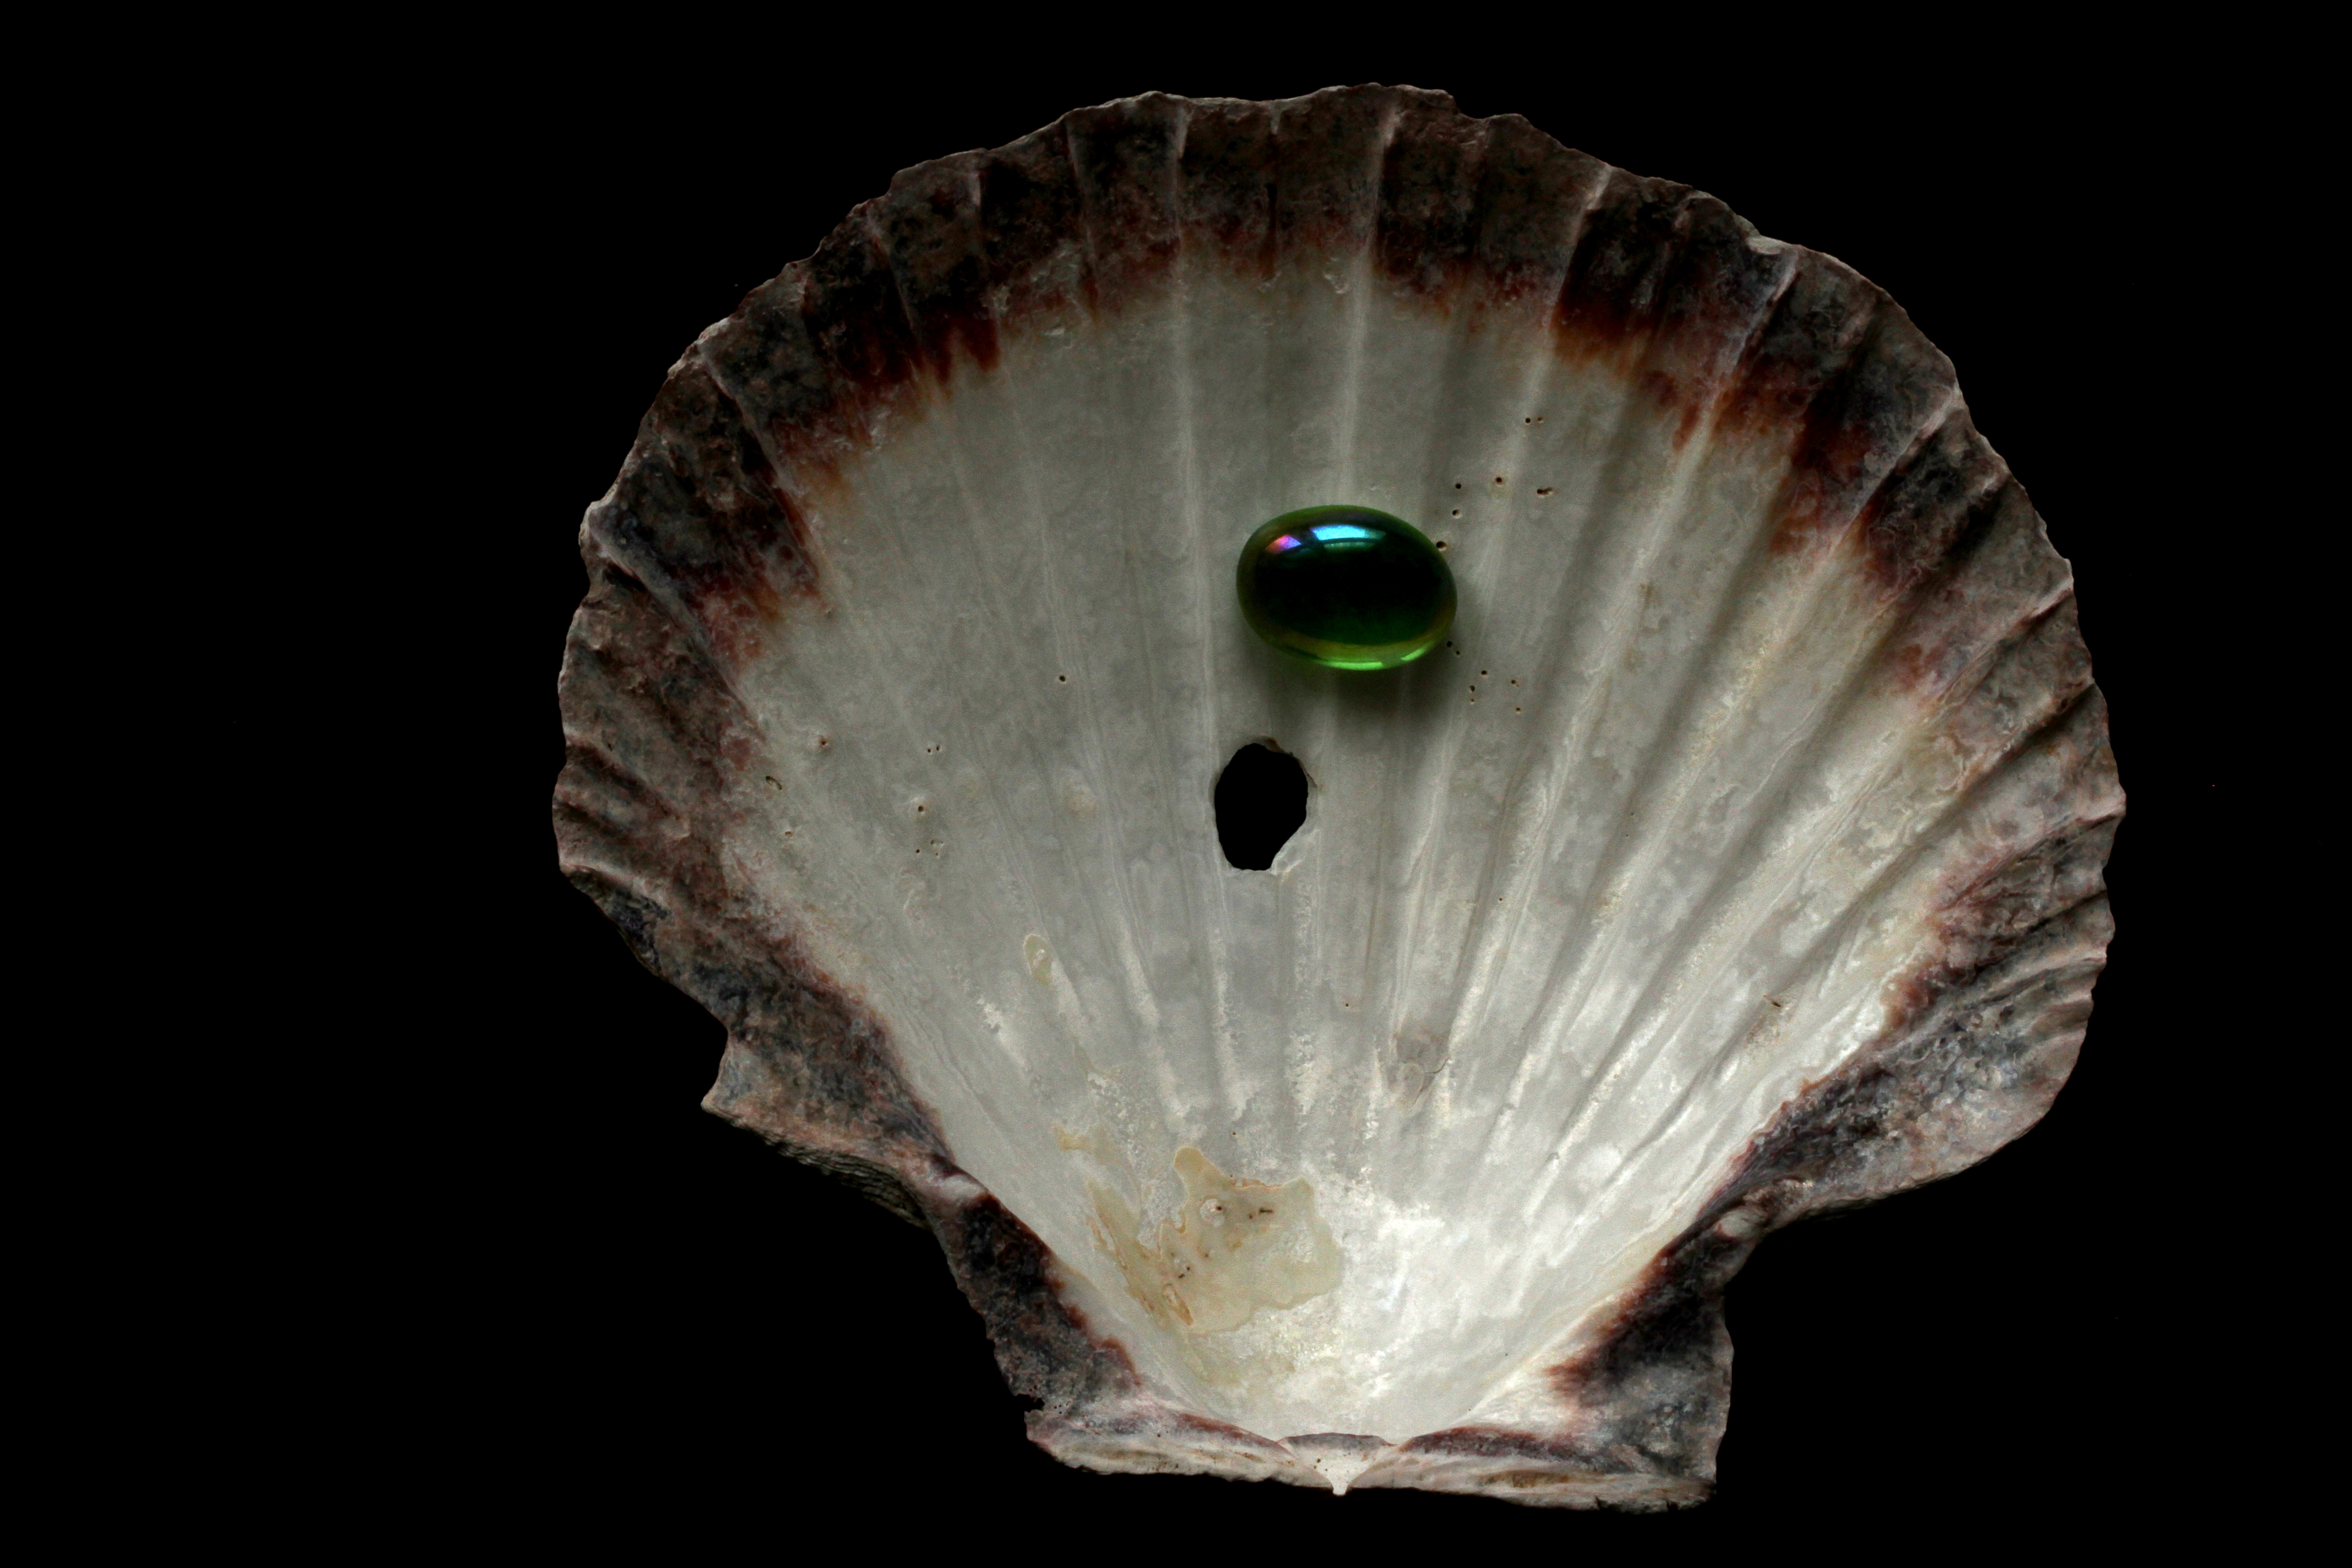
2. Point towards upper centre of shell ‘frame’
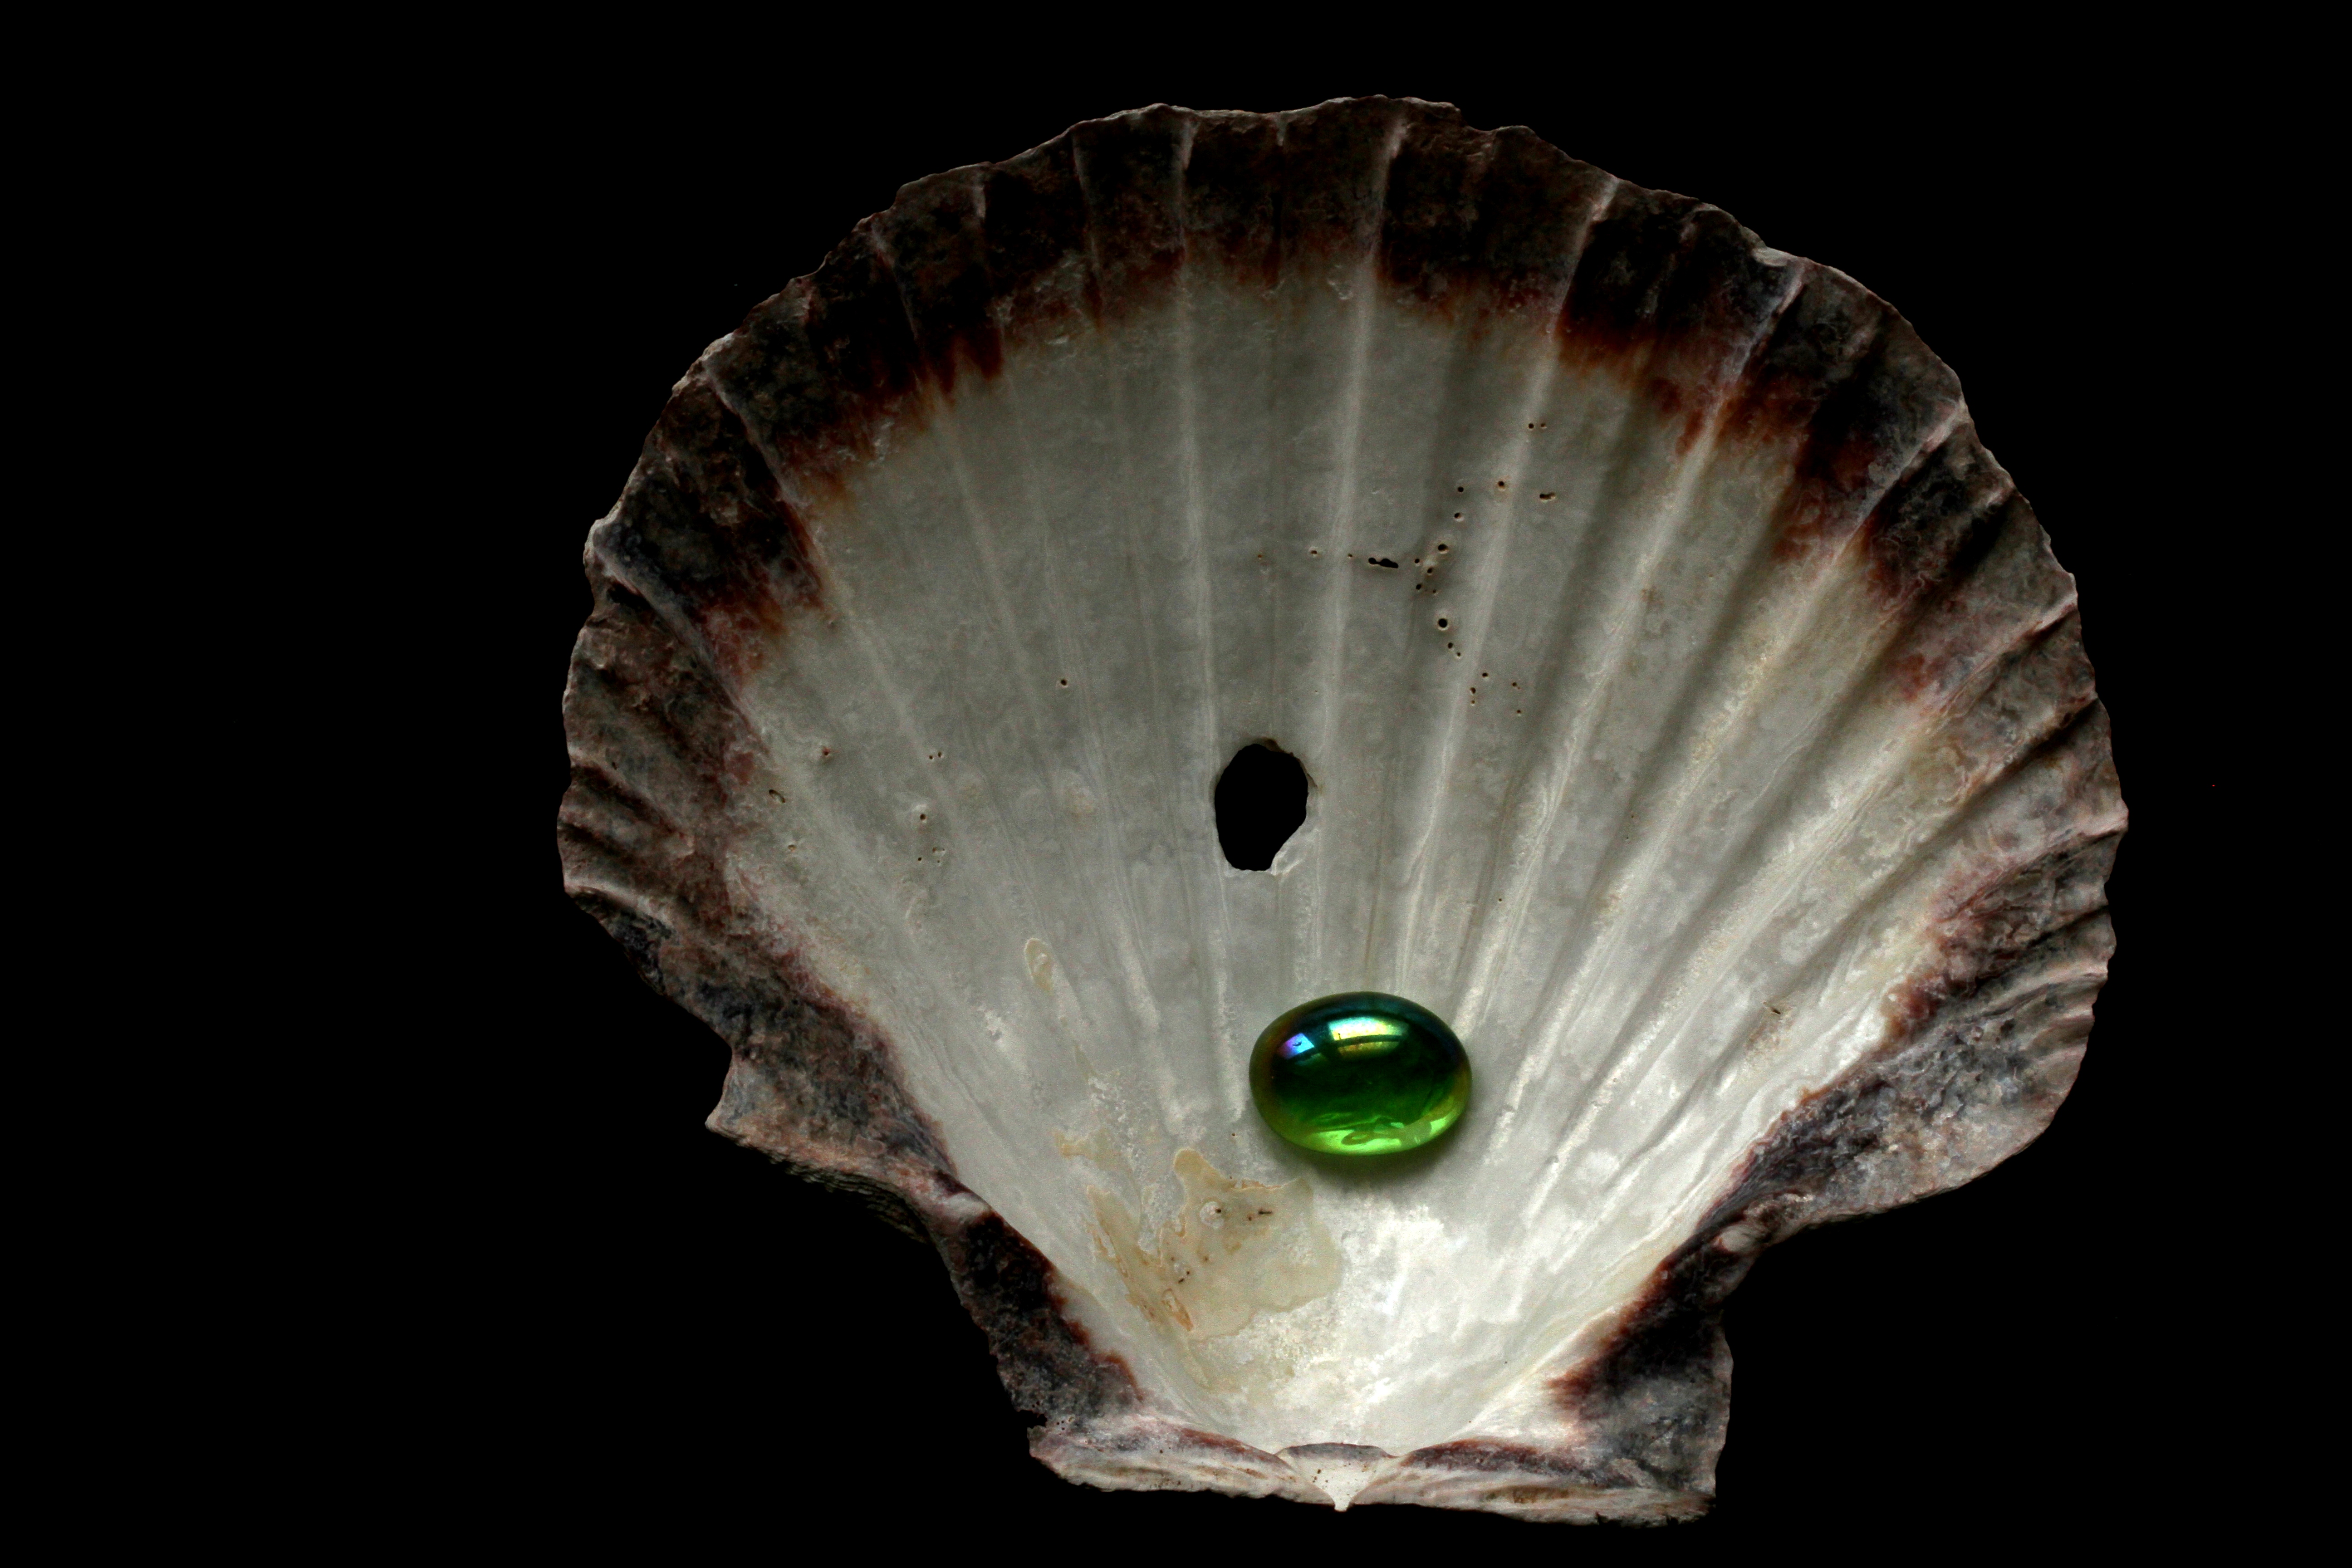
3. Point towards lower centre of shell ‘frame’
4. Point towards left hand edge of shell ‘frame’
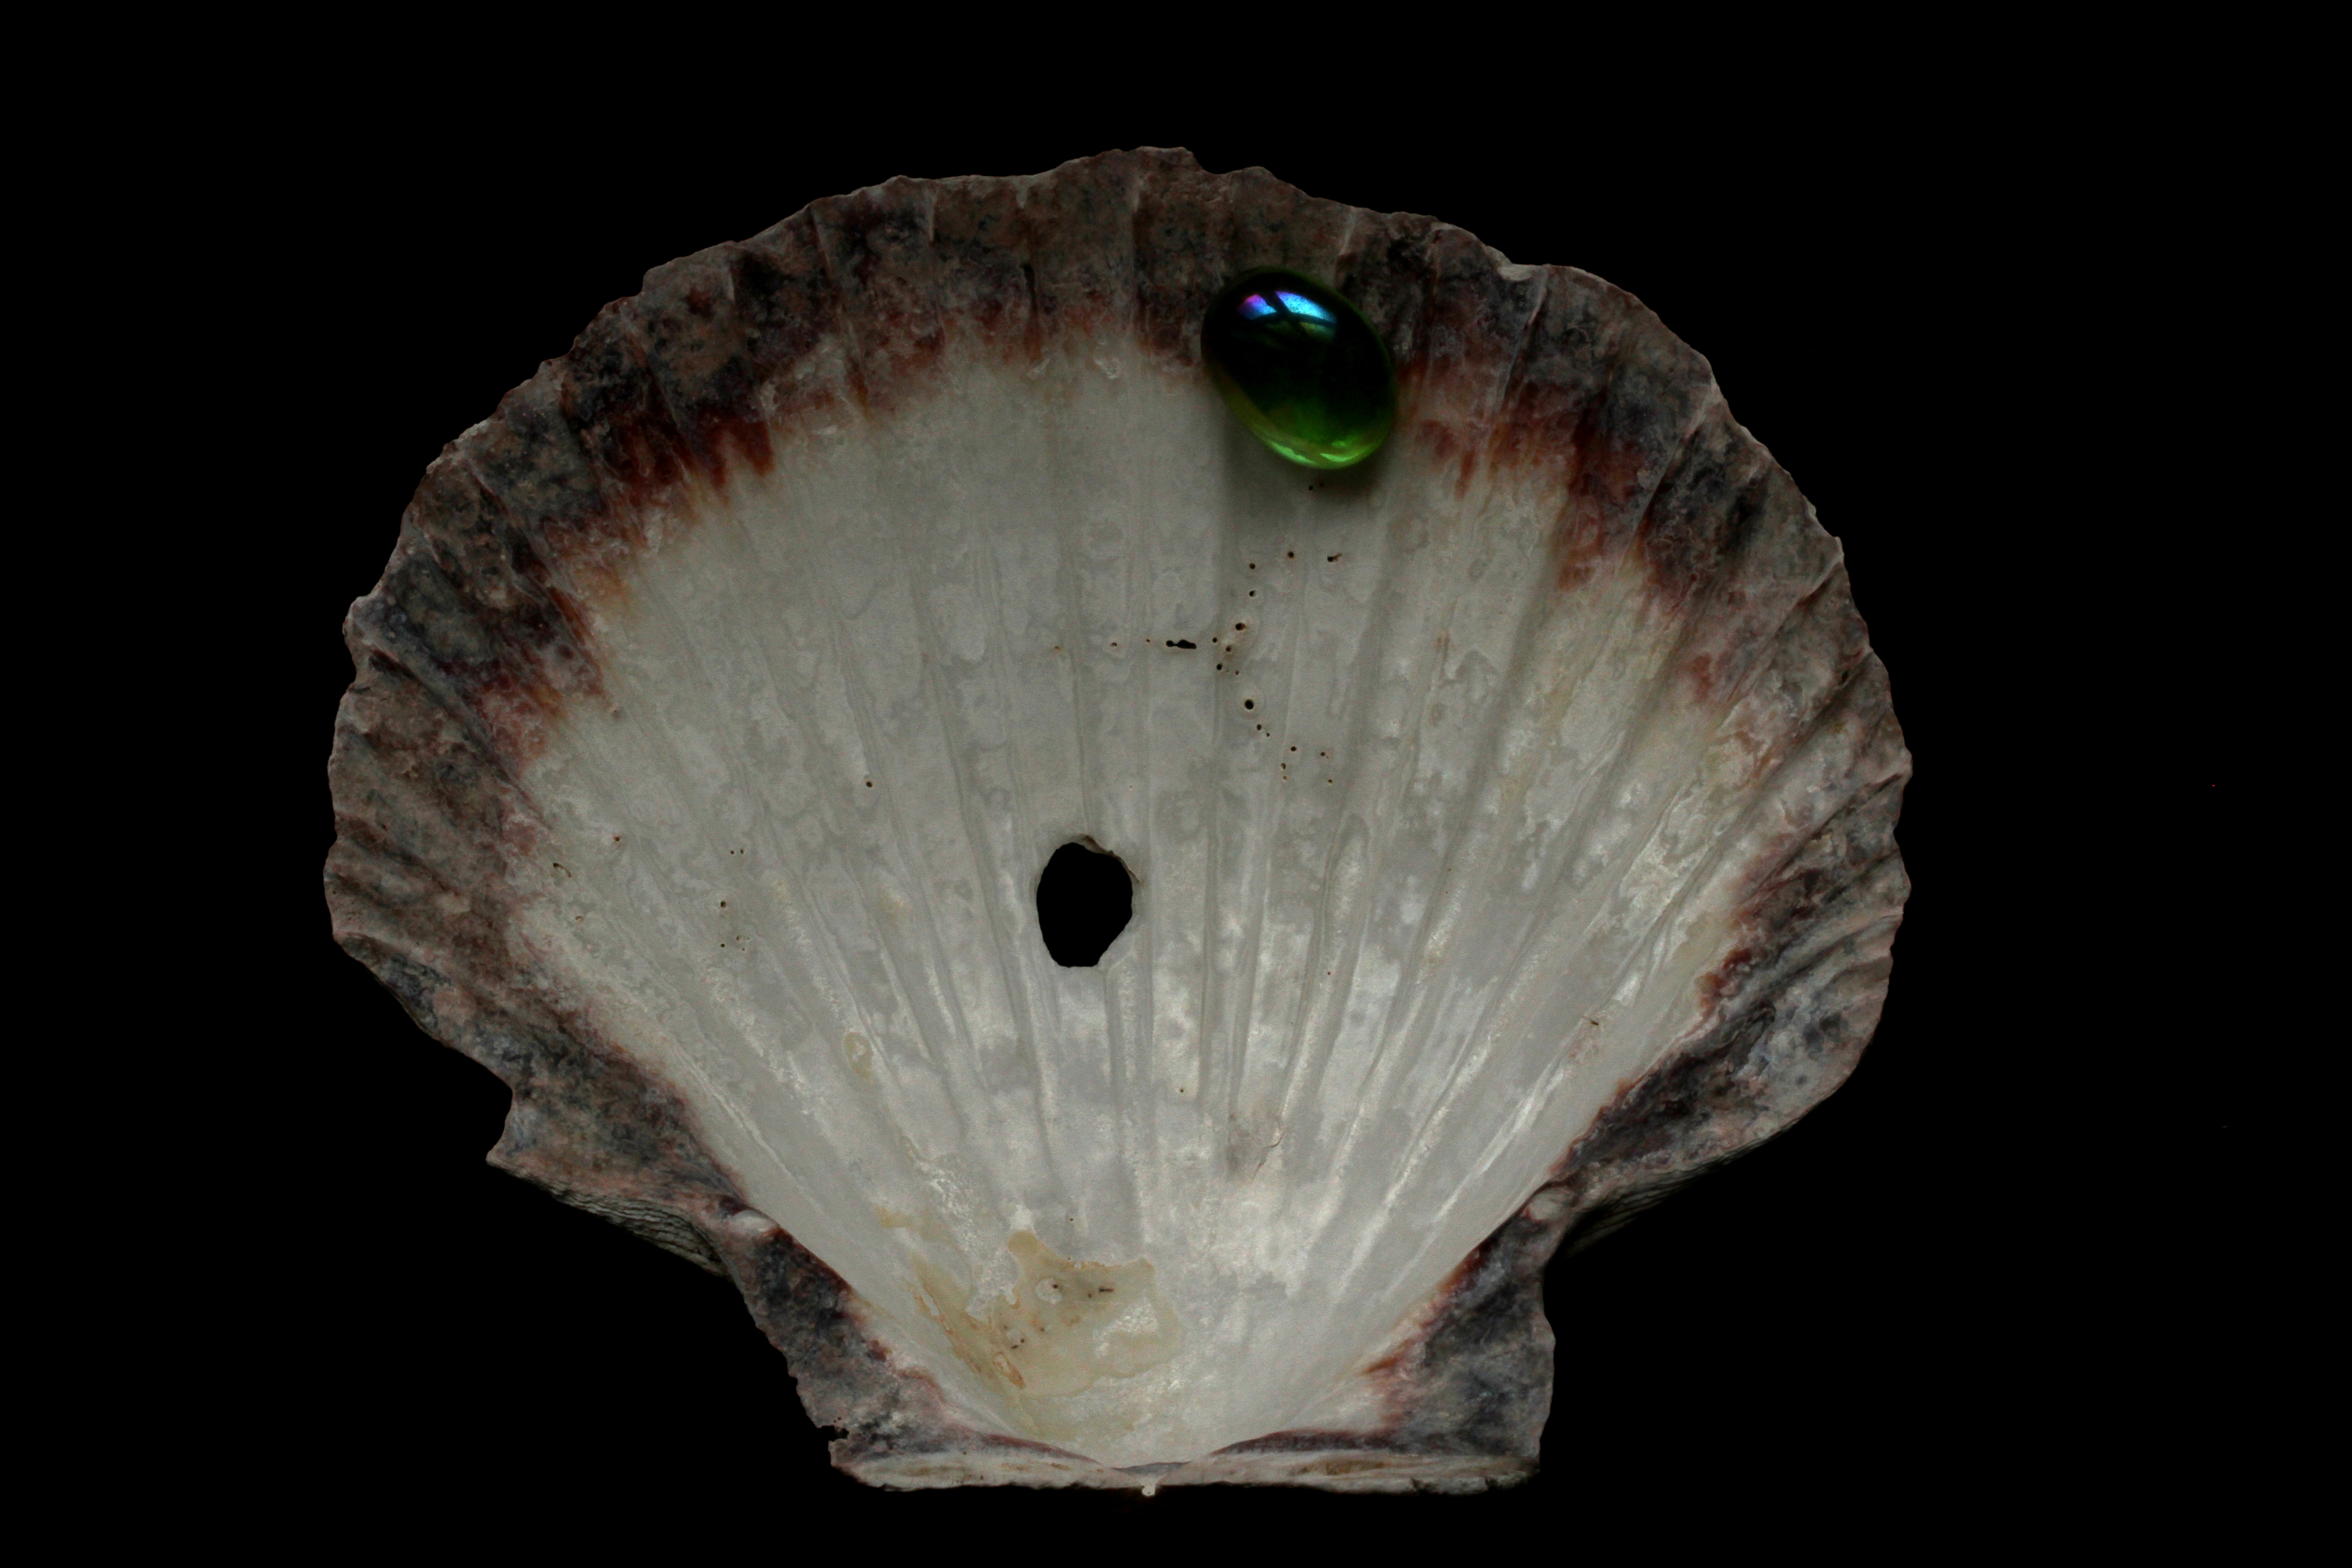
5. Point towards top edge of shell ‘frame’

6. Point towards bottom edge of shell ‘frame’
—– o0o —–
OBSERVATIONS ON IMAGES 1-6 ABOVE.
Ignoring the fact that some of the images are better lit than others, I was also interested to note that some of the images worked better than others in terms of their layout. For me, images 2 & 3 where the glass drop is nearer to the centre of the shell ‘frame’ work least well as the images appear rather flat and uninteresting. There is nothing much to draw the eye from the centre towards the outer edges of the ‘frame’. The other four images where the glass points are towards the edges of the shell ‘frame’ have more interest and tension as they keep the eye moving around from the centre. I particularly like image 6, and have been looking at why this might be. The composition is good because all the lines of the shell lead down to the glass drop where the focus is, but they also lead up and away to the edges of the shell. The glass looks like a small pool of water with reflections and it is located in just the place where a water drop would collect. From this small exercise it is clear that where a ‘frame’ appears within an image the placing of any points within that ‘frame’ can make a significant difference to the appearance of the final image.
———- o0o ———-
EXERCISE – MULTIPLE POINTS
The purpose of this exercise is to record, frame by frame, the creation of a still life arrangement as it develops through placing and re-arranging small objects on an uncomplicated background. I chose to use a small collection of shells, glass drops and coloured stones to create the still life on a flat tree stump. I used a standard lens mounted on my Canon 7D which I positioned directly above the subject using a tripod. I had no pre-conception as to what design I would eventually create and instead I allowed it to develop by making changes and additions as I went along until it reached a natural conclusion.
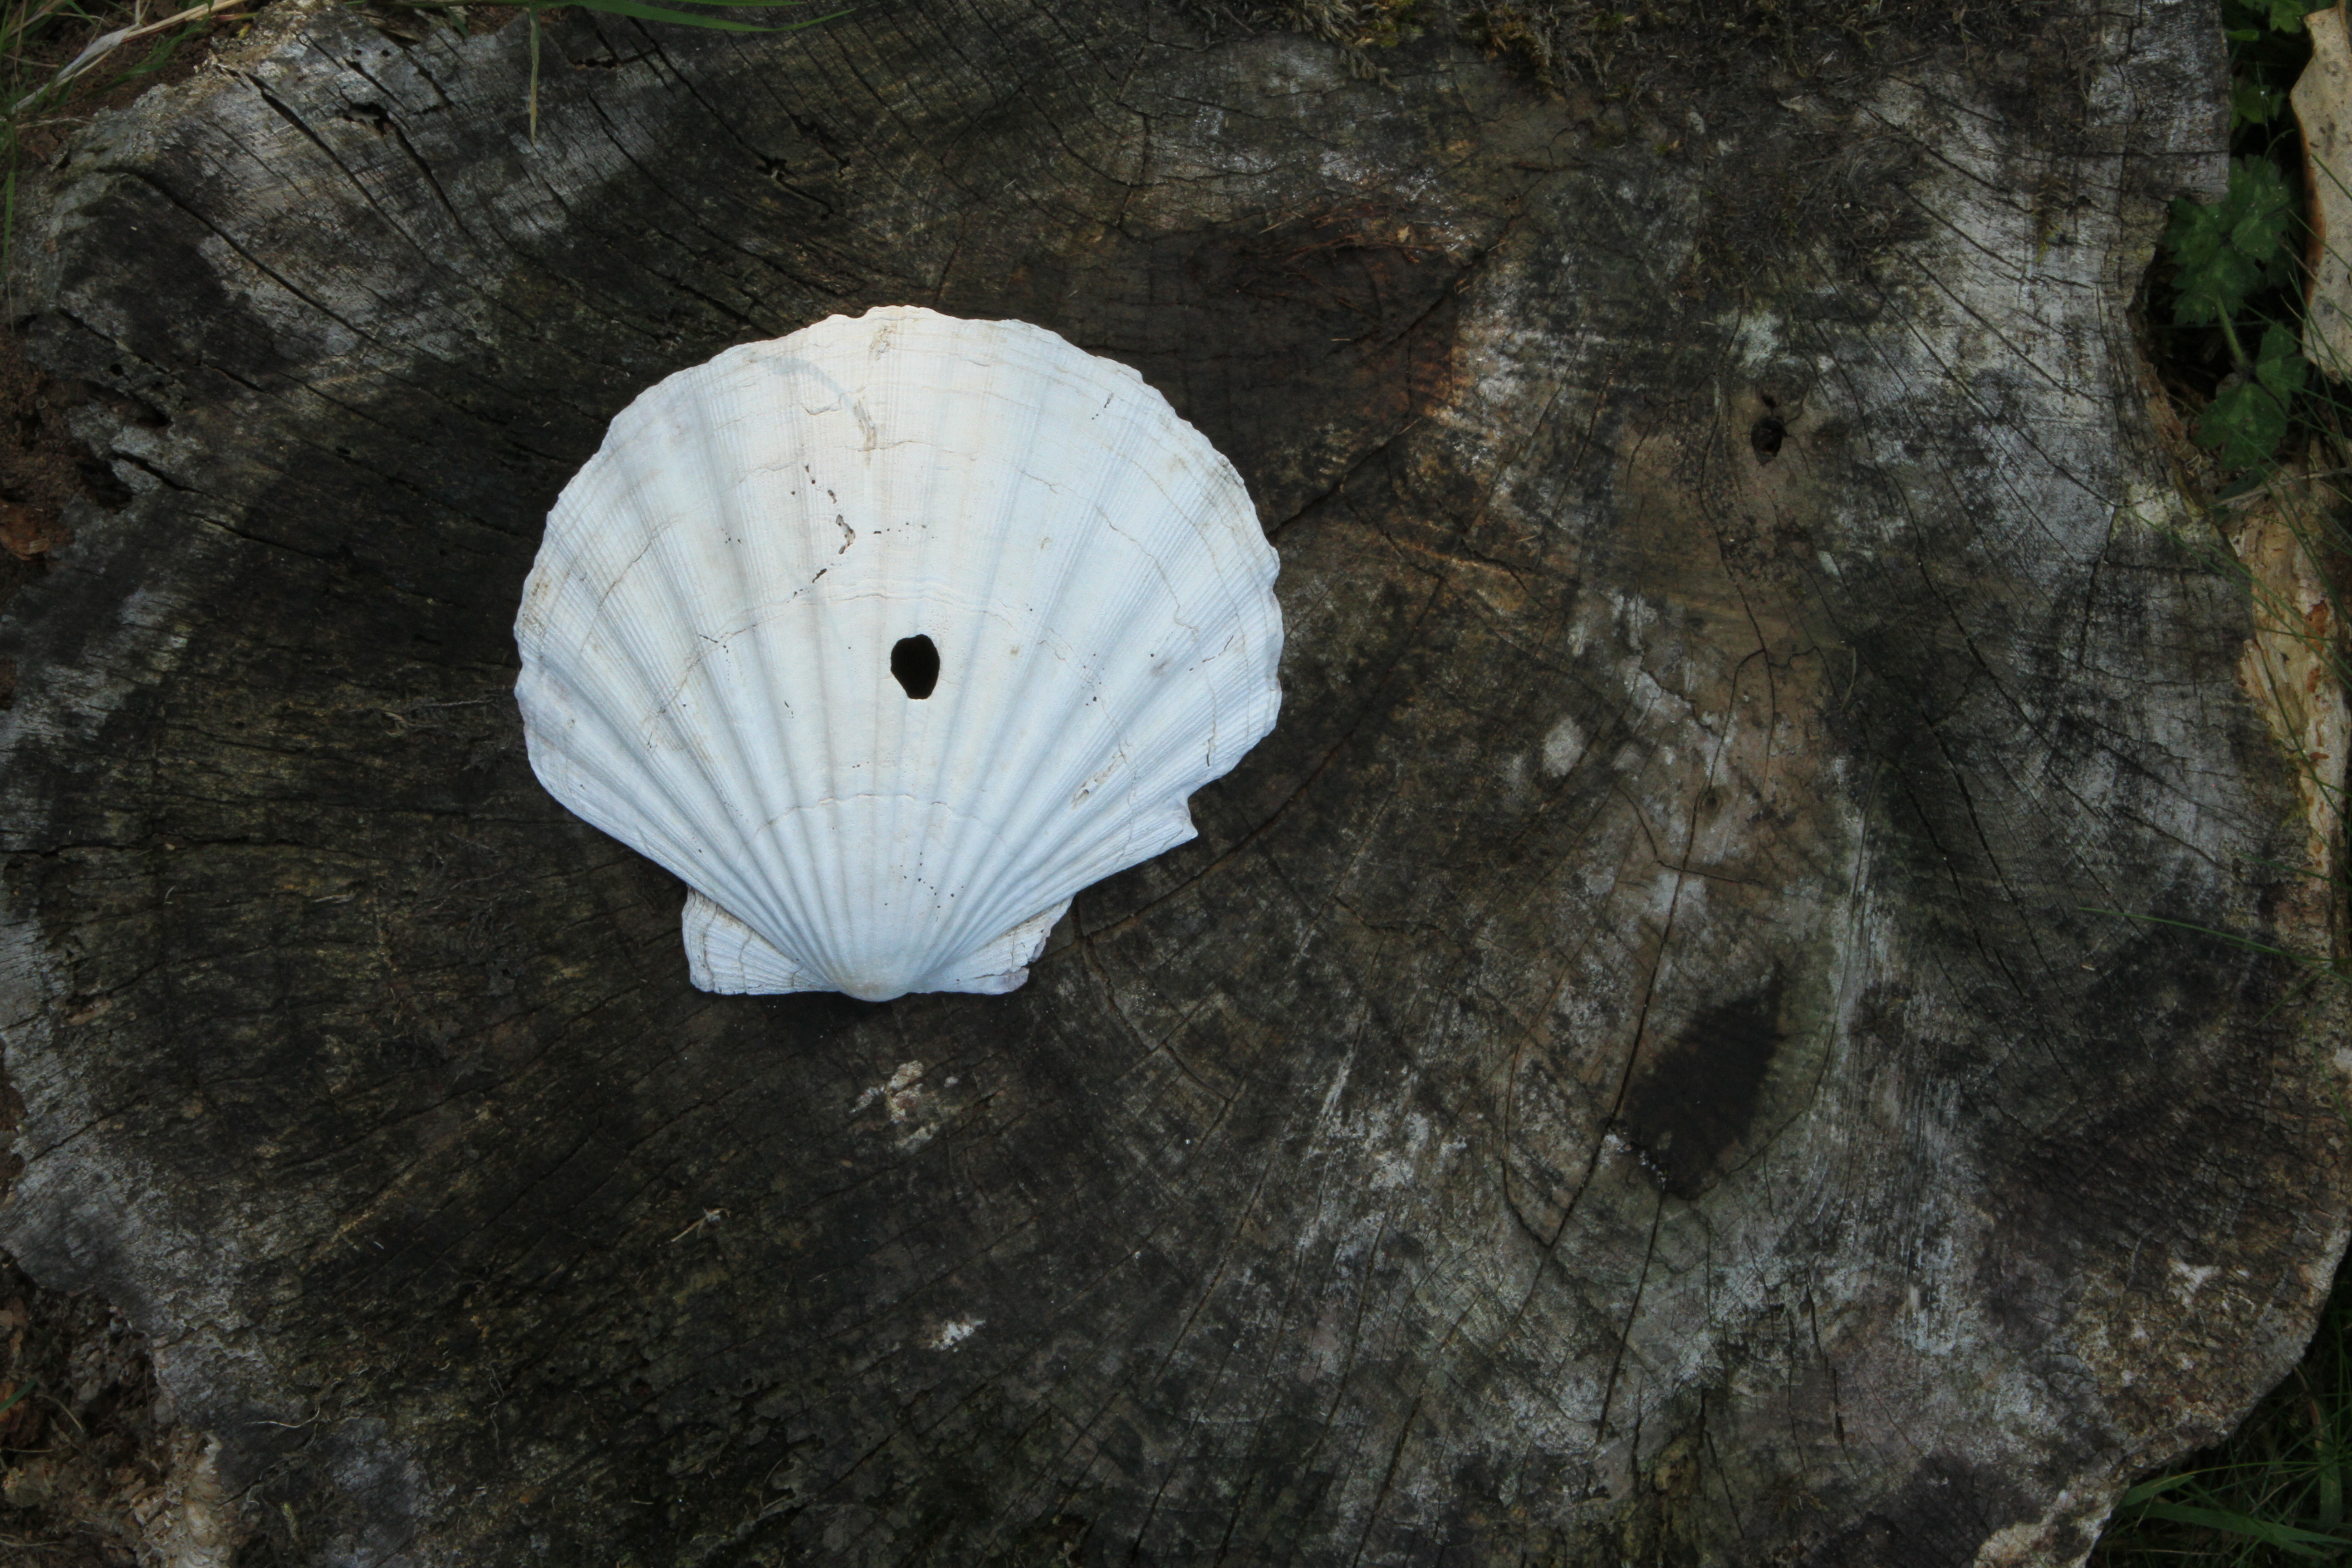
1. The still life starts with a single large shell.
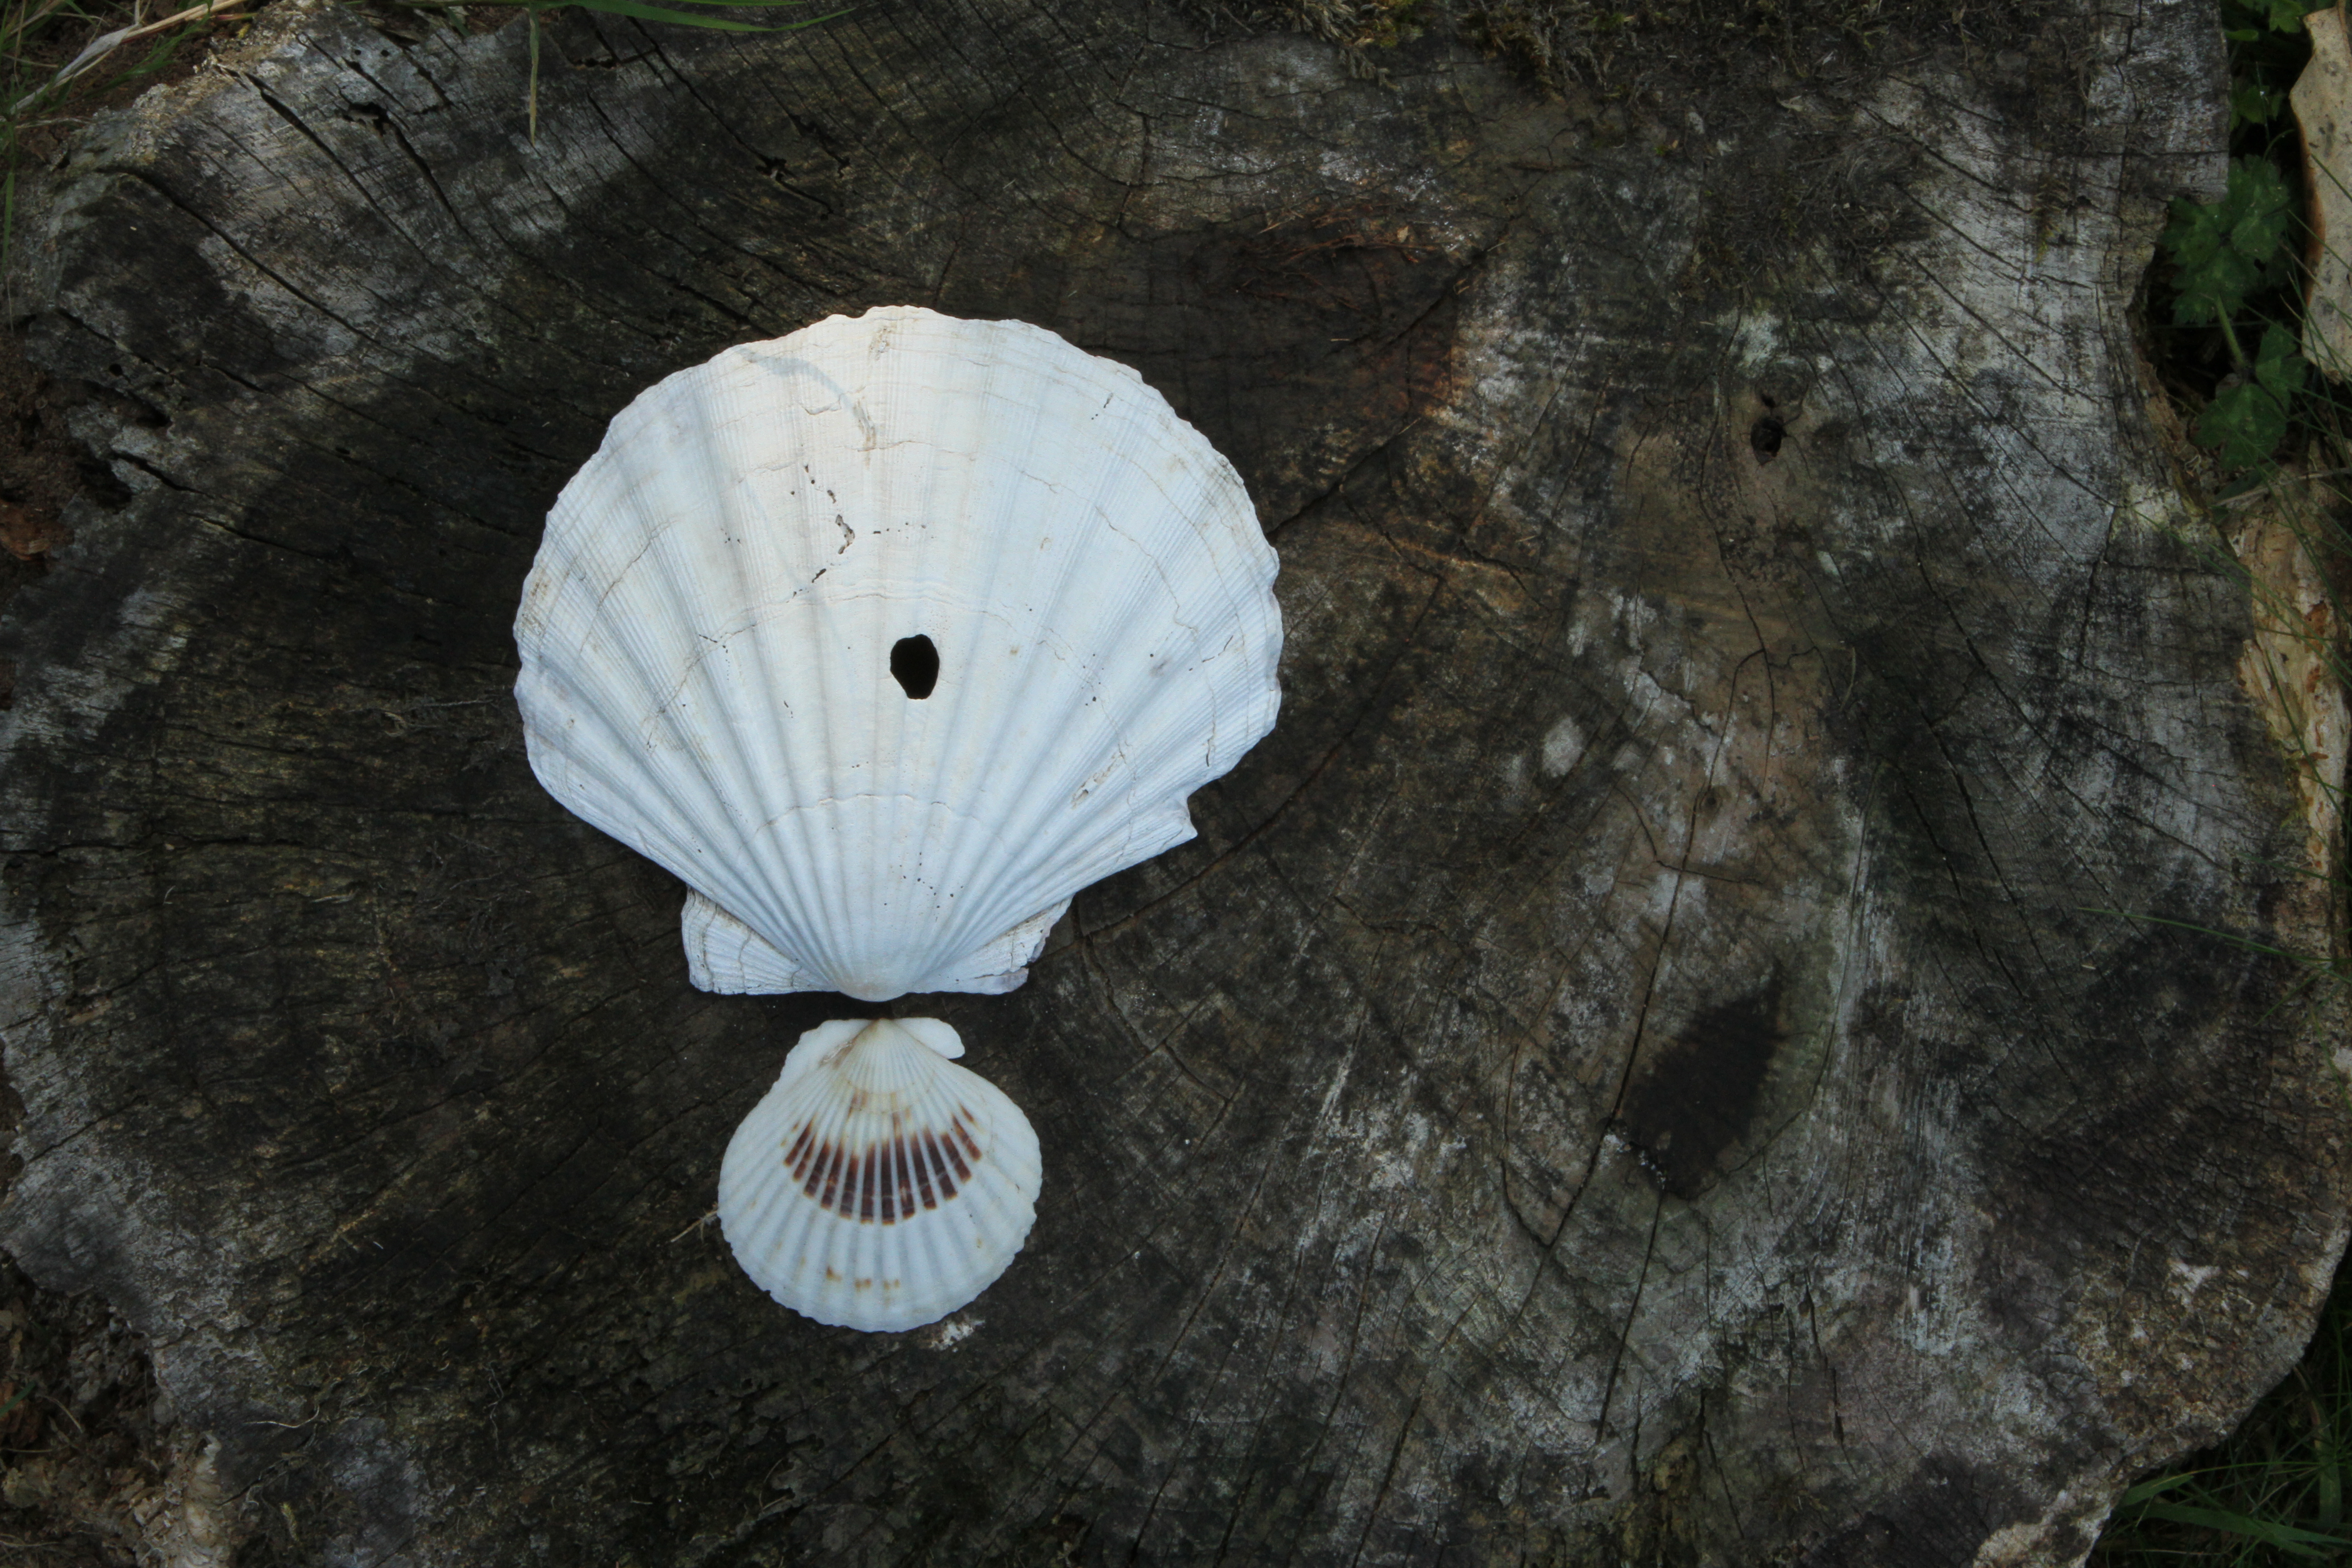 2. A smaller shell is added to counterpoint the first shell.

3. A second smaller shell is added to create an imbalance.
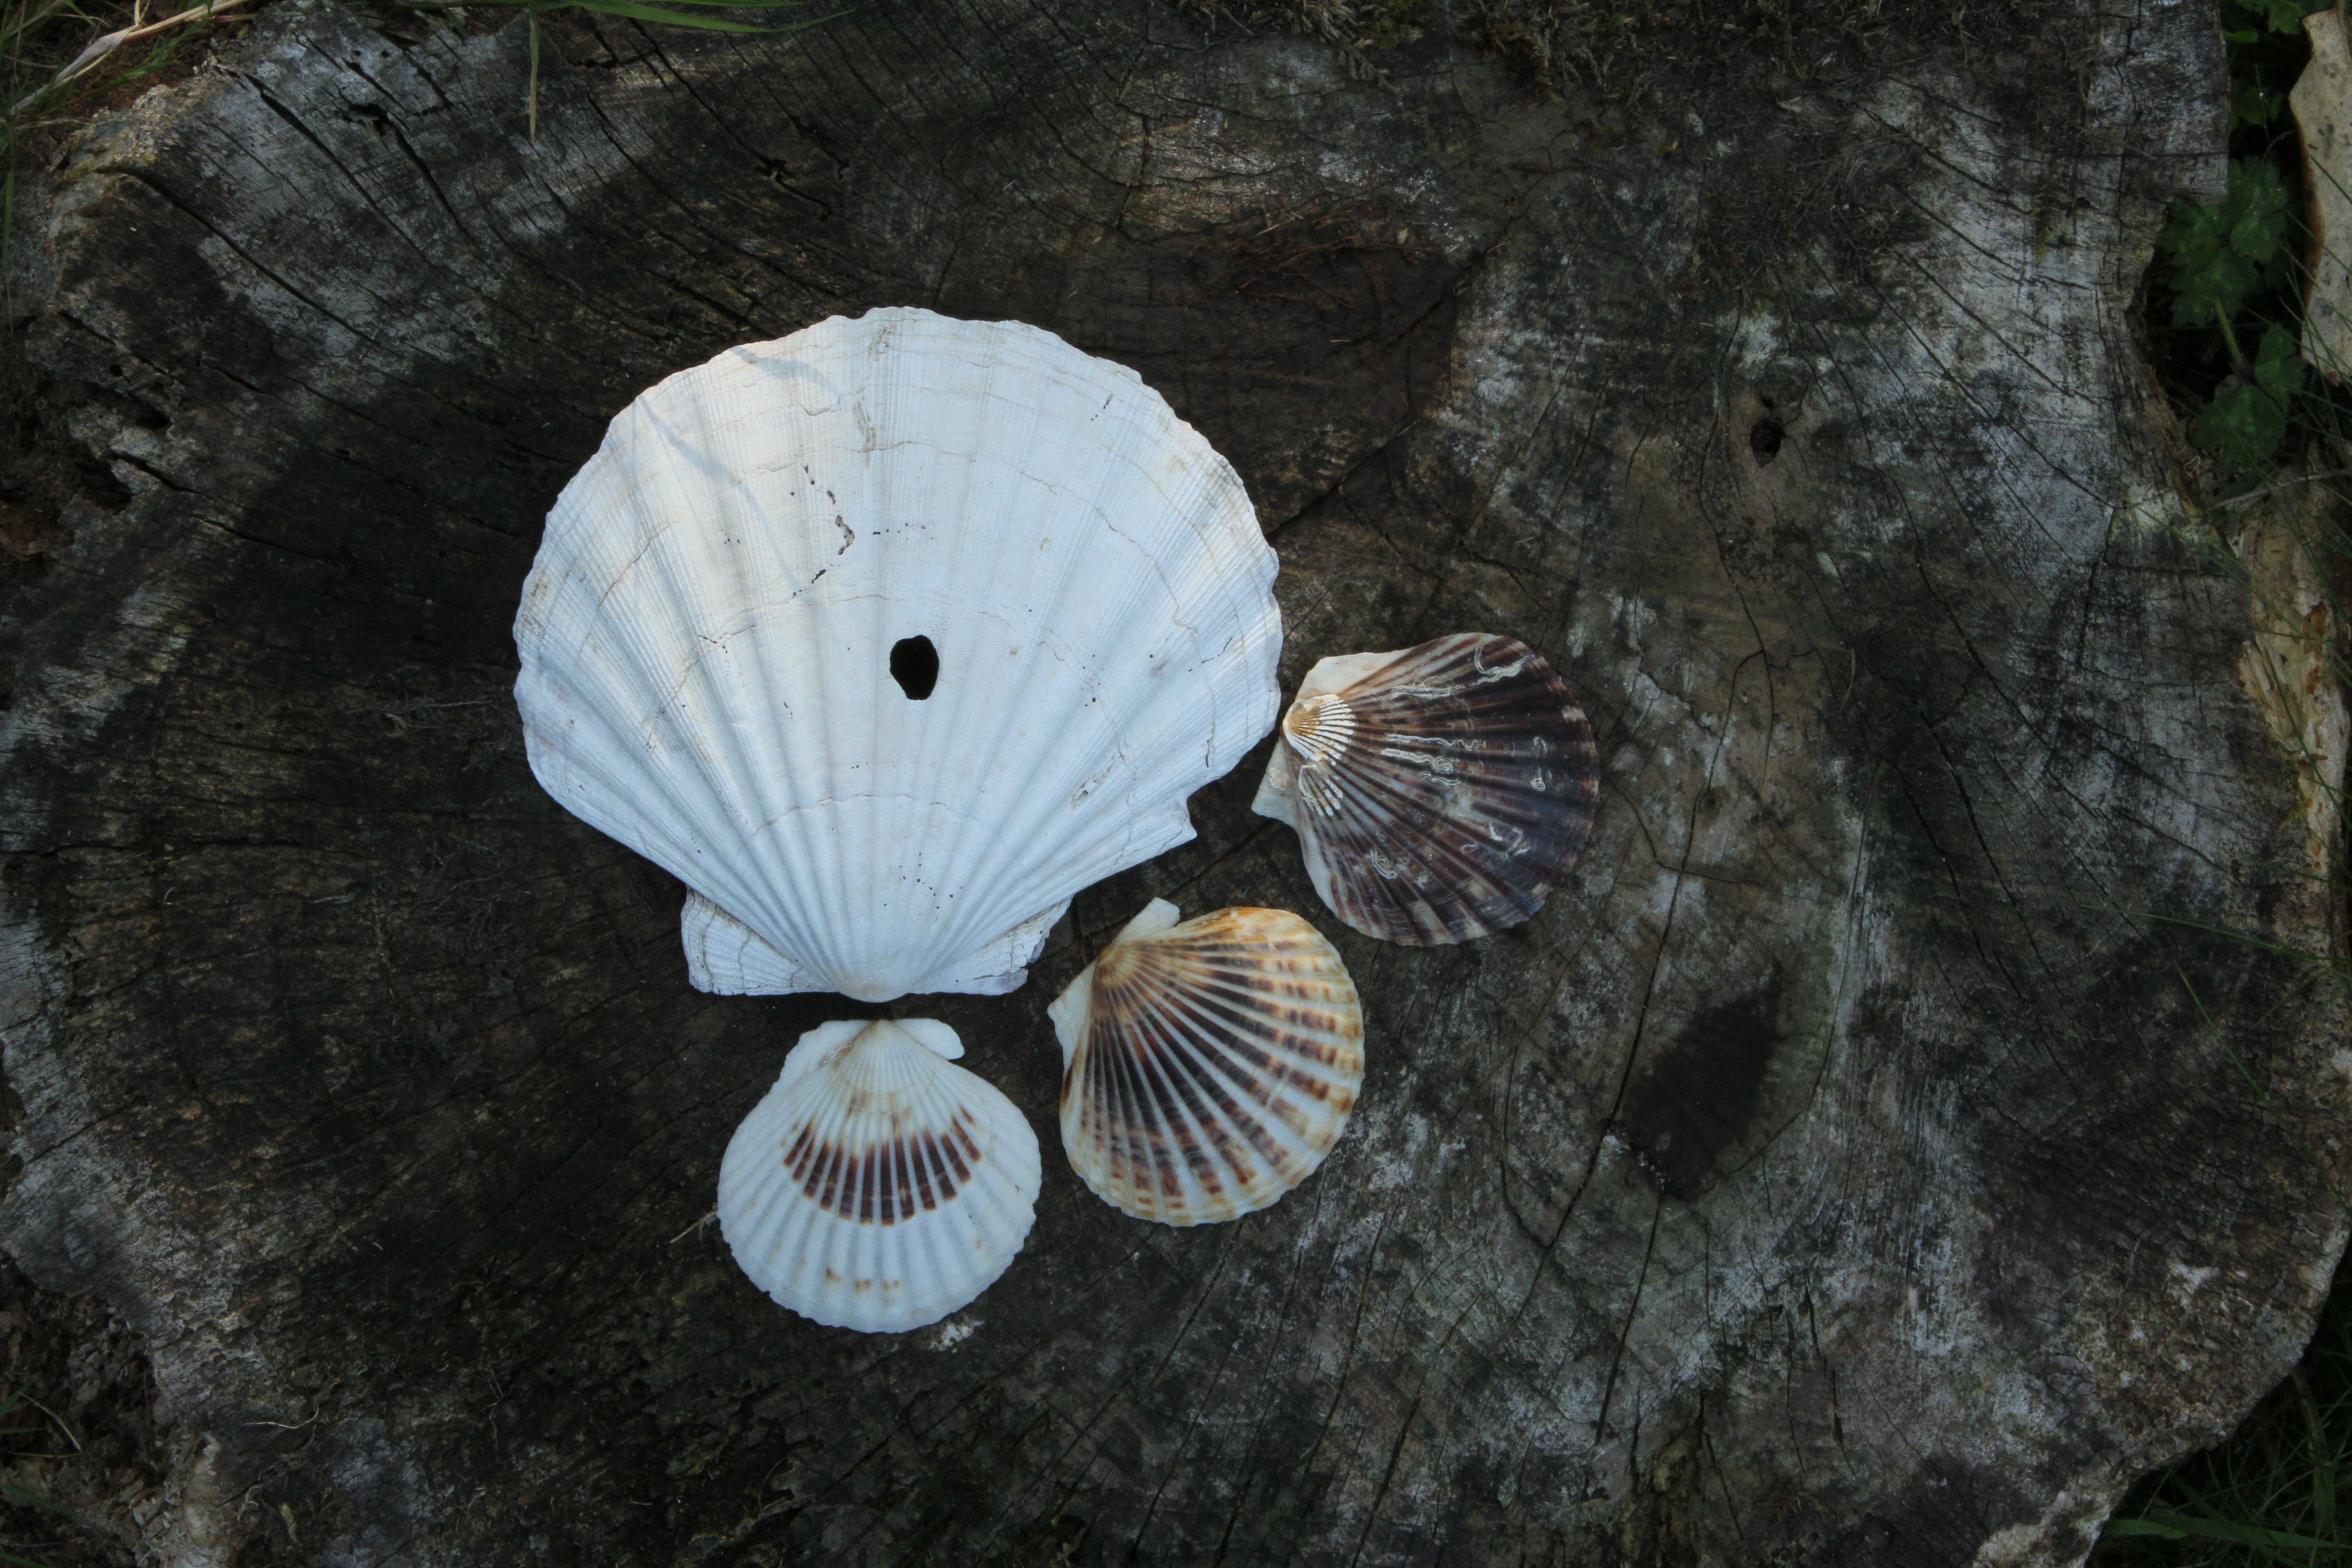
4. A further small shell is added to increase the imbalance.
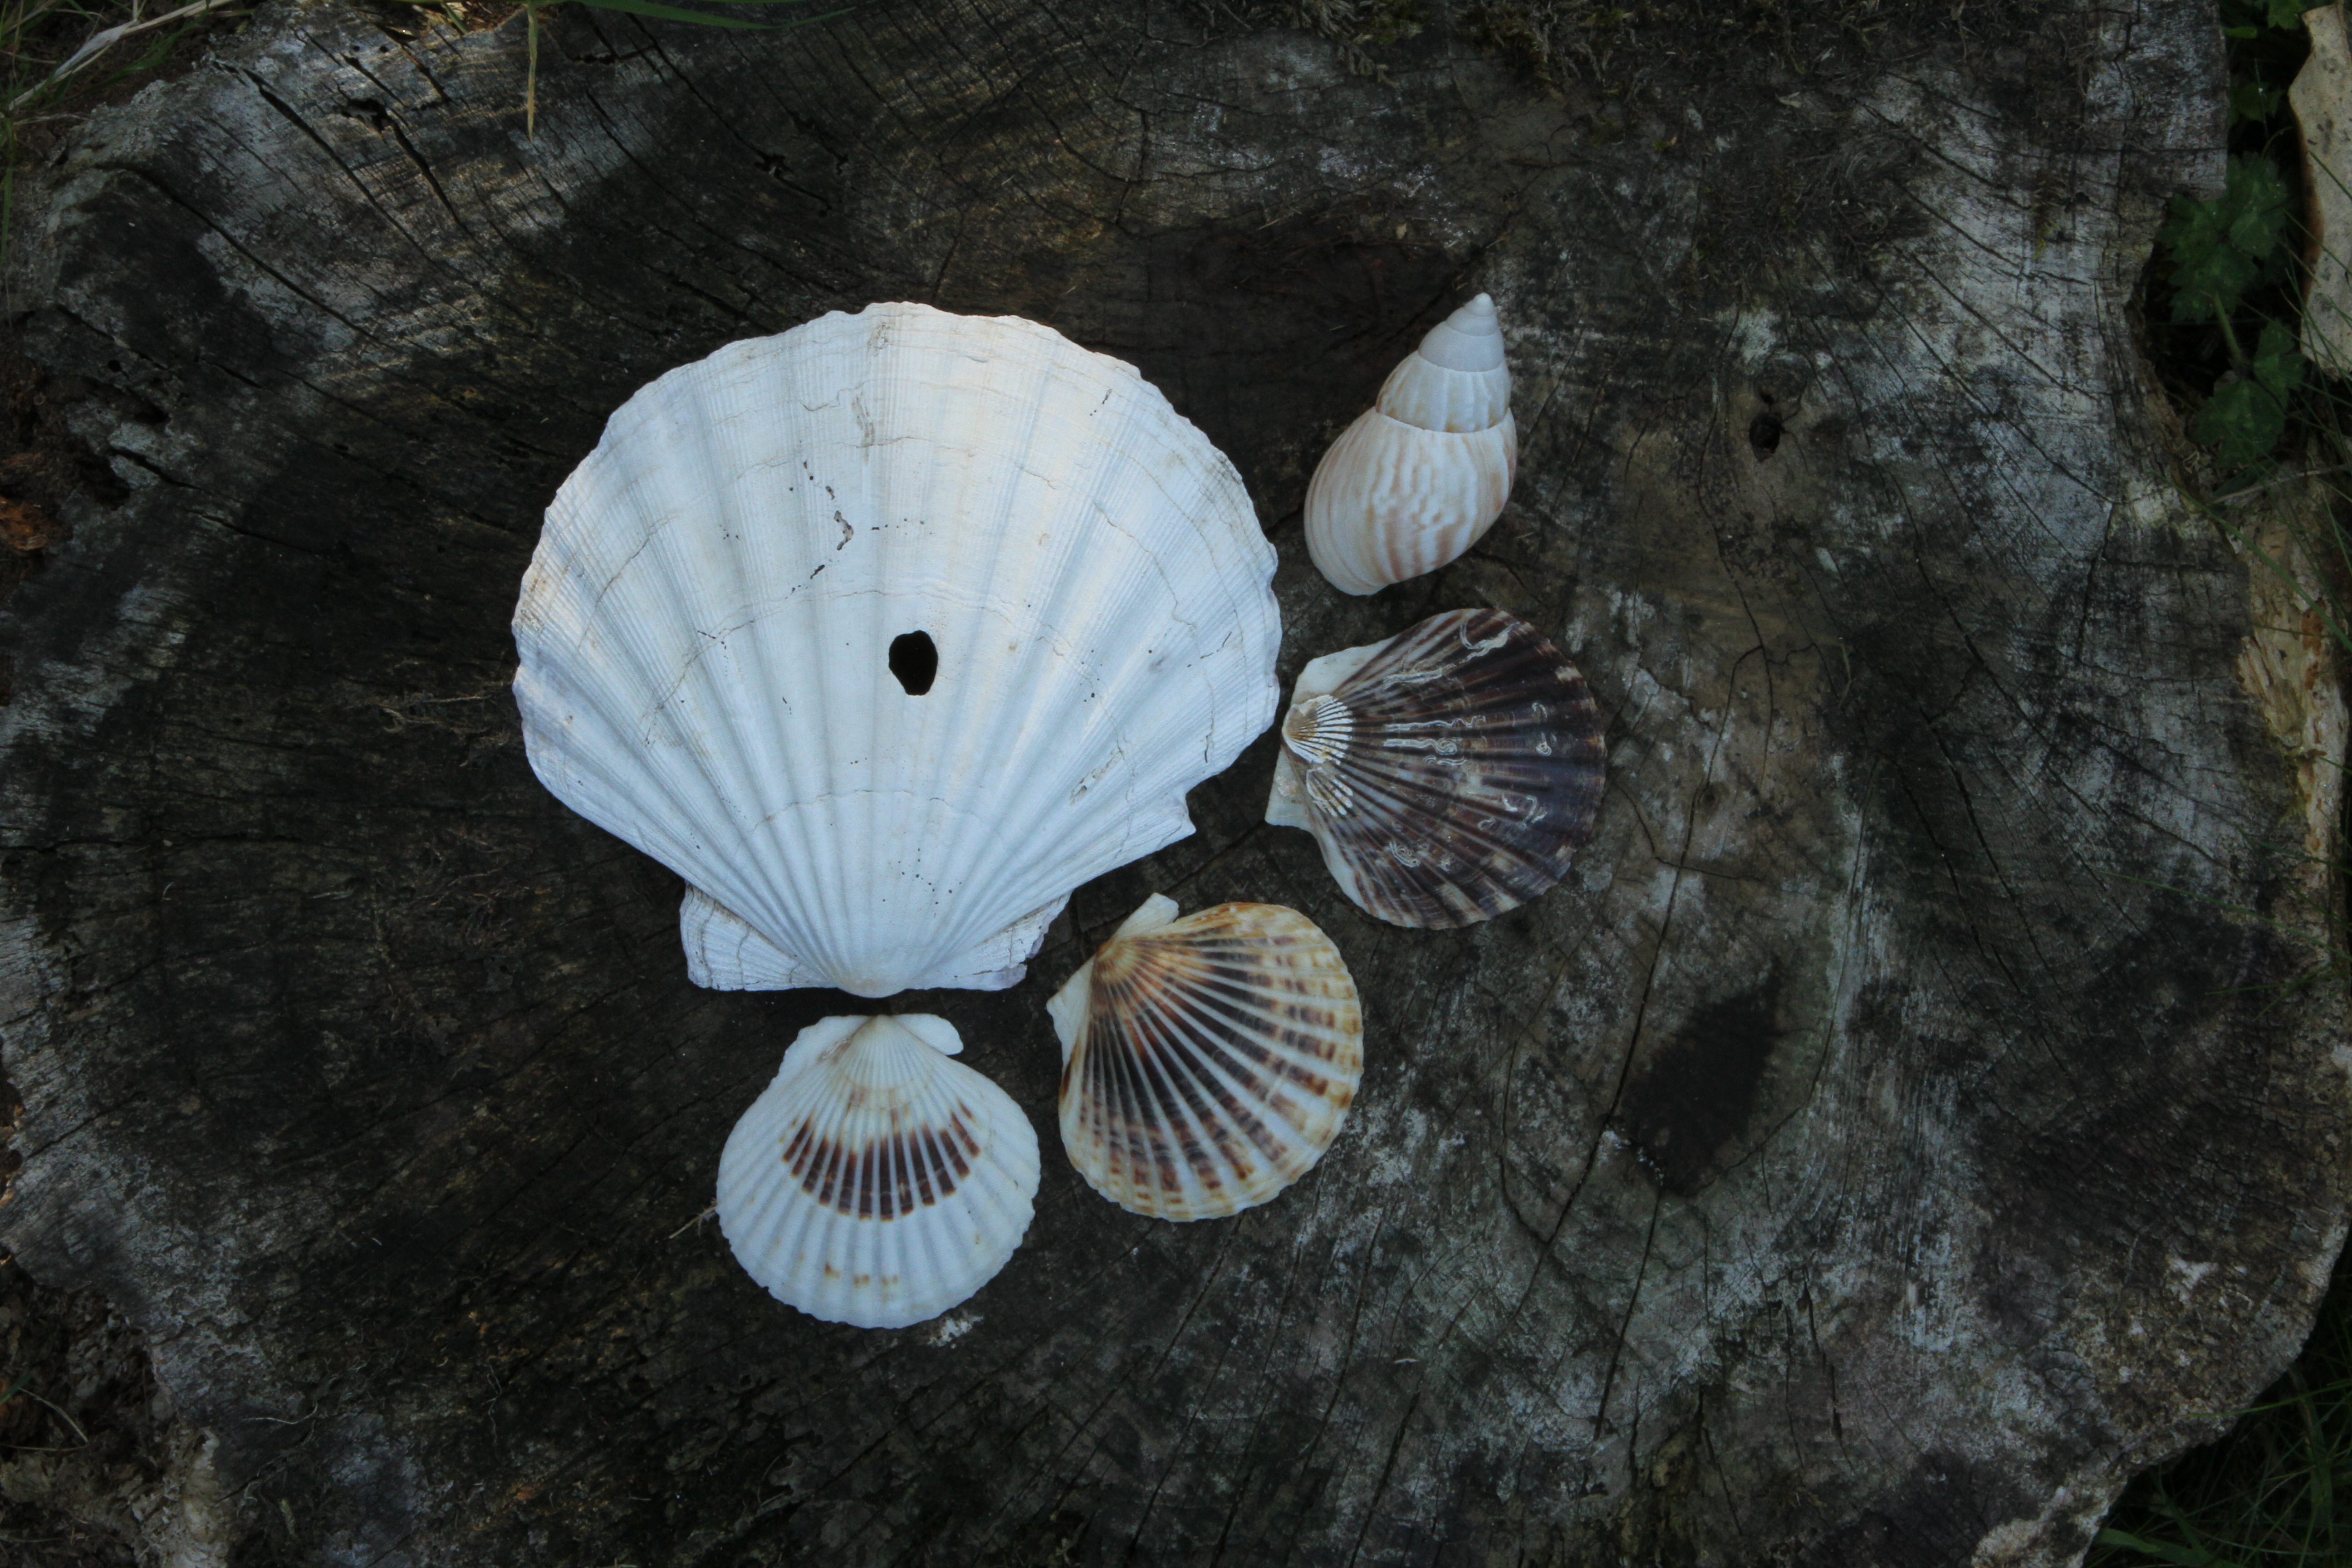
5. A shell of a different type is added to the mix.
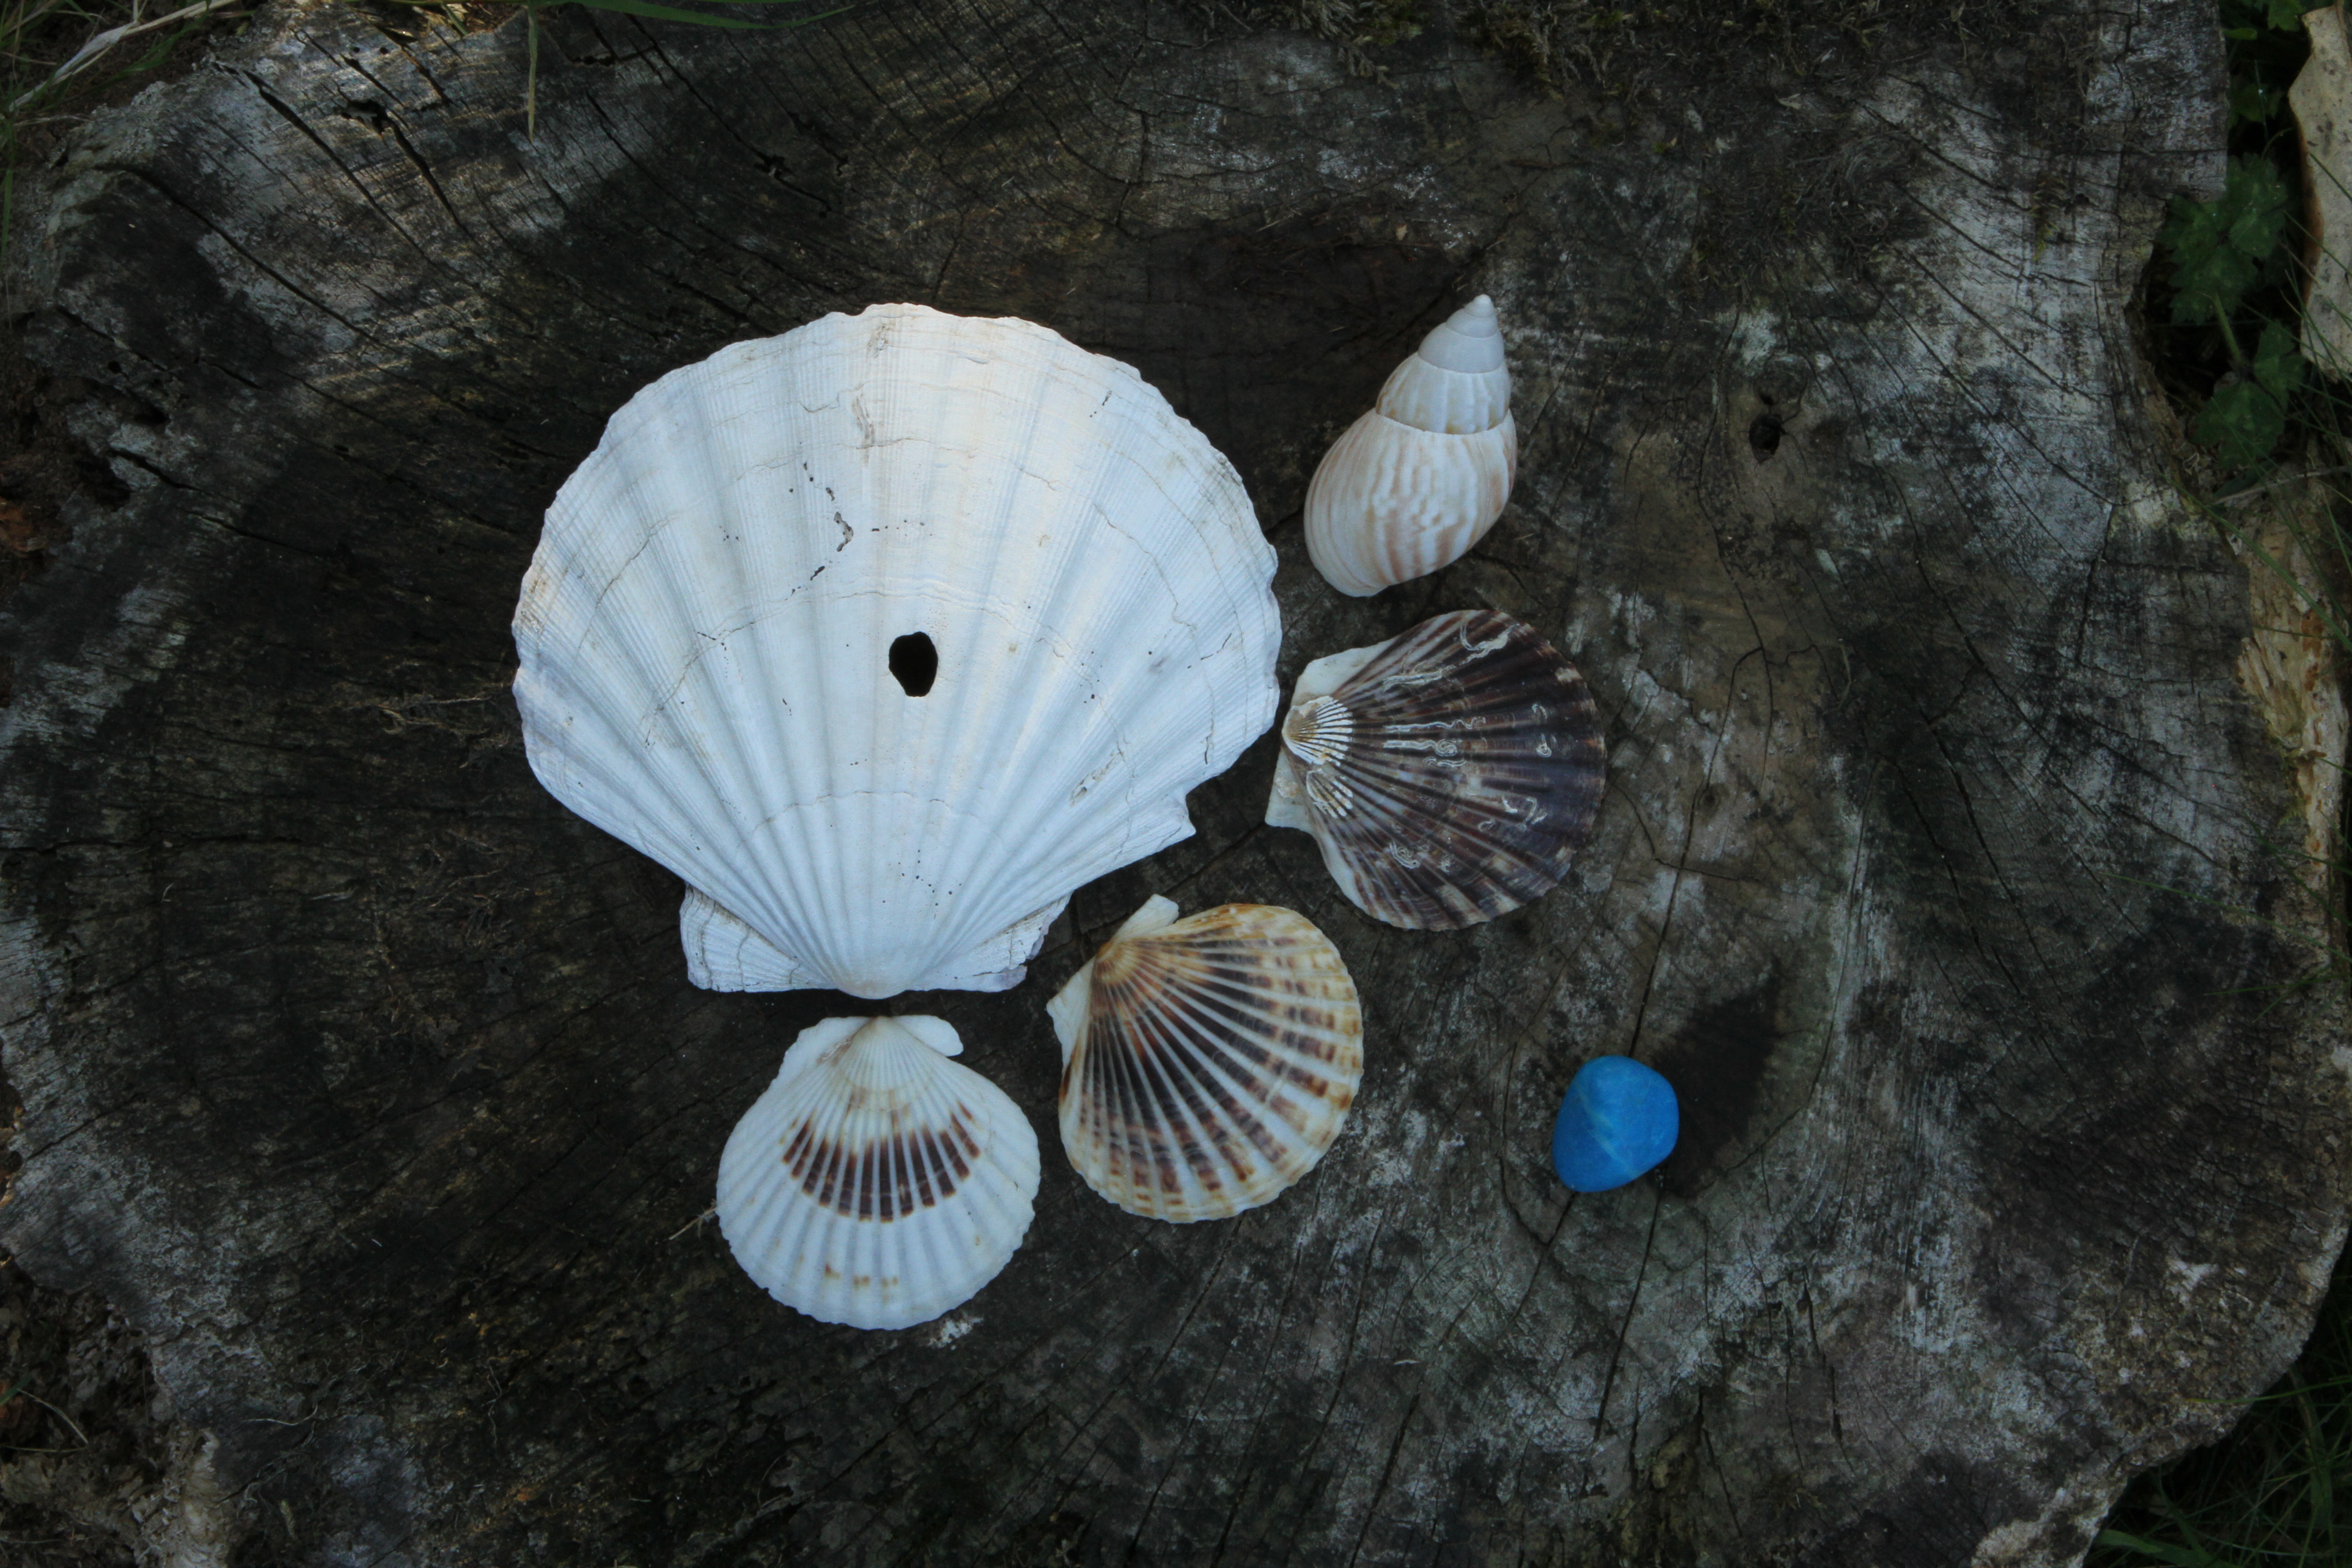
6. I decided to add colour by introducing a blue stone.
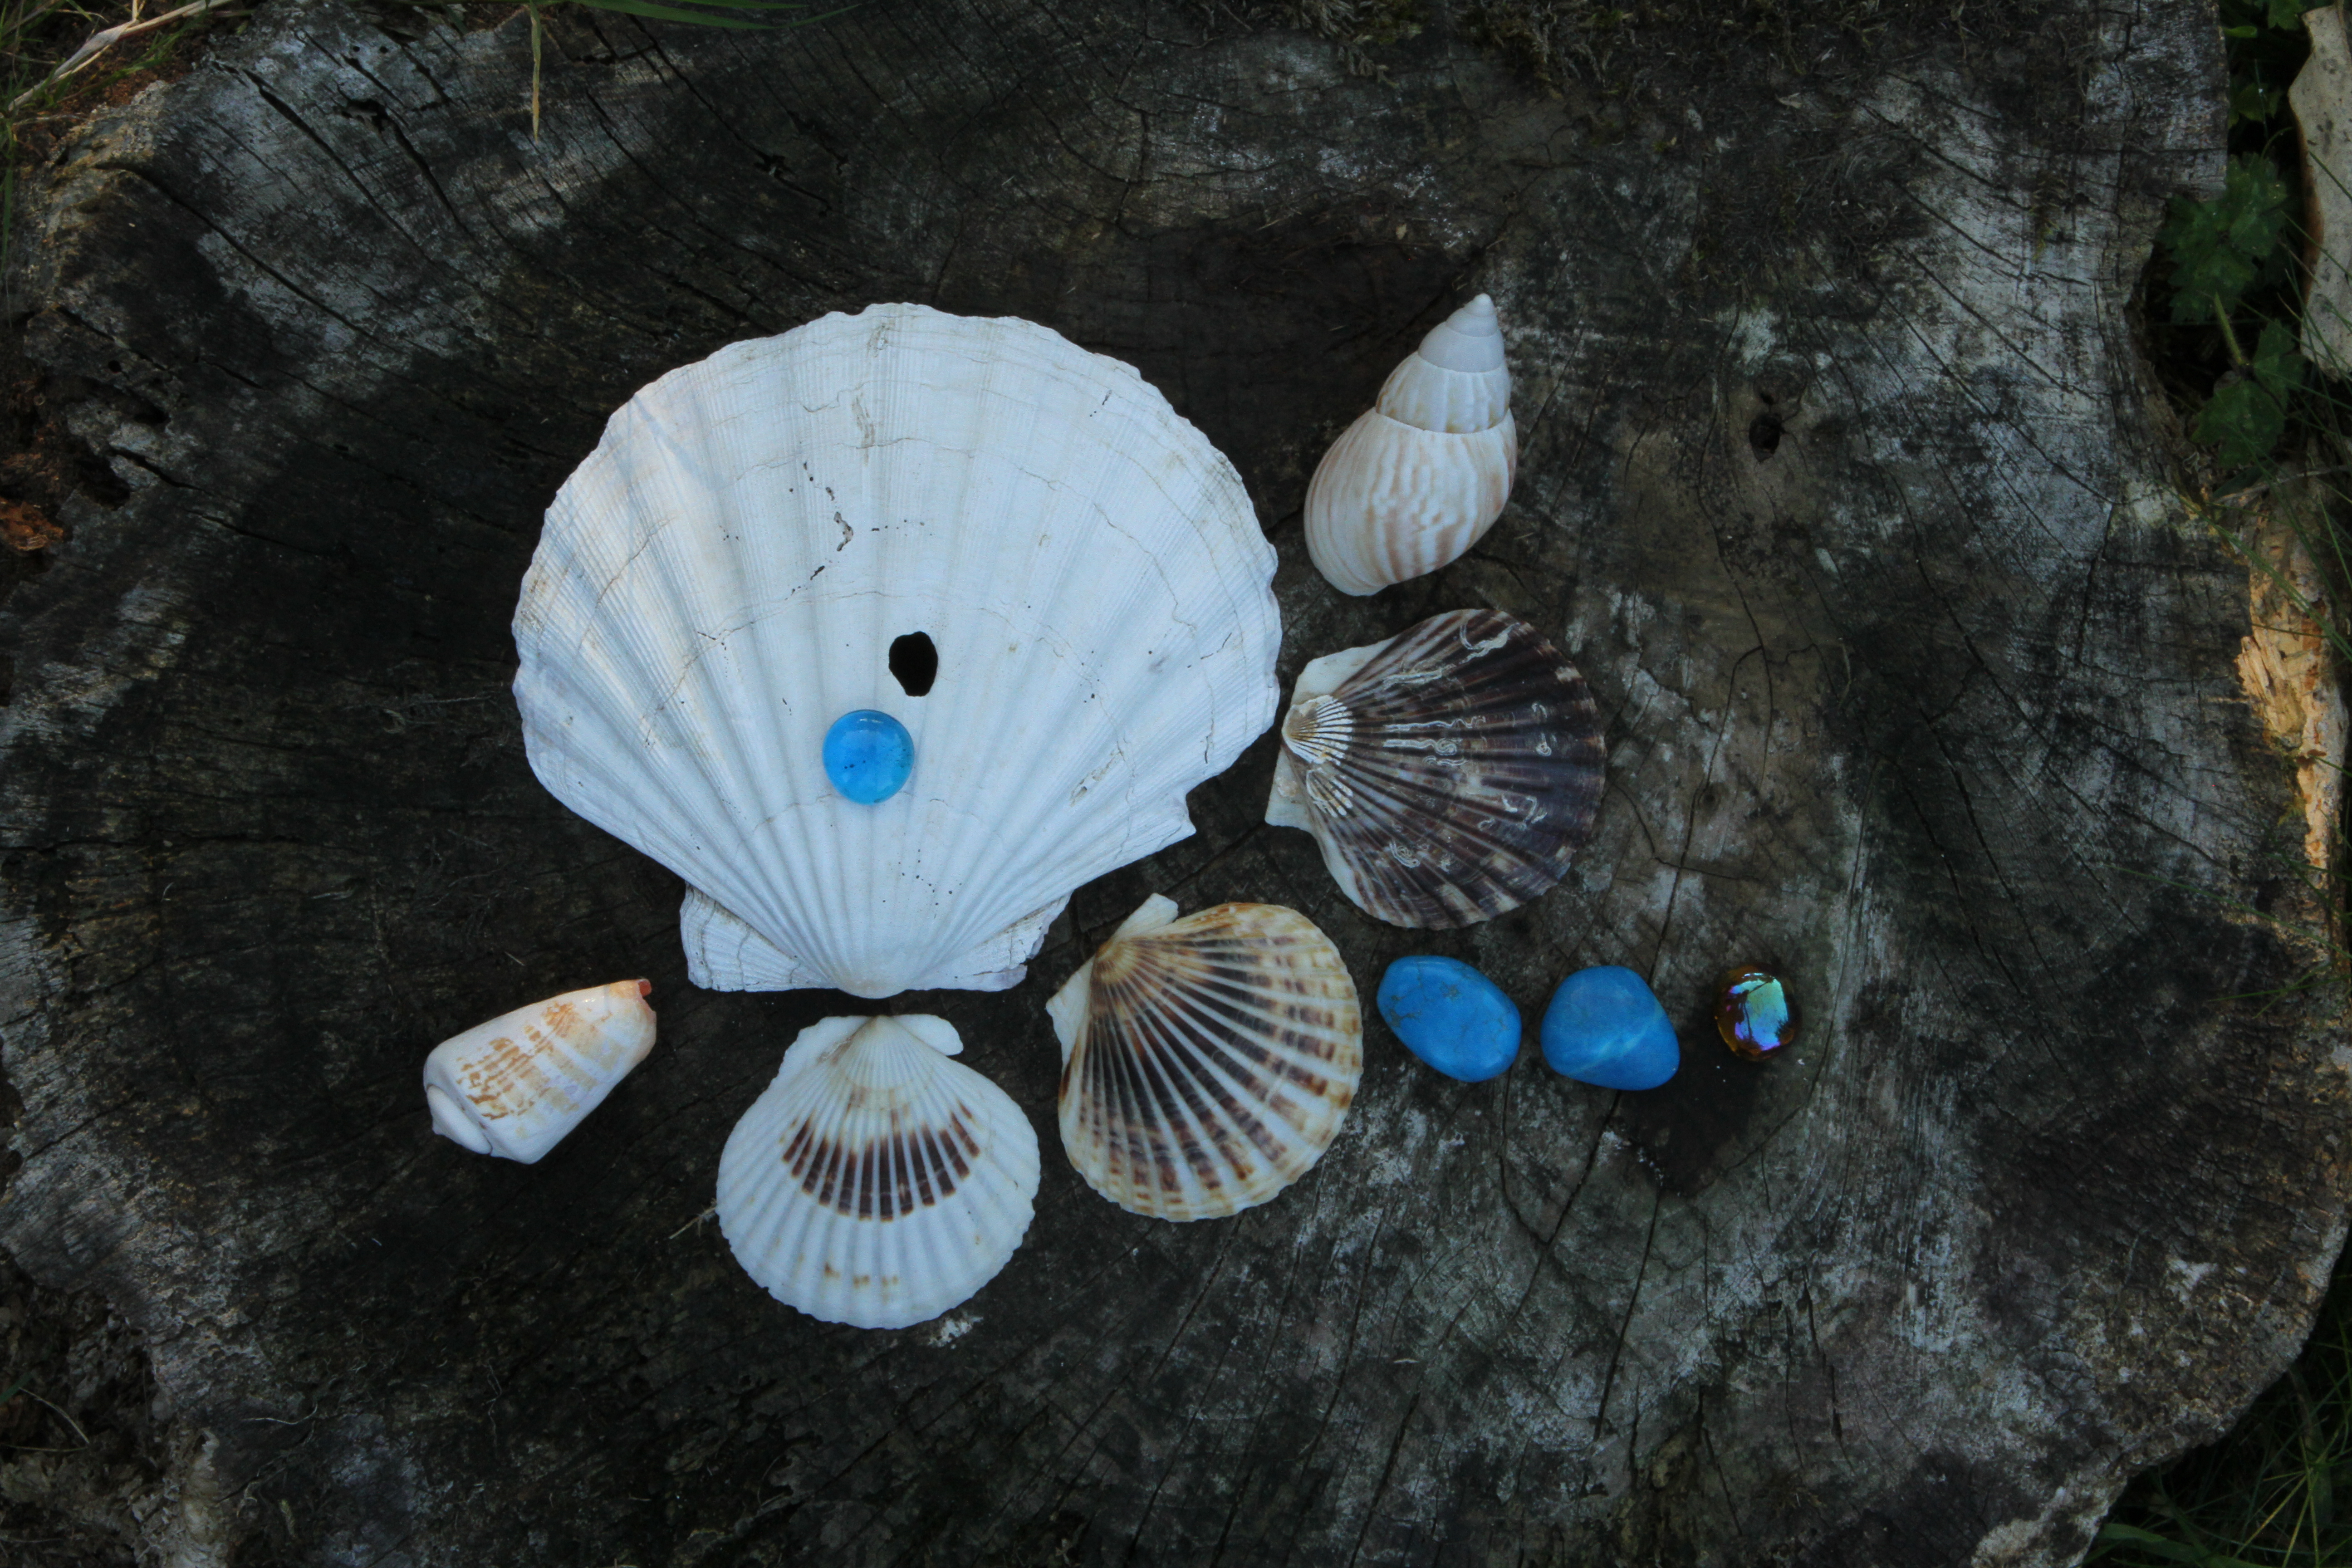
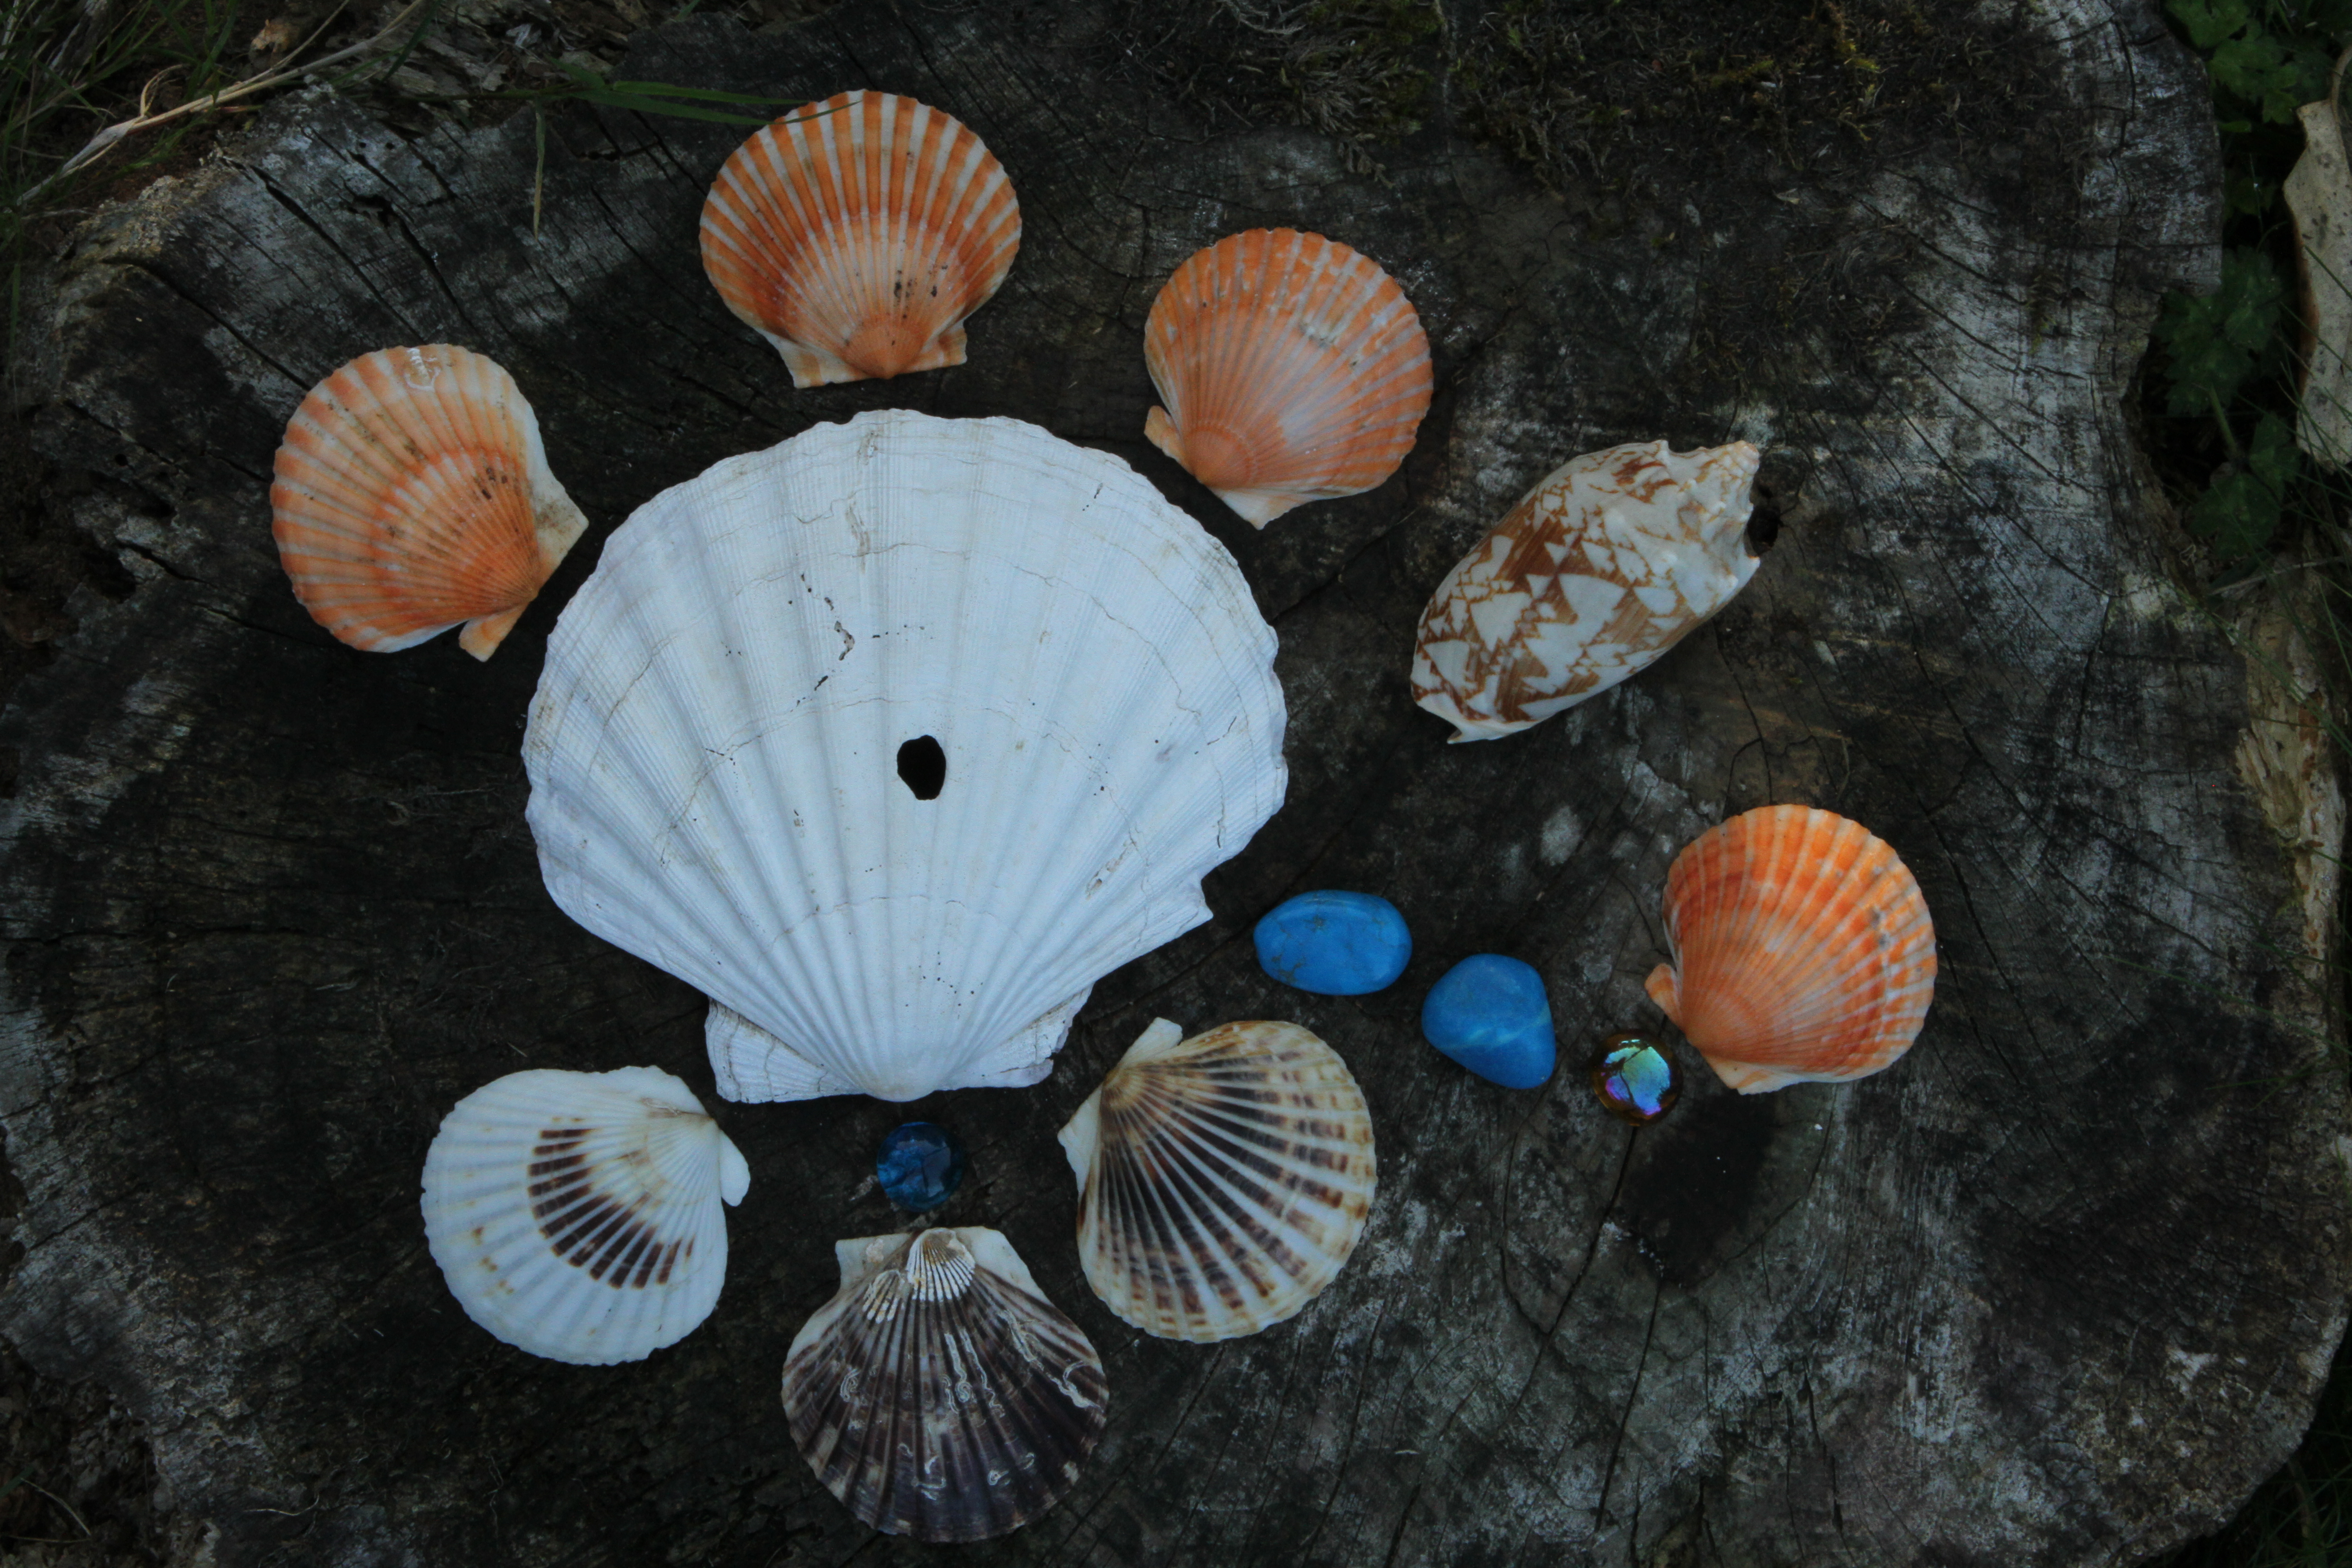
7. I used another blue stone and a glass pebble to create a ‘tail’ and then added another small shell on the lower left to balance the one on the upper right. A blue glass drop on top of the large shell creates a another point of interest to draw the eye back to the centre.

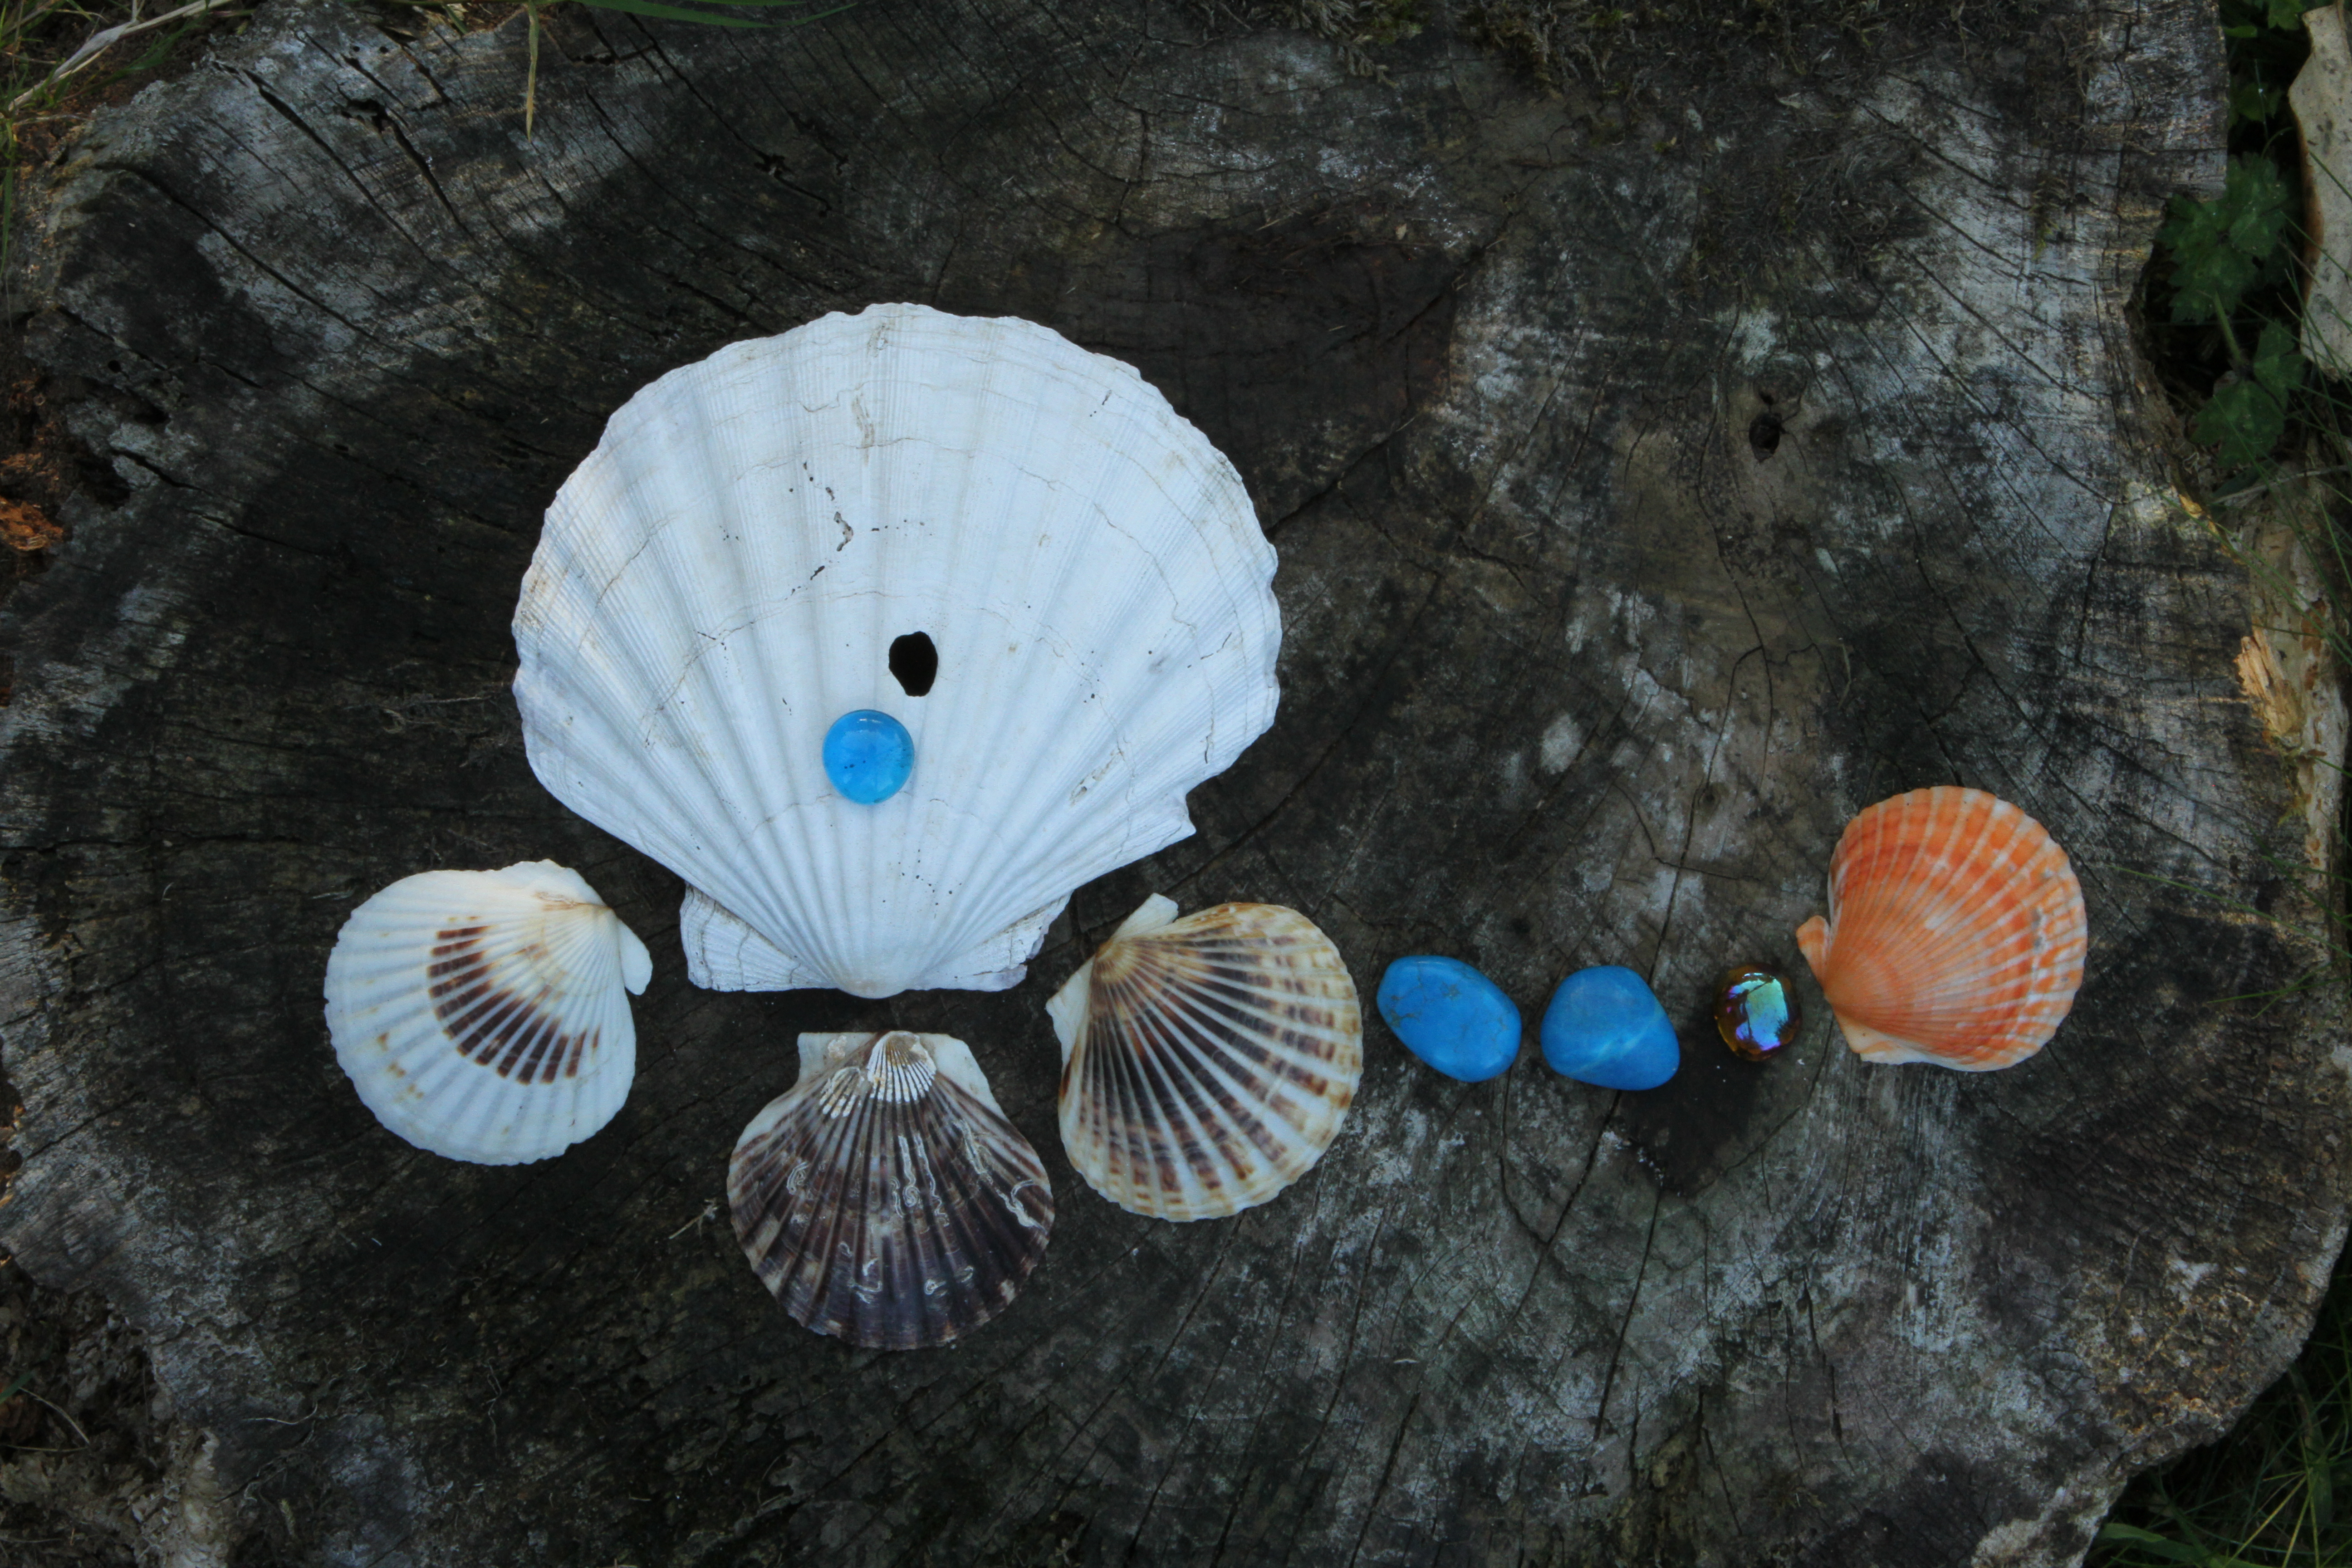
8. The addition of a reddish coloured shell at the end of the ‘tail’ adds an element of fun to the pattern.
9. The removal of the two cone shells and the movement of the top smaller scallop shell to the left hand side produced a more balanced formation offset only by the ‘tail’. The image resembles a kite. I was tempted to leave it at that but decided to carry on to see where the design went.
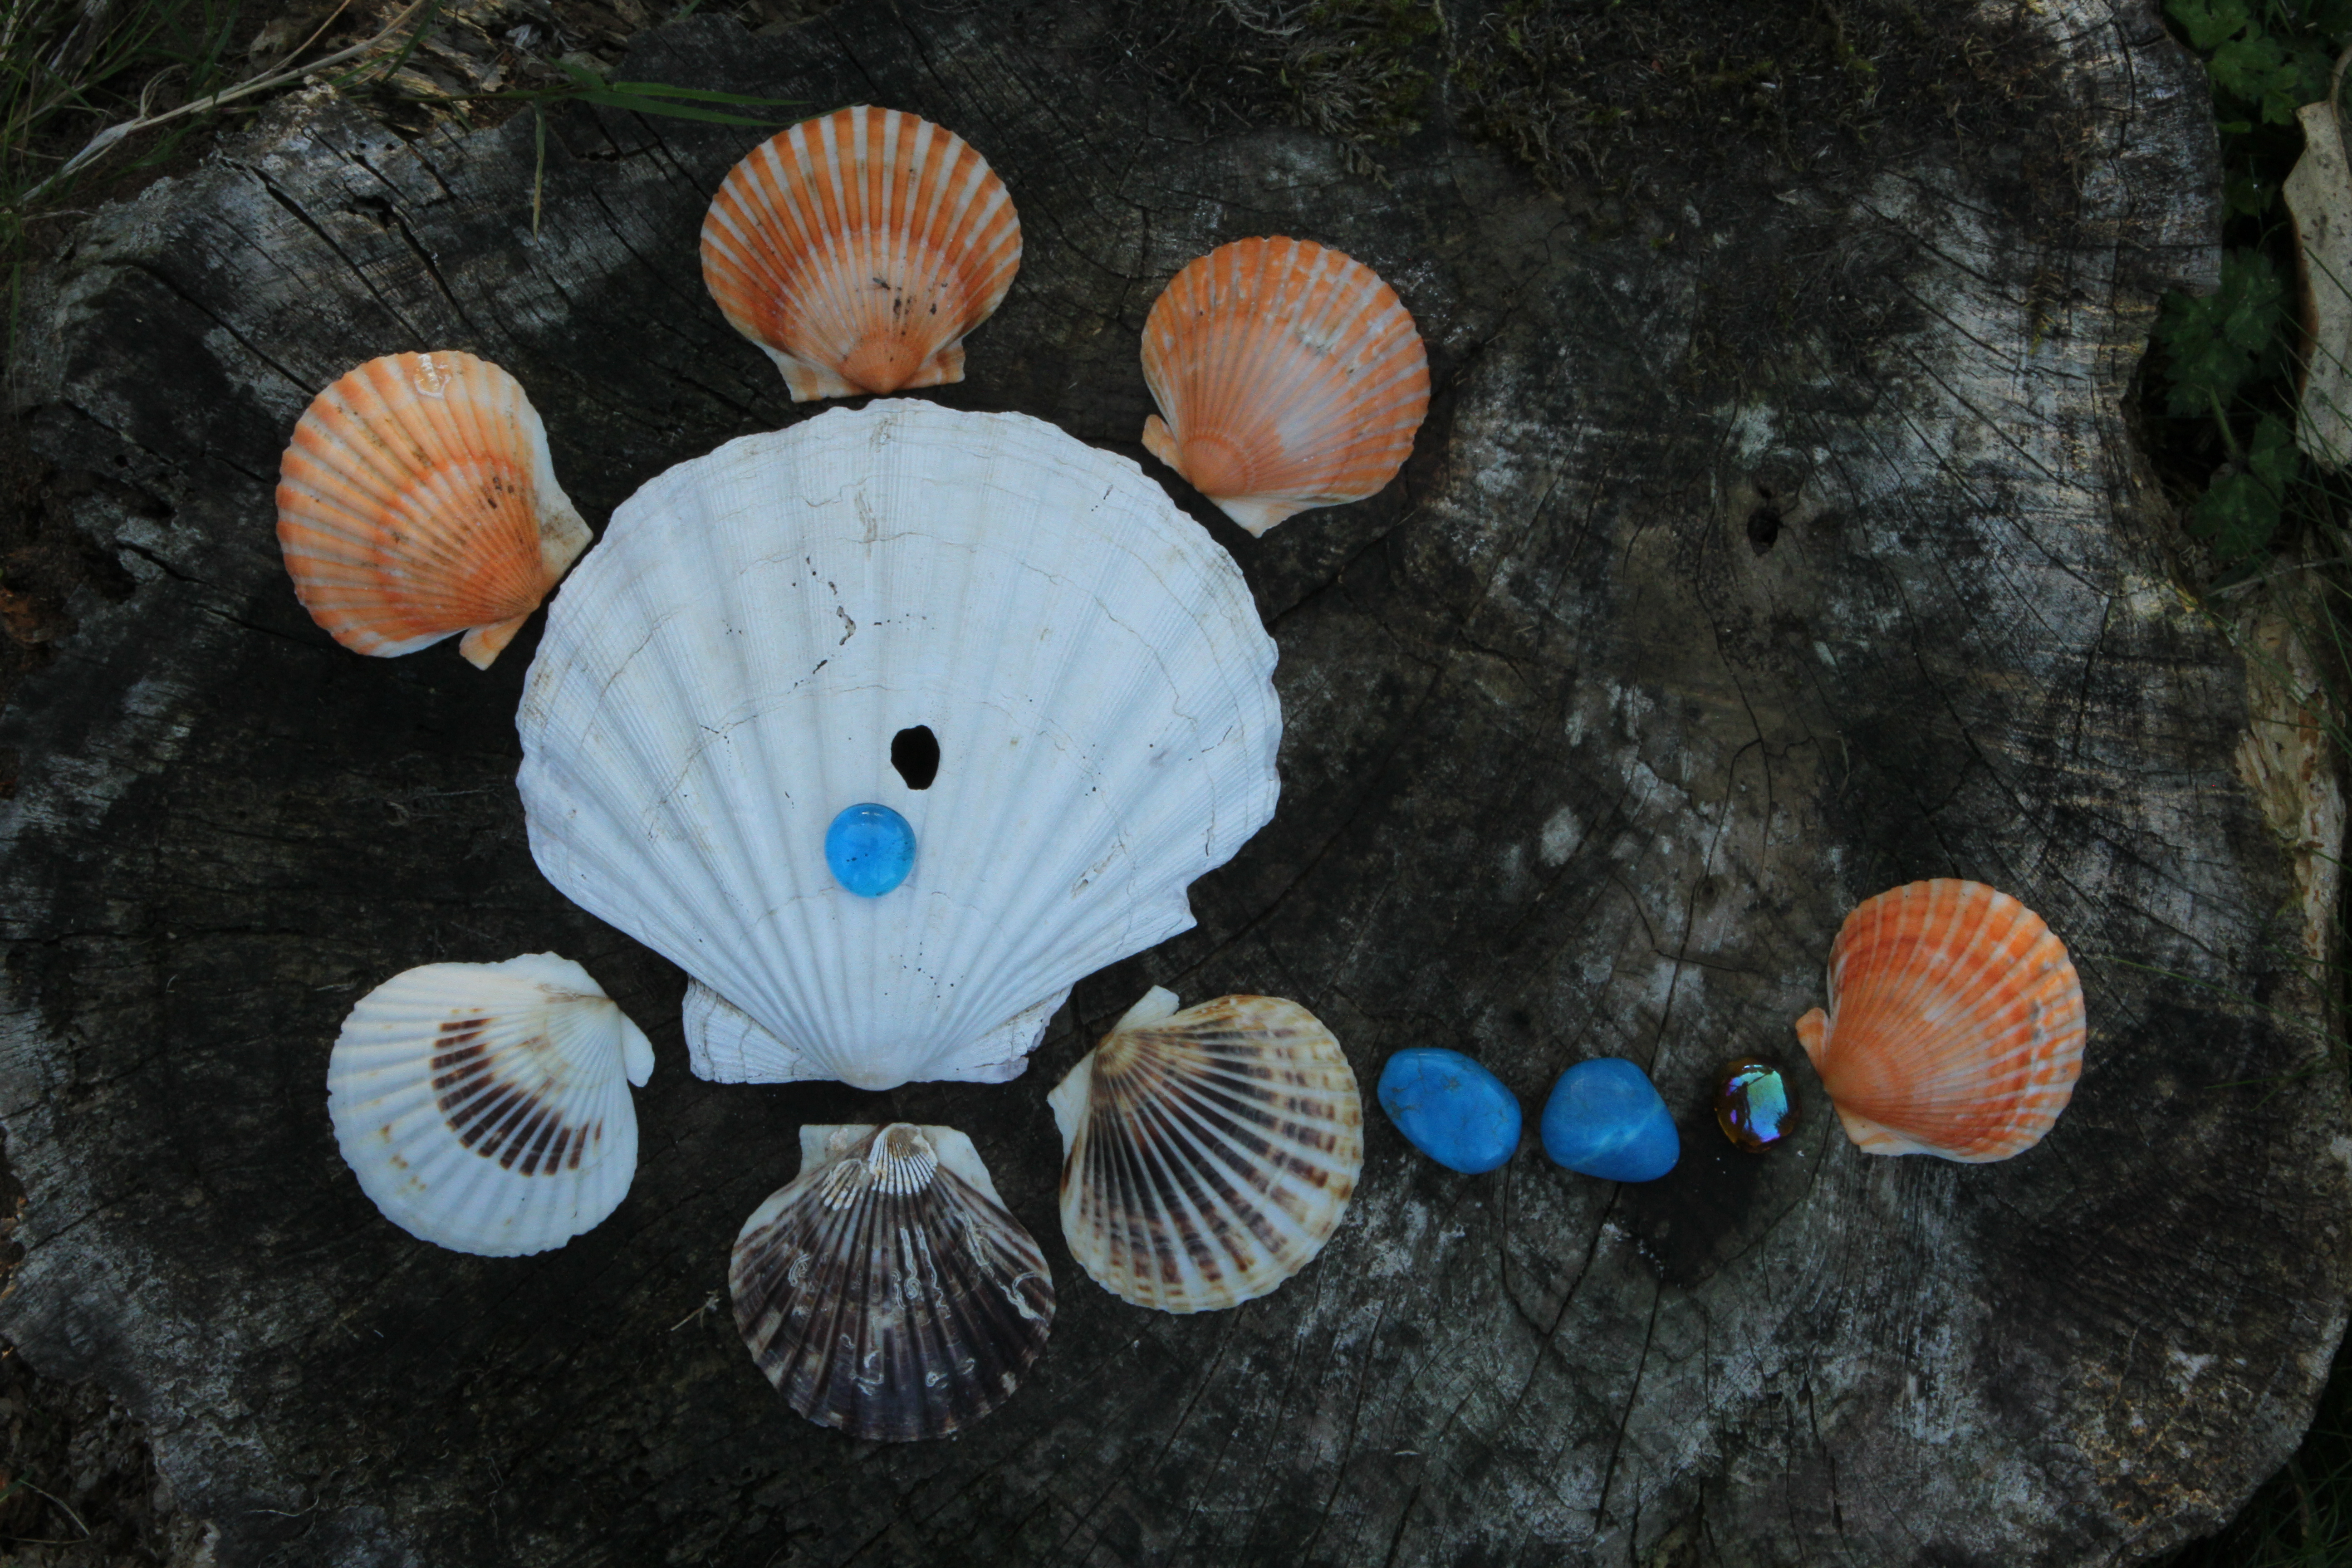
10. The addition of 3 further reddish scallop shells at the top produces a symmetry to the main design and an interesting counterpoint to the shell at the end of the ‘tail’.
11. The movement of the glass bead from the top of the large shell to the gap between the 3 lower small shells draws interest down lower. The eye is led upwards by the line of the 2 blue stones of the ‘tail’ and then down again to the moved blue glass bead.
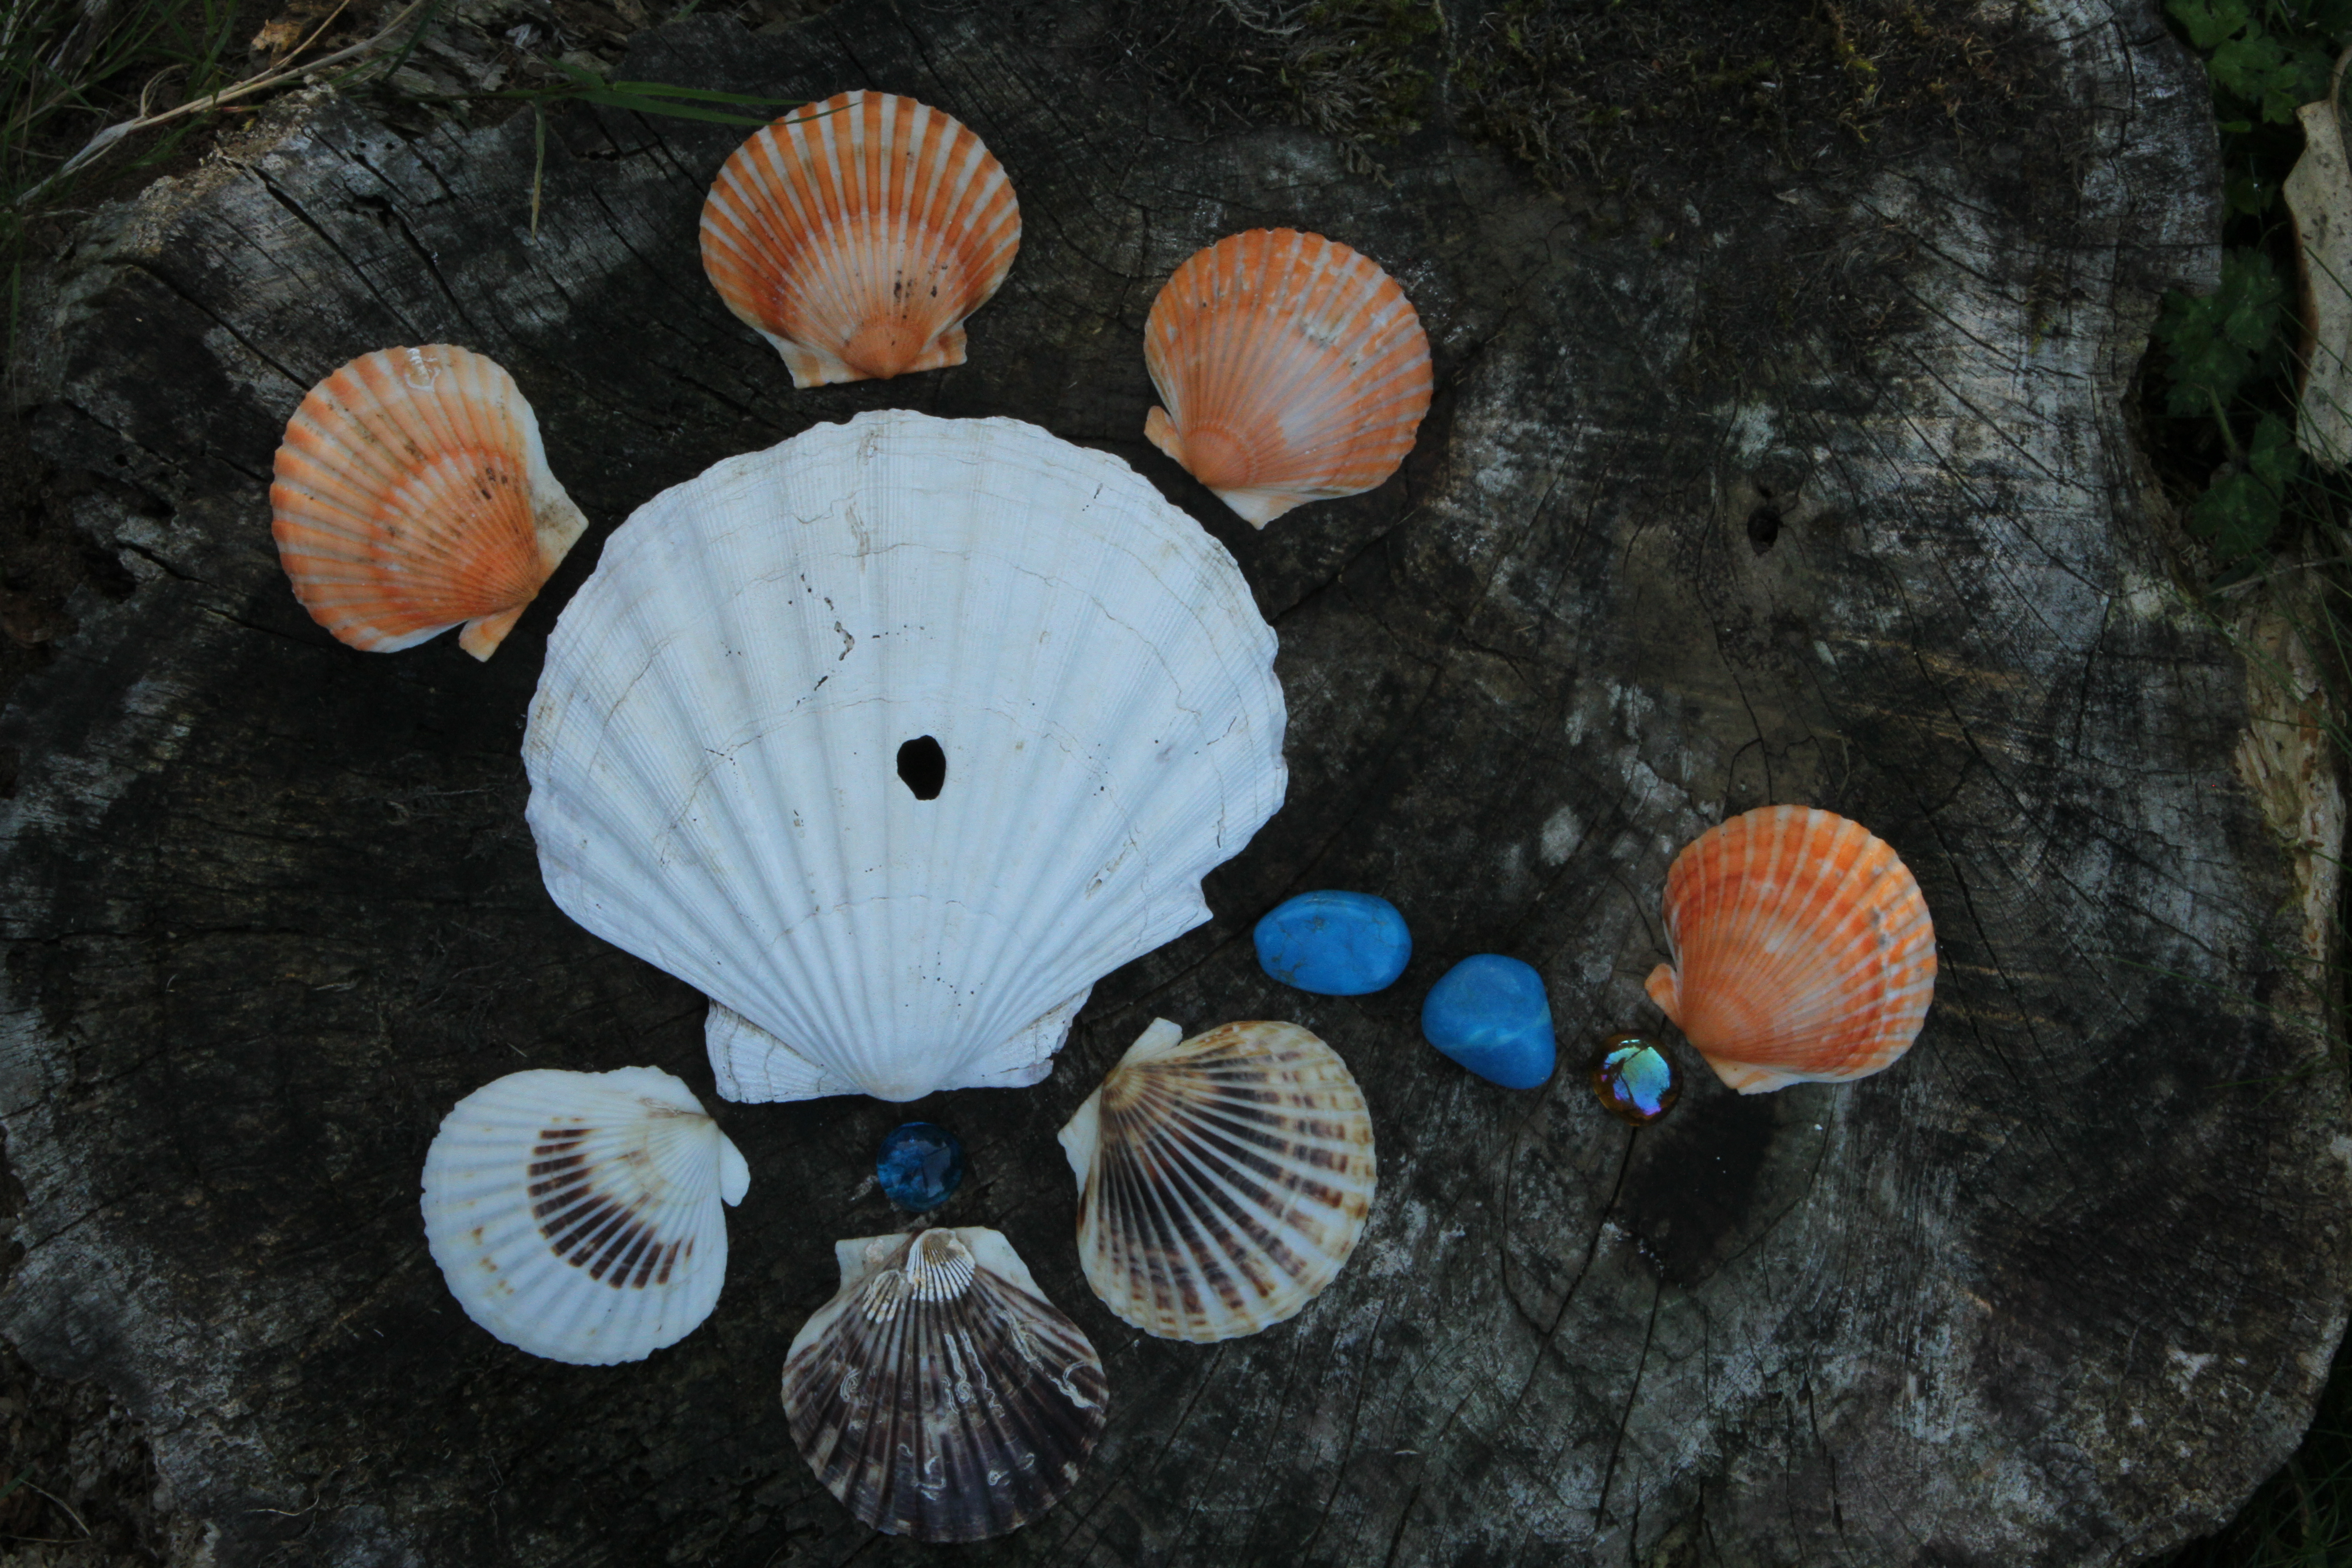
12. The cone shell placed towards the upper right removes the symmetry of the design and leaves the design unbalanced and ‘incomplete’.

13. Moving the cone shell further out from the centre adds to the sense of imbalance and incompleteness.
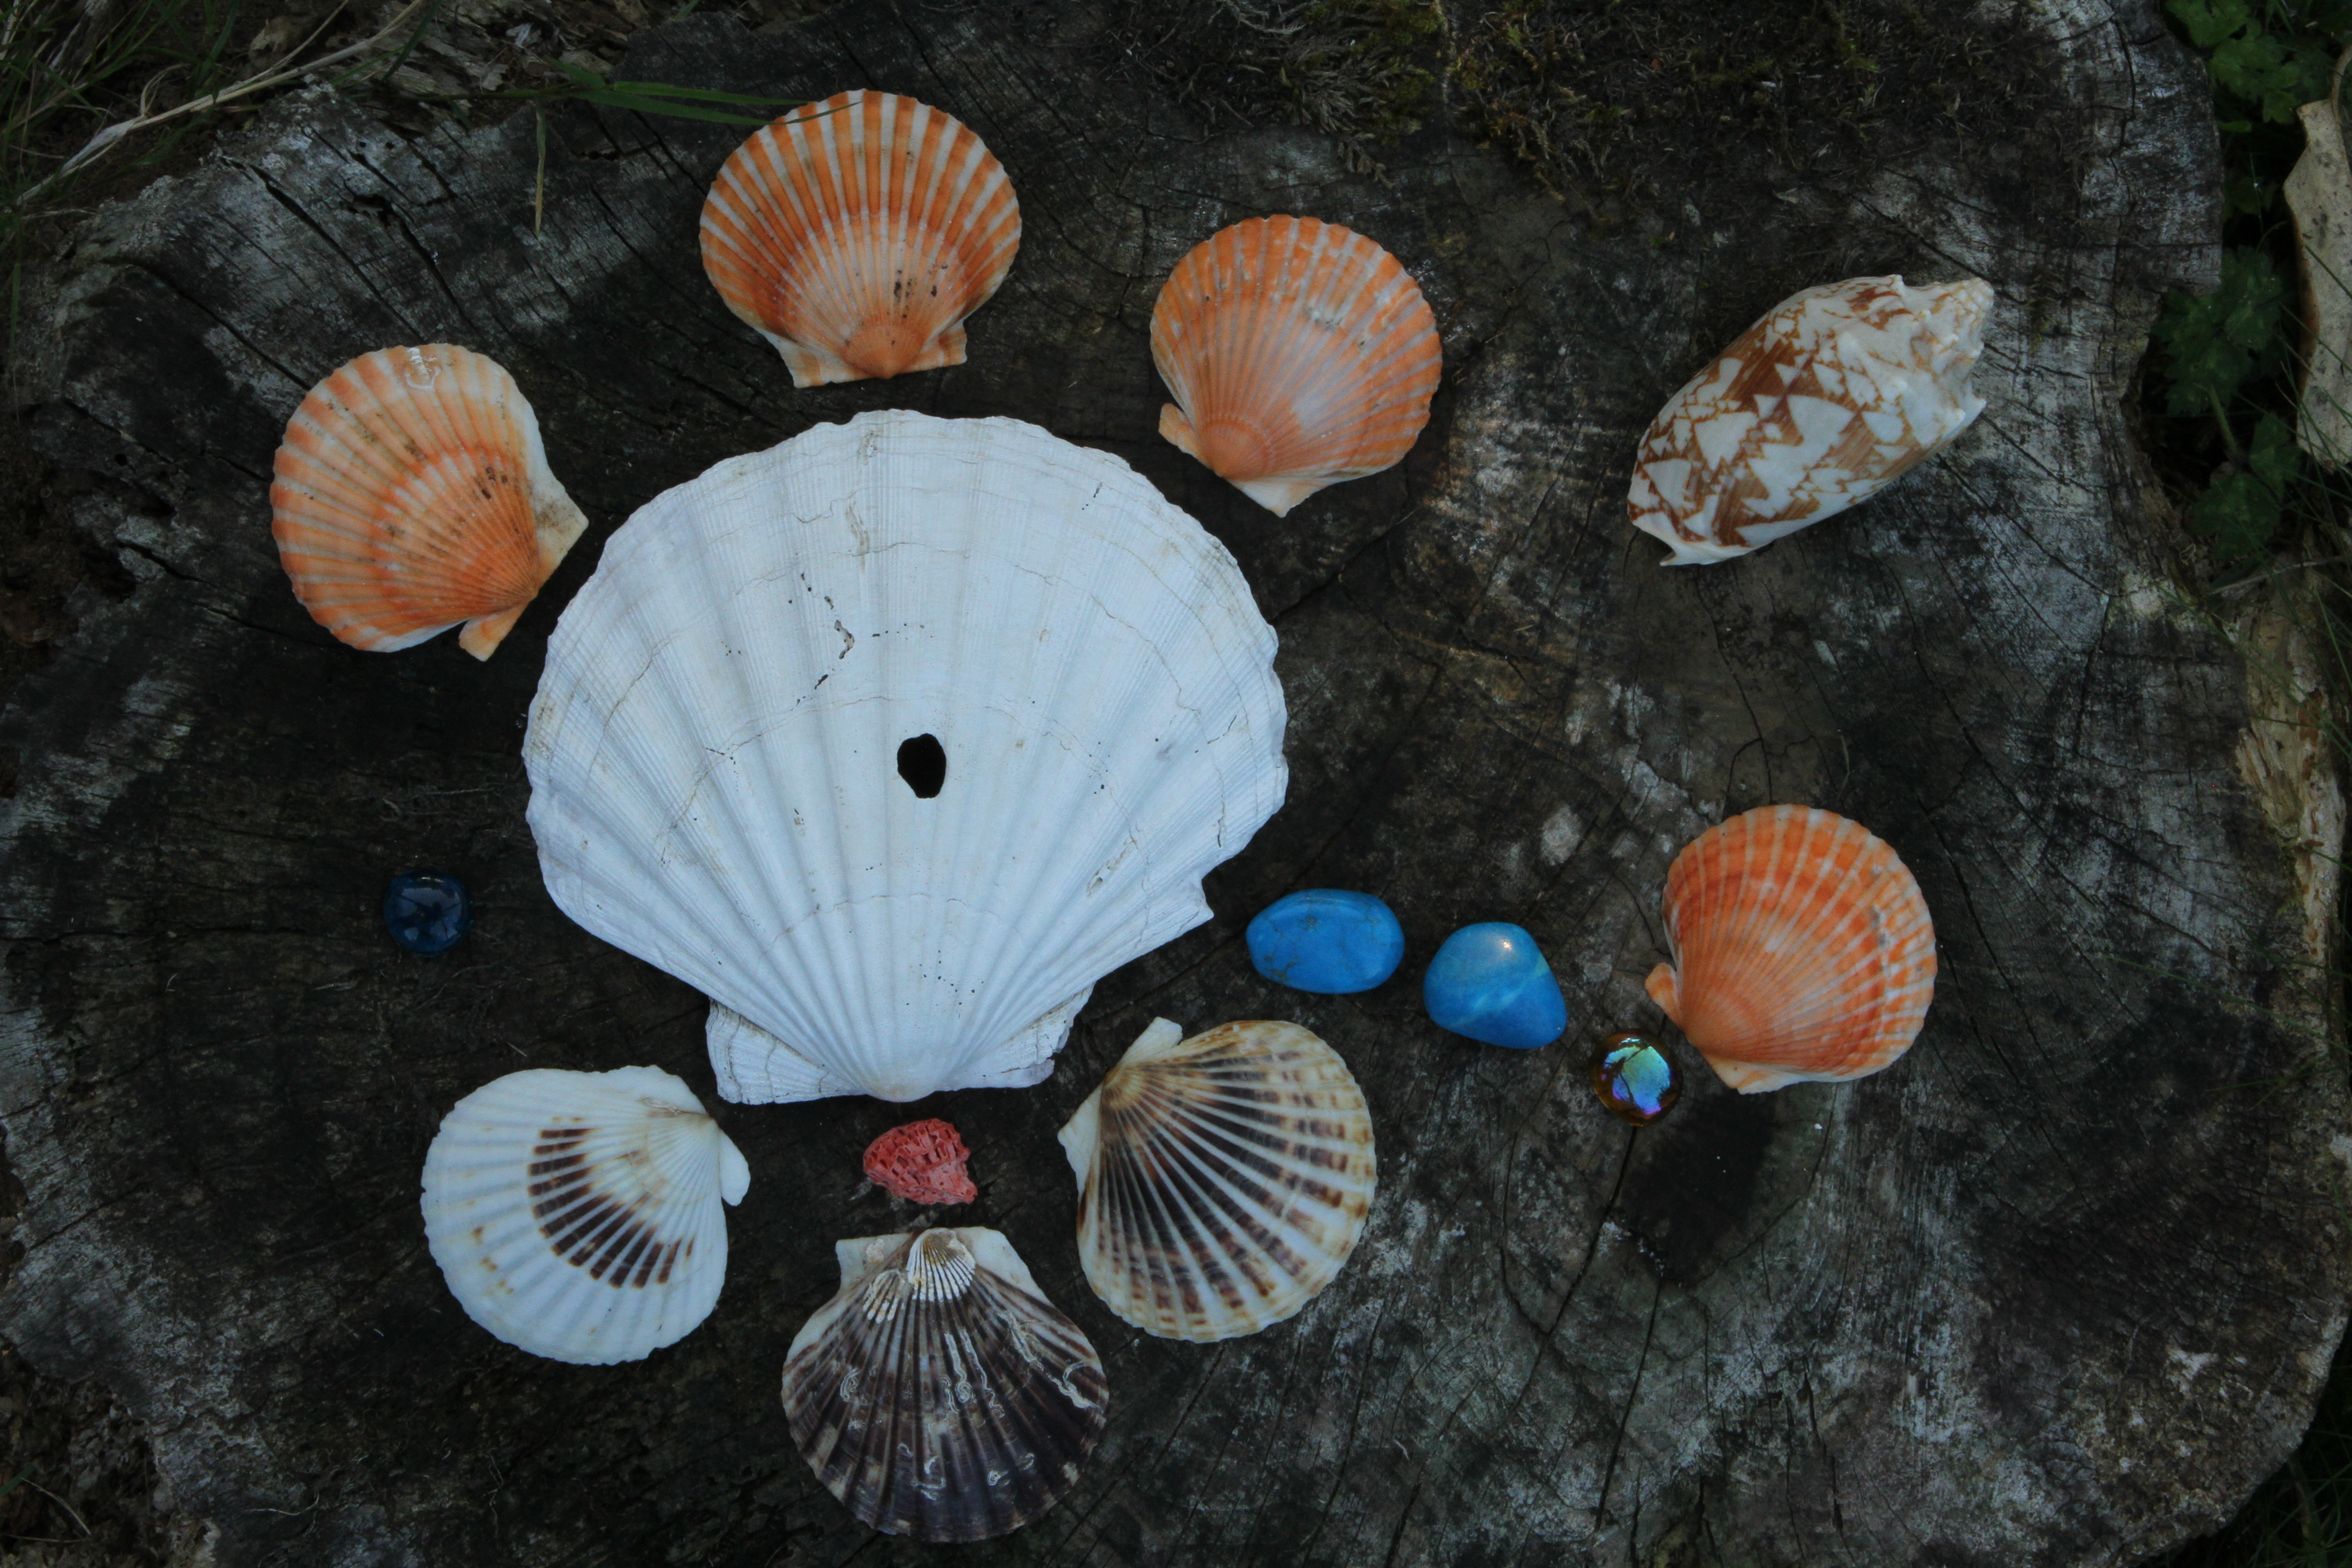
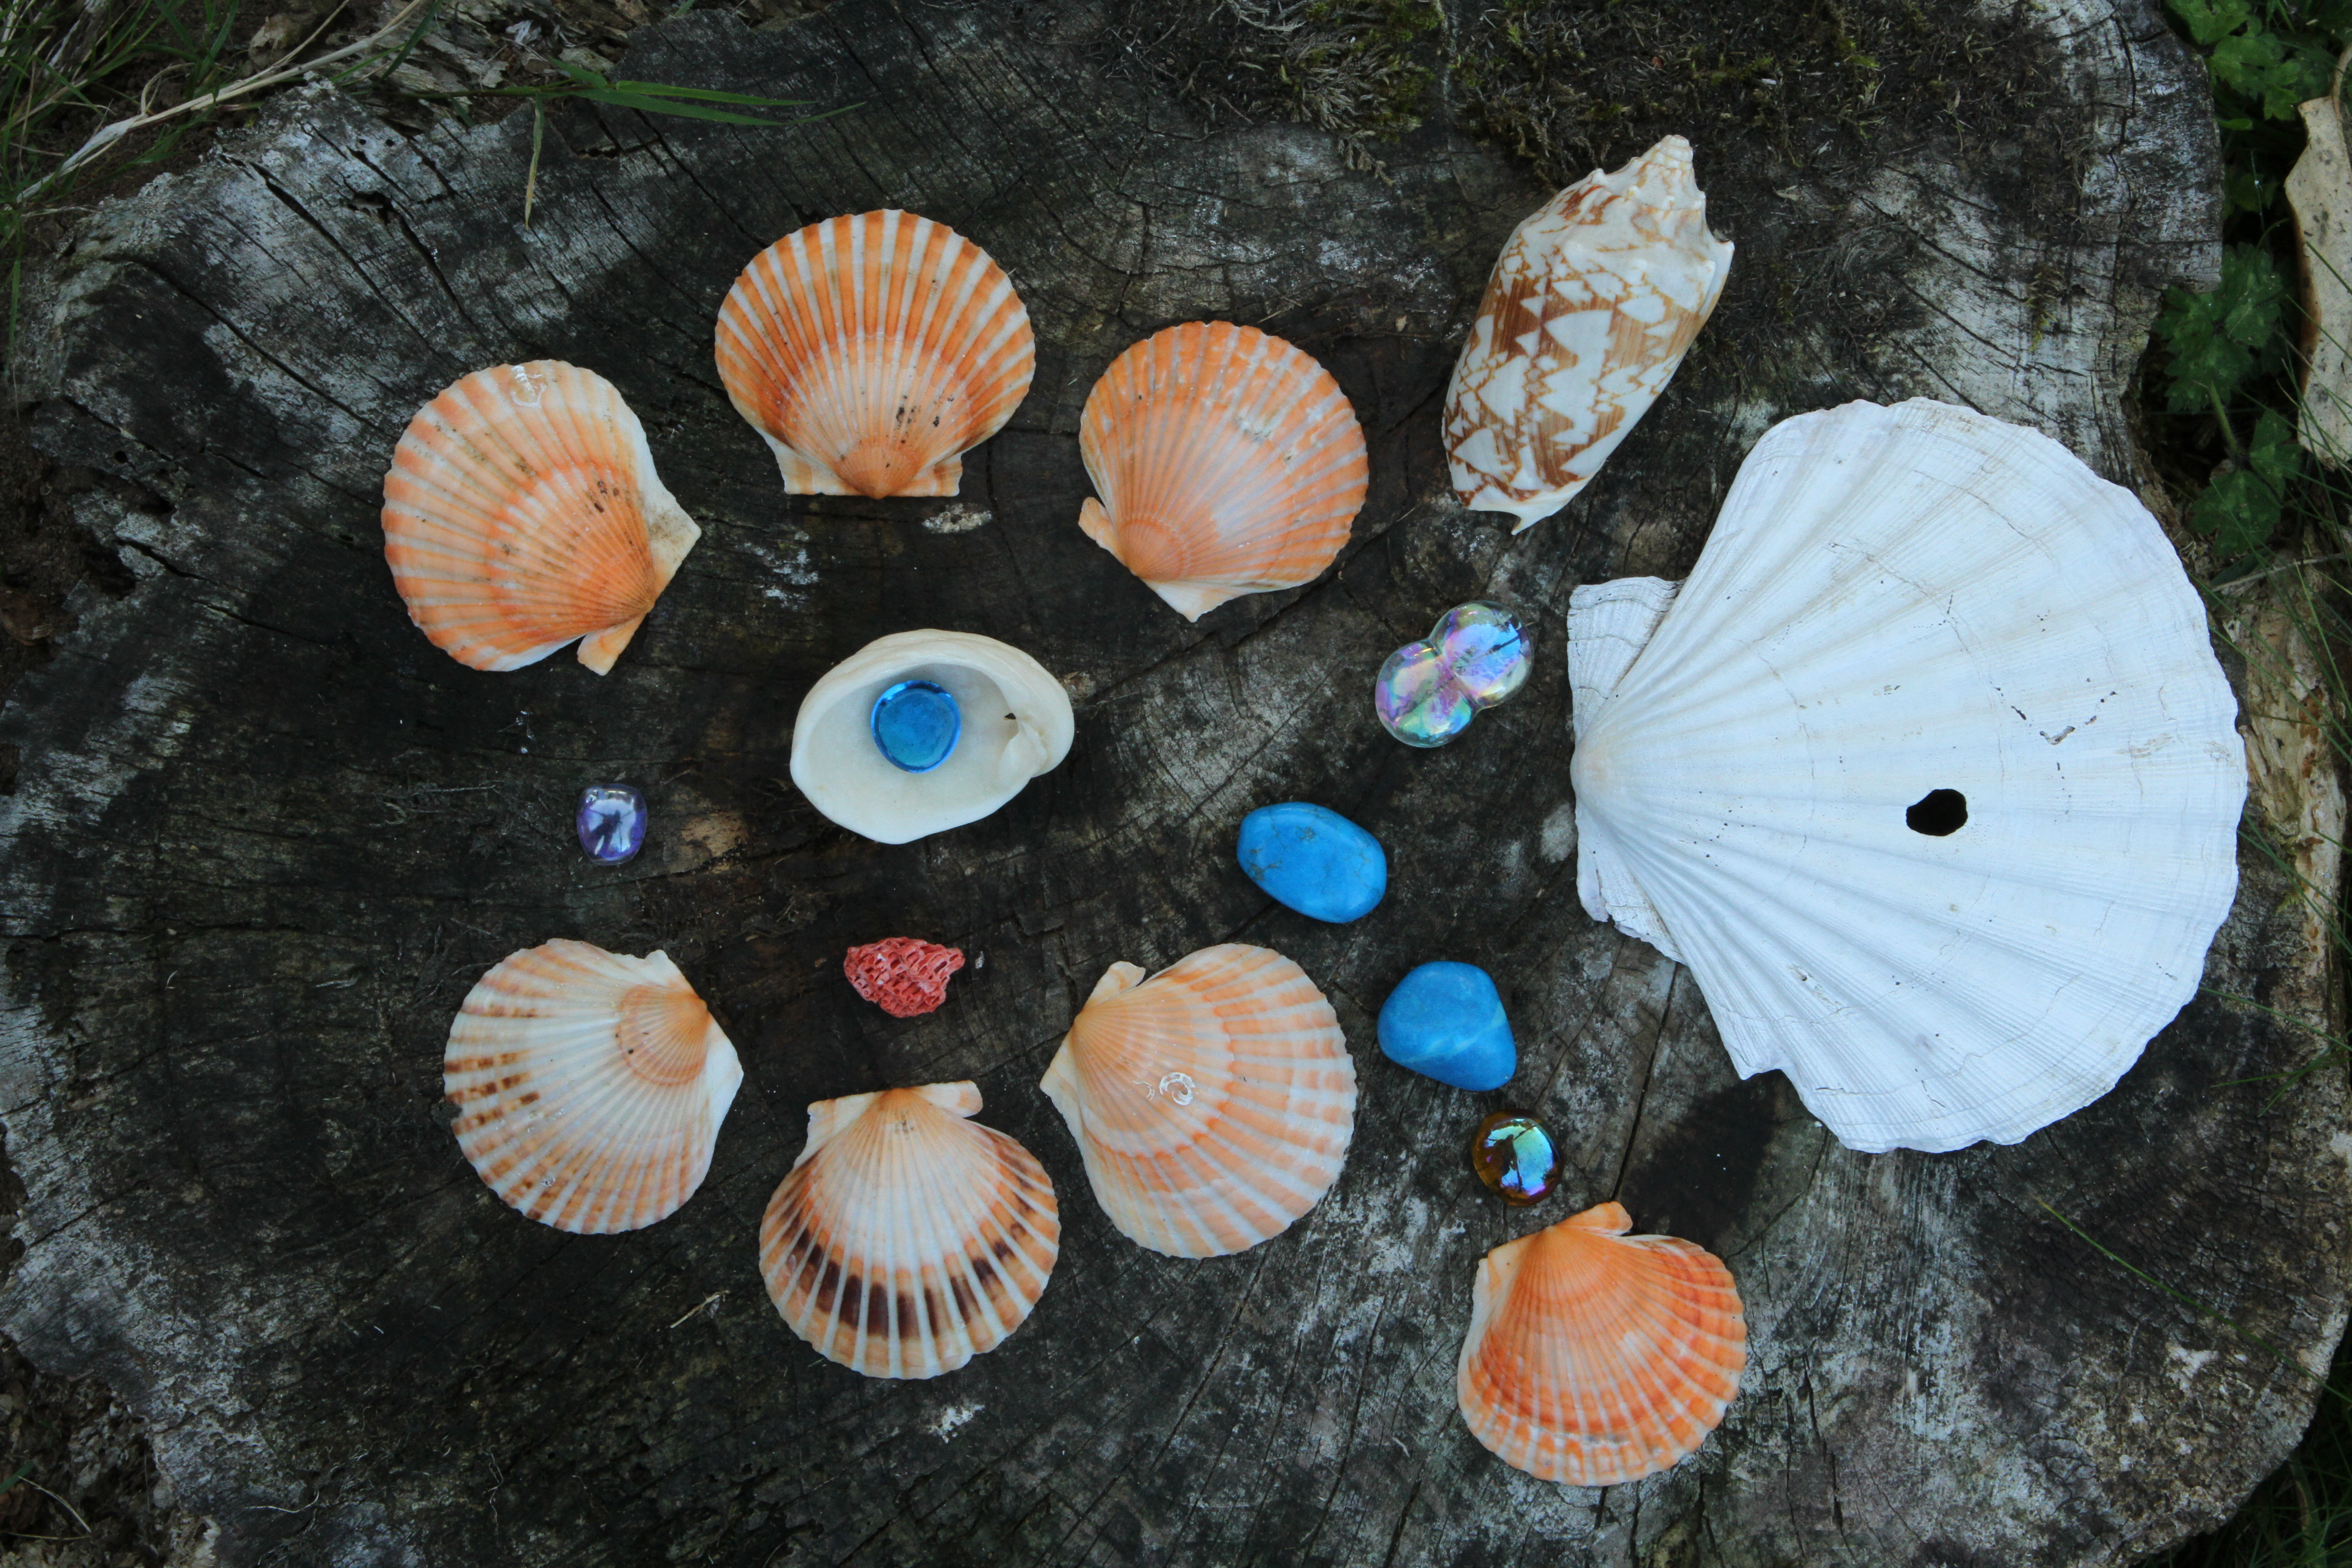
14. The movement of the blue glass drop to the left and its replacement by a piece of pink coral adds further interest and complexity and creates a ‘line’ between the three blue points across the image horizontally.
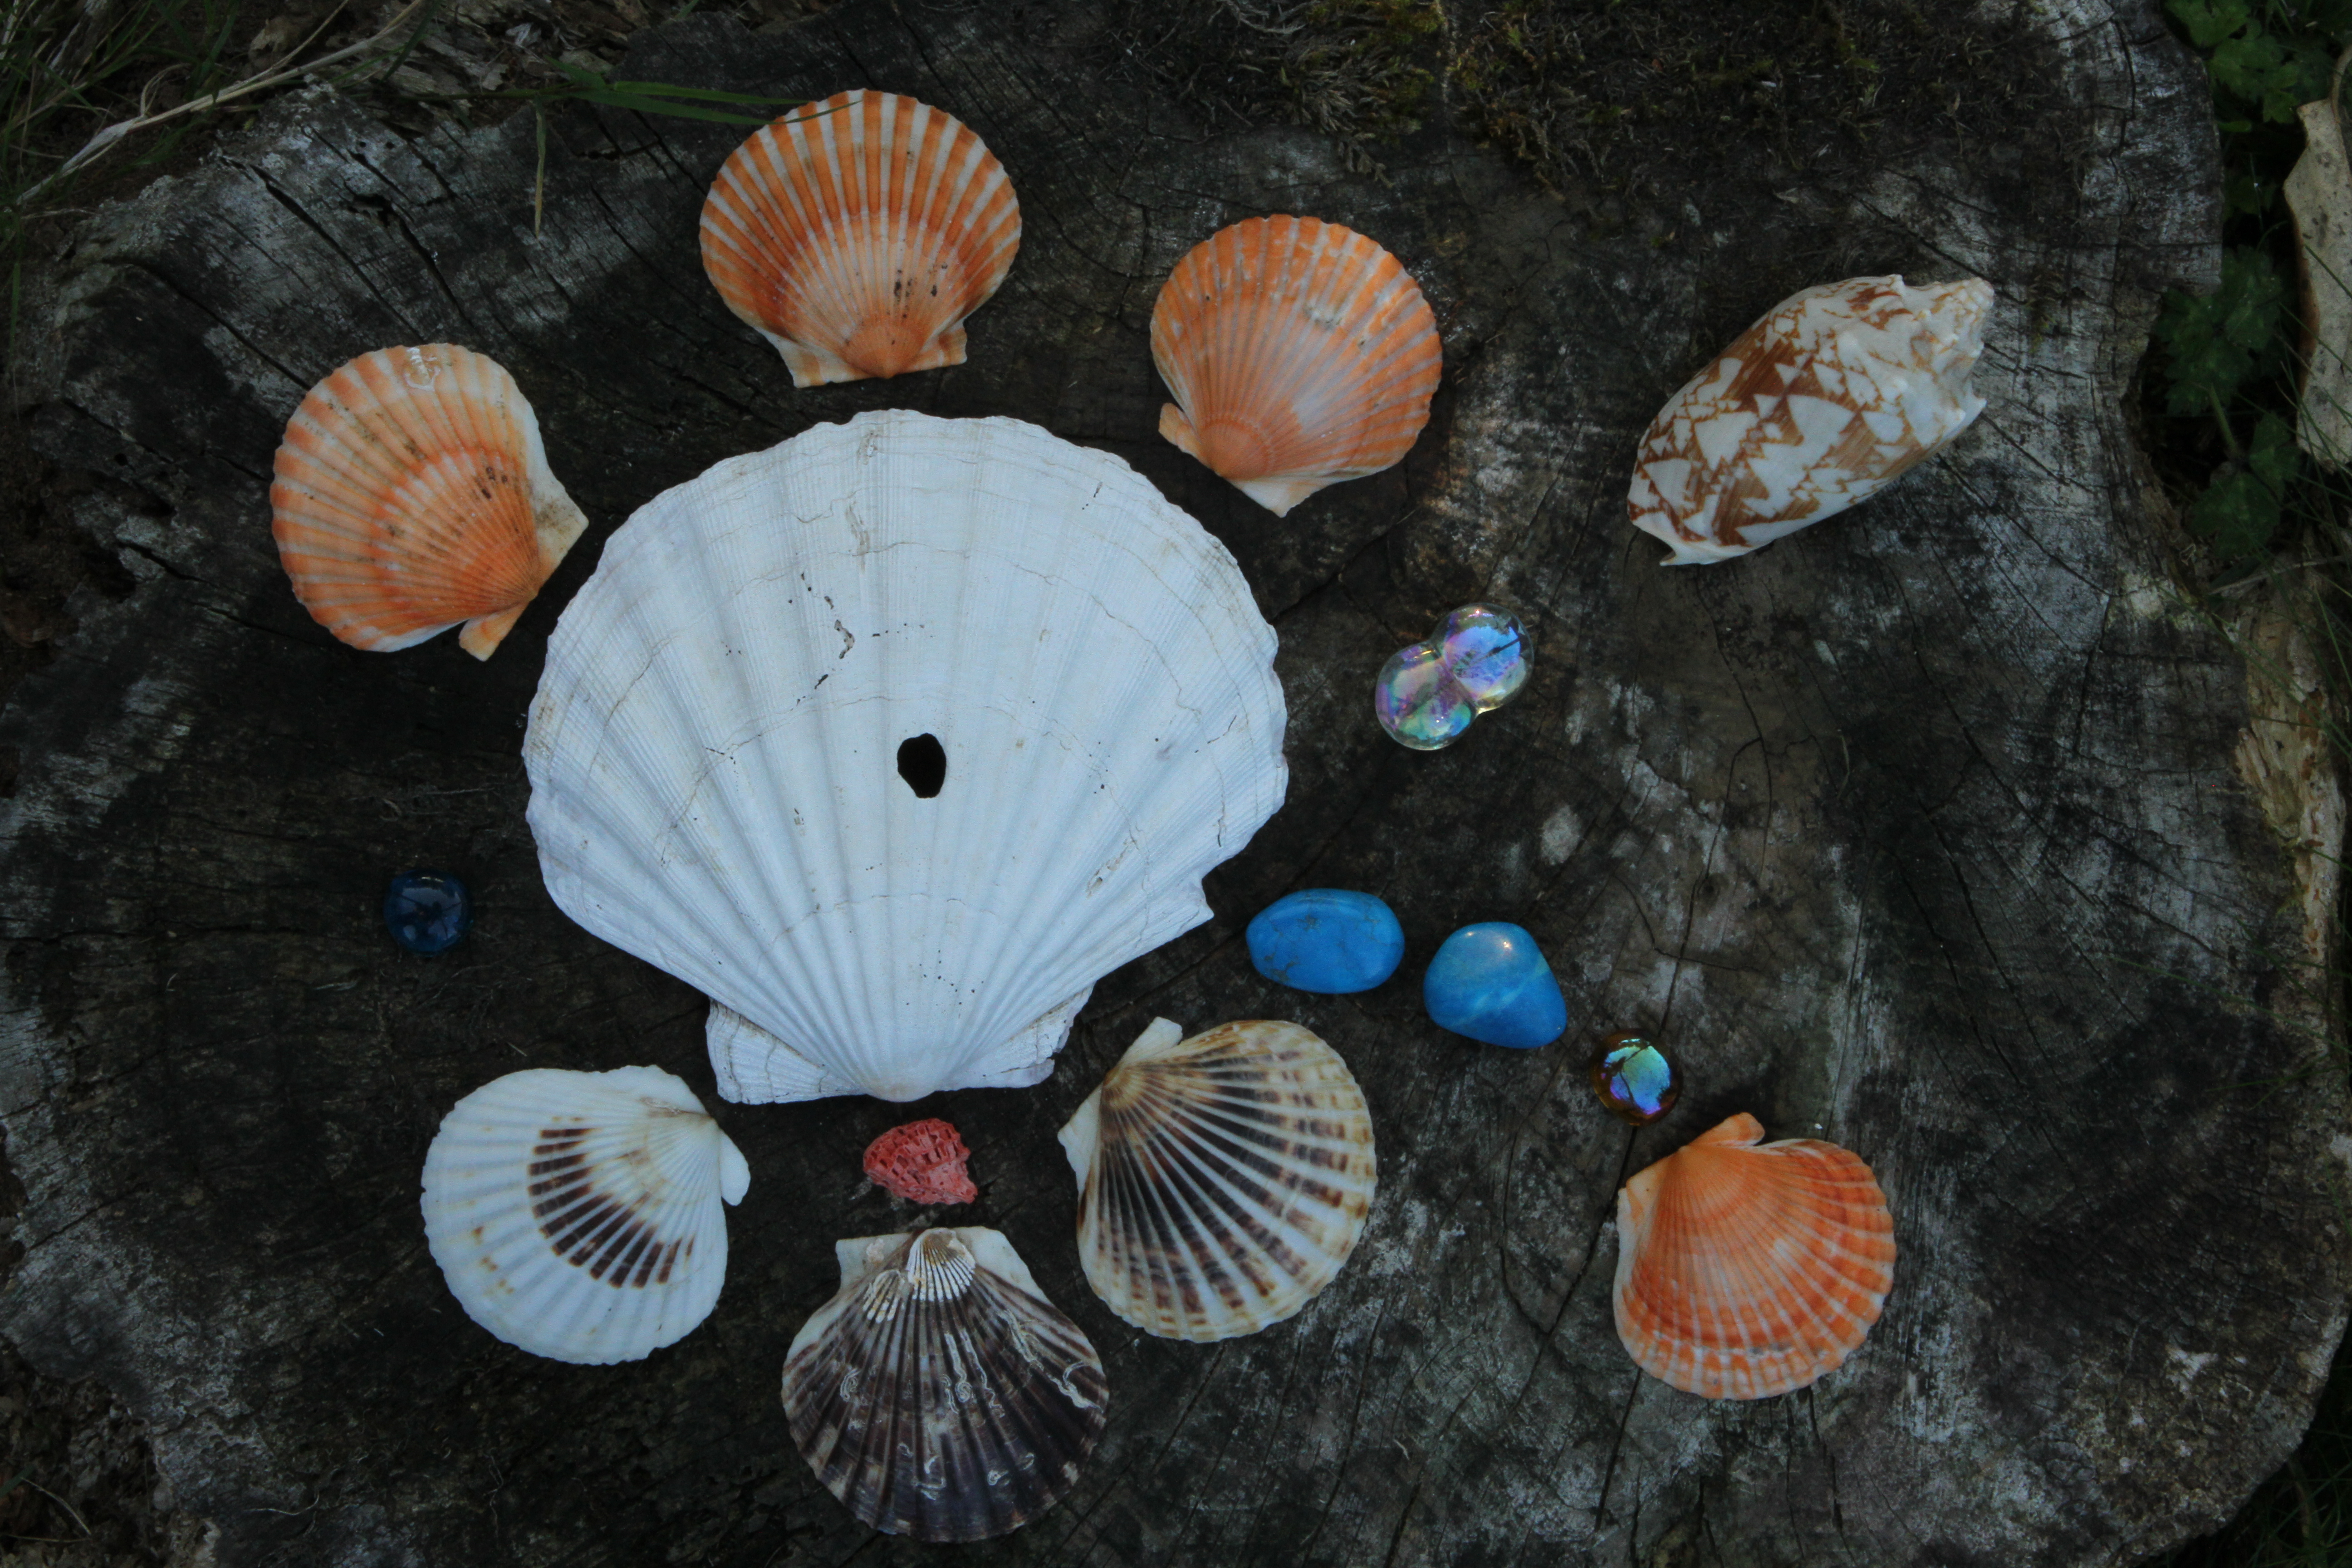
15. This complexity of design is increased by the addition of a piece of opalescent glass between the cone shall and the large scallop shell.
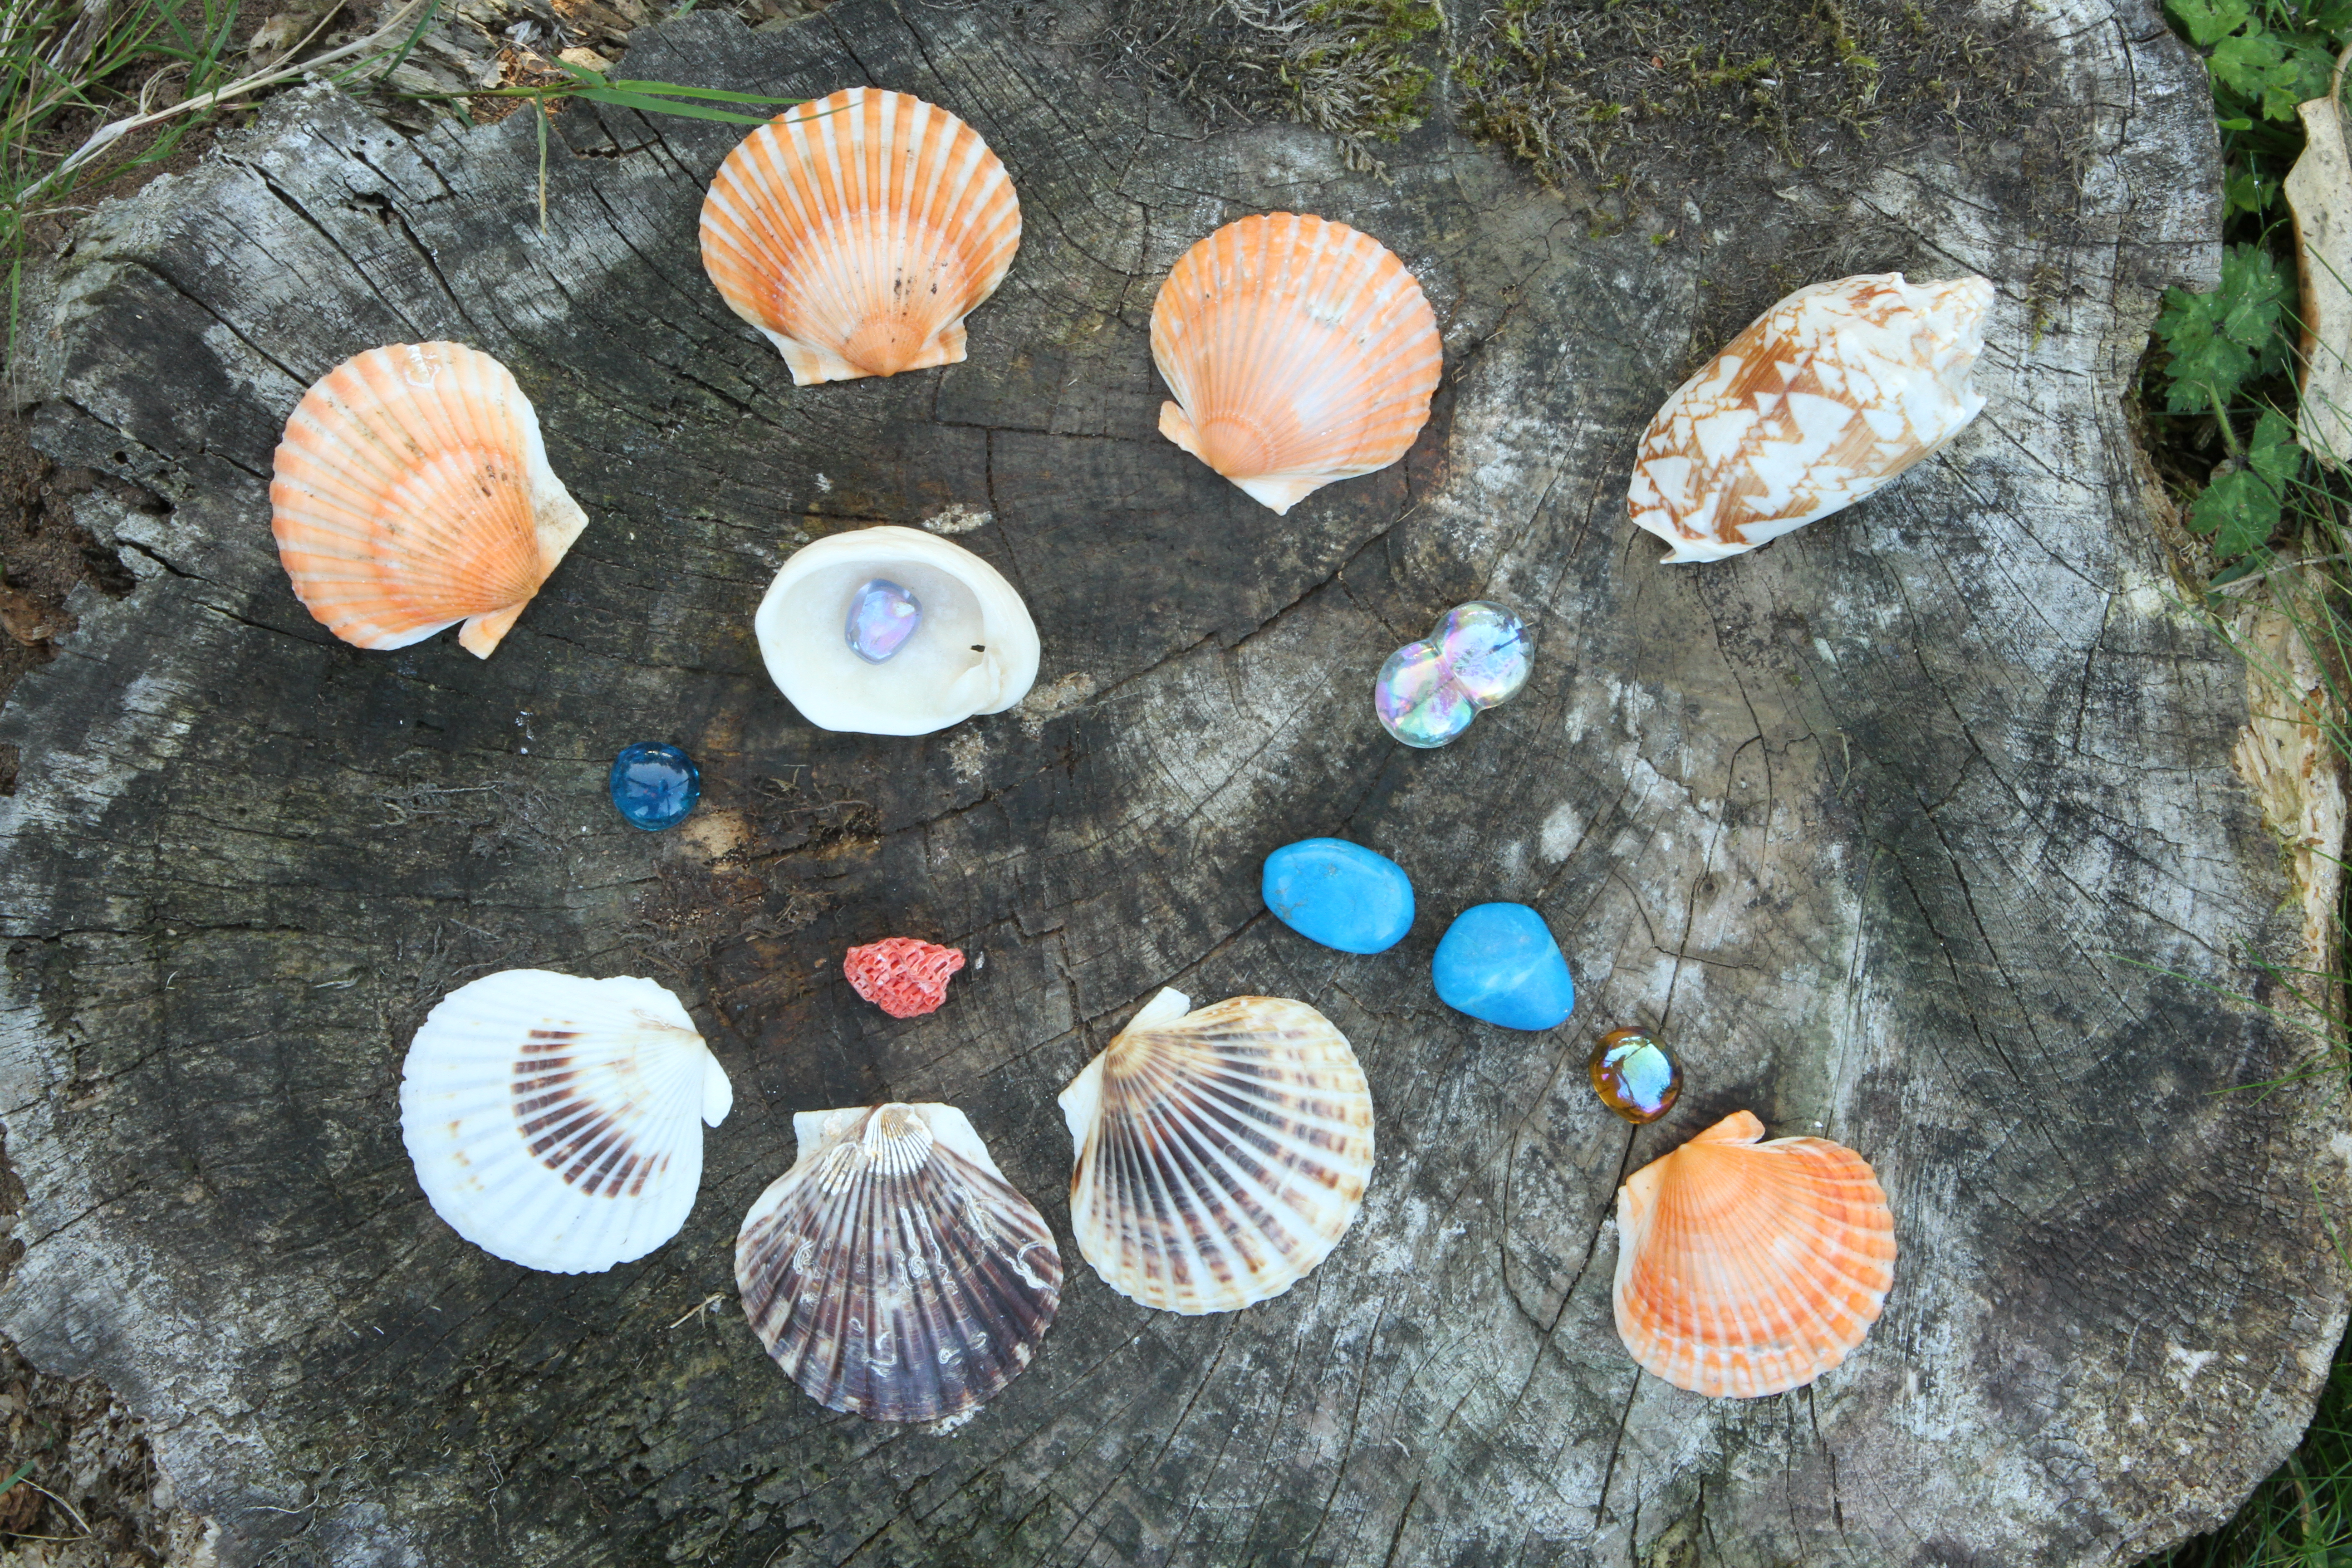
16. Because I felt that the large scallop shell in the centre rather dominated the pattern, I replaced it with a smaller shell with a glass drop to highlight it.
17. As an experiment I placed the large scallop shell off to the right of the design and swapped two of the glass drops which created an interesting change of balance with the solidity of the large shell providing a contrast with the open space created by the circle of smaller scallop shells. I also replaced the three lower light coloured small scallop shells with three reddish ones and this created a more harmonious effect matching the three at the top. The one with the dark band was placed in the centre of the three intentionally to produce some element of symmetry.

18. I then replaced the glass bead below the cone shell with a blue stone, a change which seemed to complete the design.
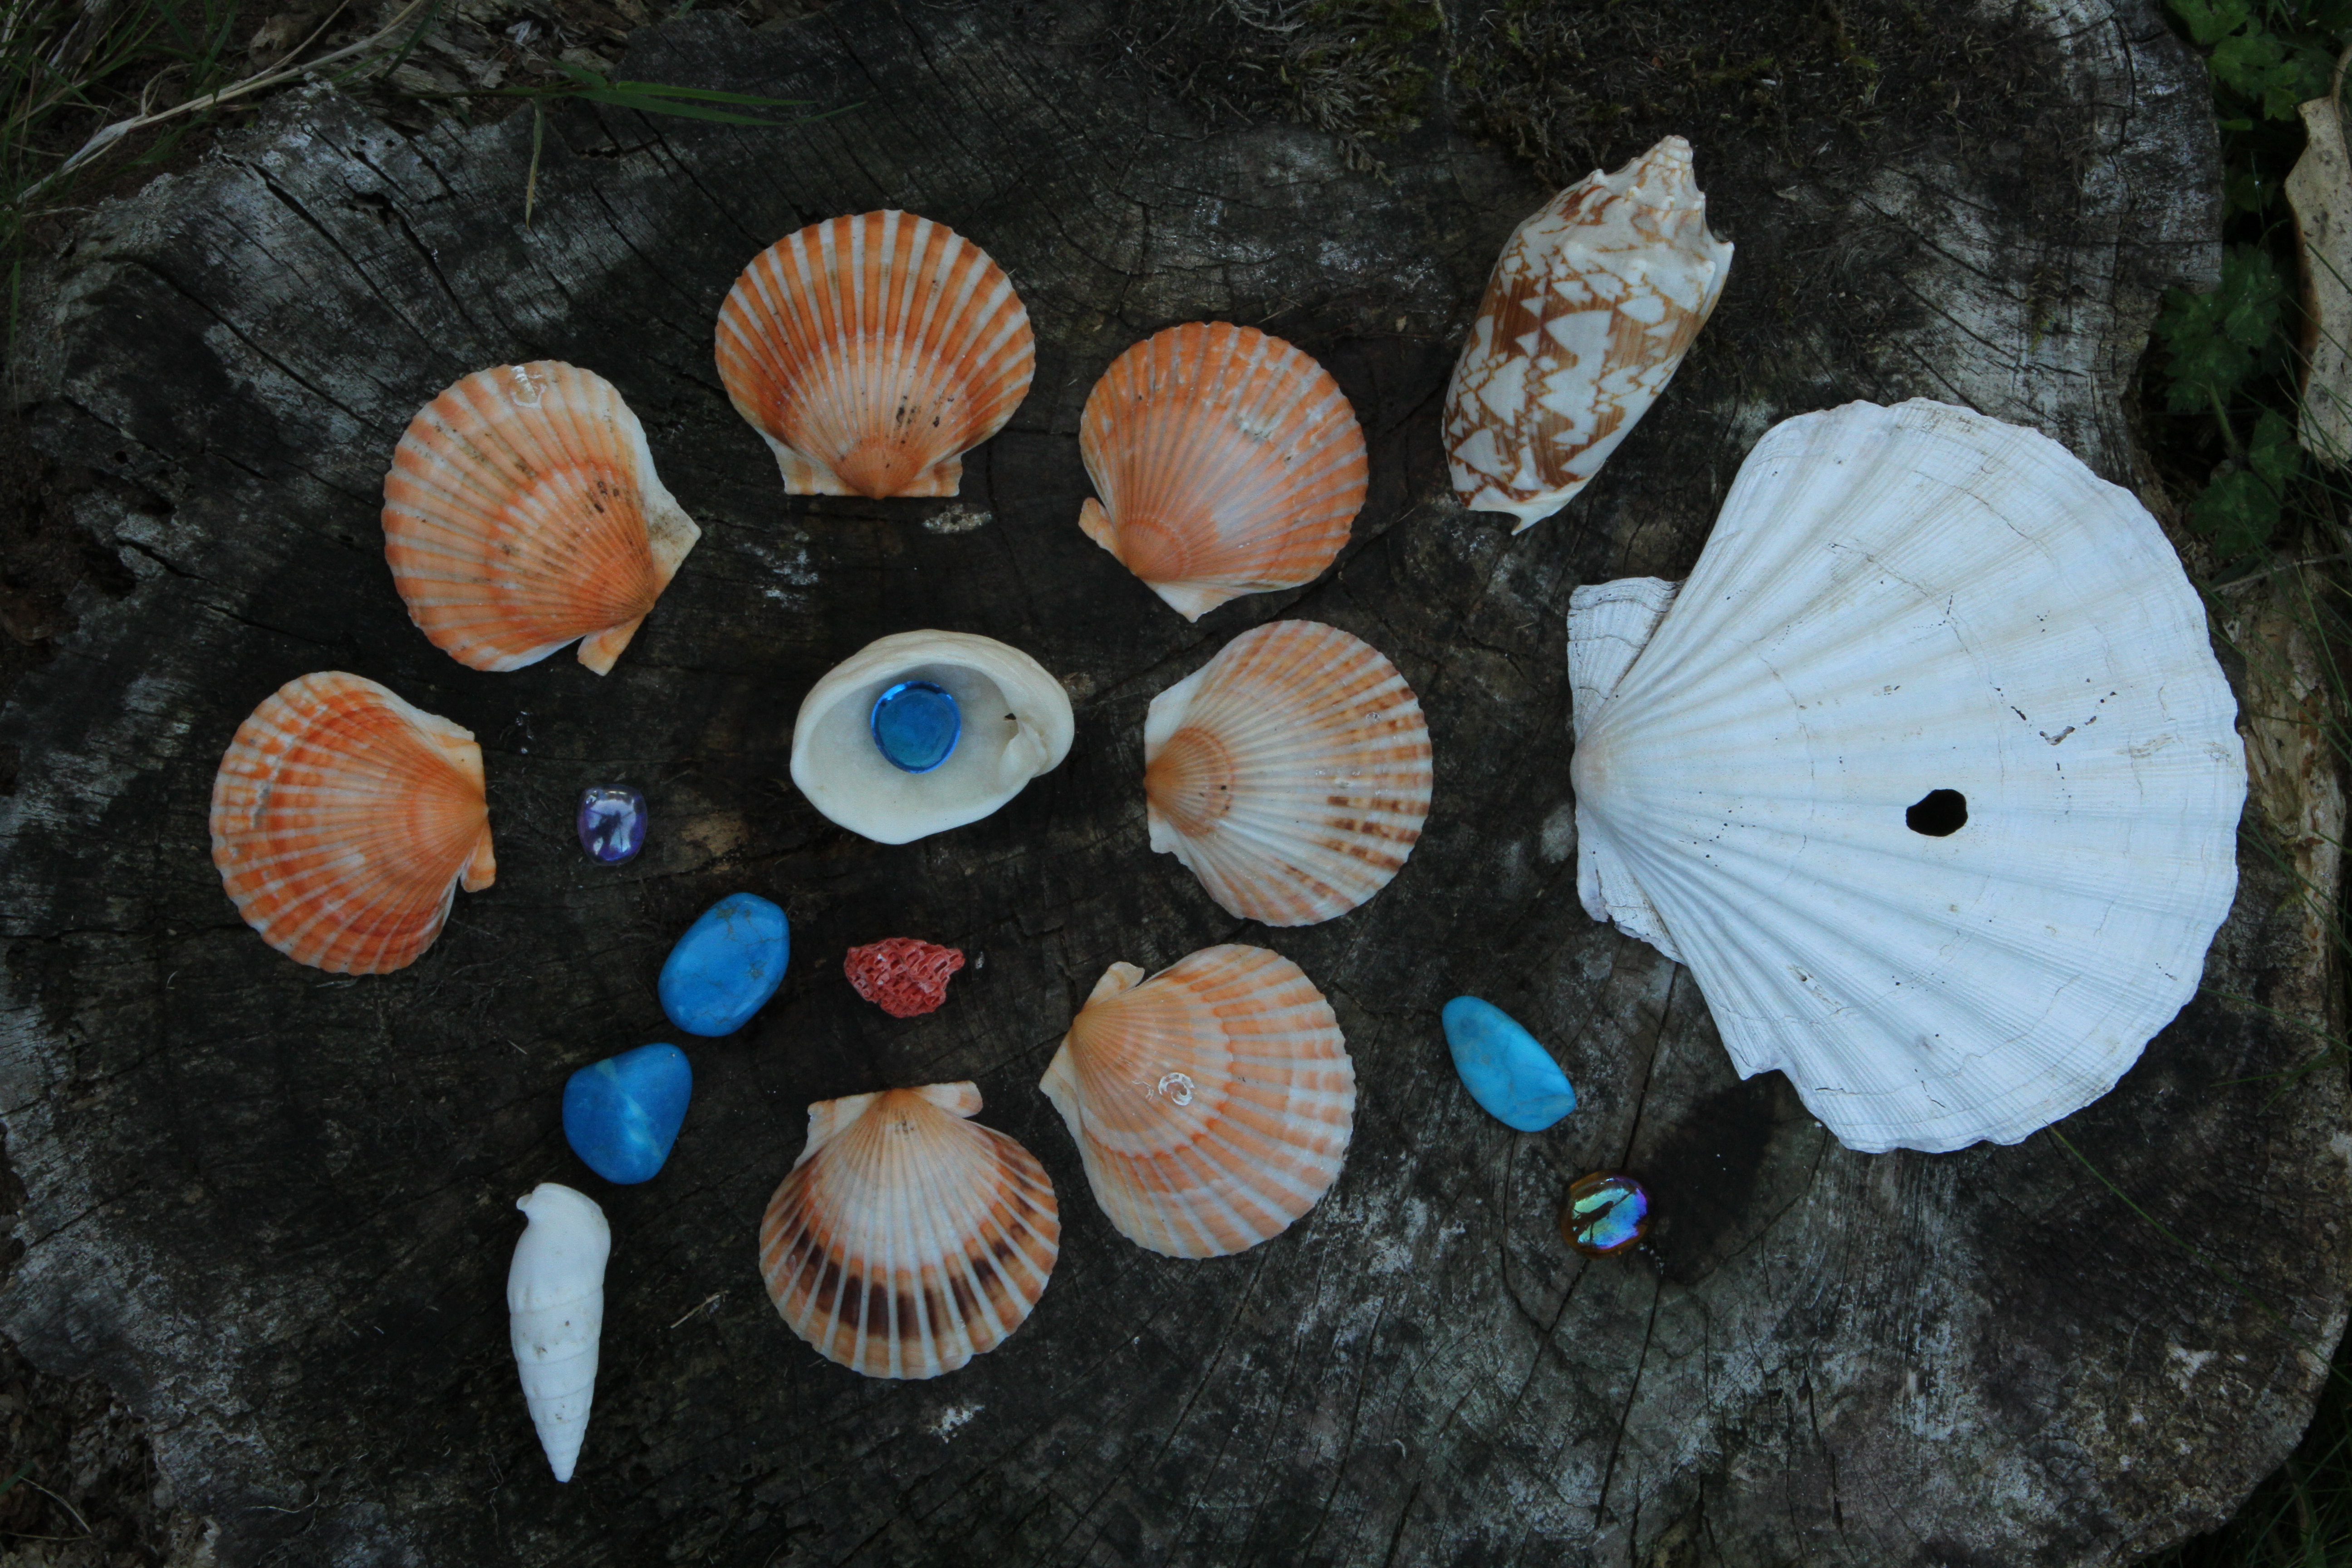
19. Although I thought that the design might not usefully be changed again, on a whim I rearranged the ring of small scallop shells, moved the two blue stones of the ‘tail’ over to the left and replaced the scallop shell end with a white cone shell. This created an interesting and successful counterpoint to the large white scallop shell on the right. Moving the blue stone from below the larger cone shell to where the ‘tail’ had been also created a counterpoint to the ‘tail’ on the other side.

20. I transferred the two blue pieces on the right with the larger cone shell so that instead of the eye being lead back down, the movement is diagonally upwards through the design.
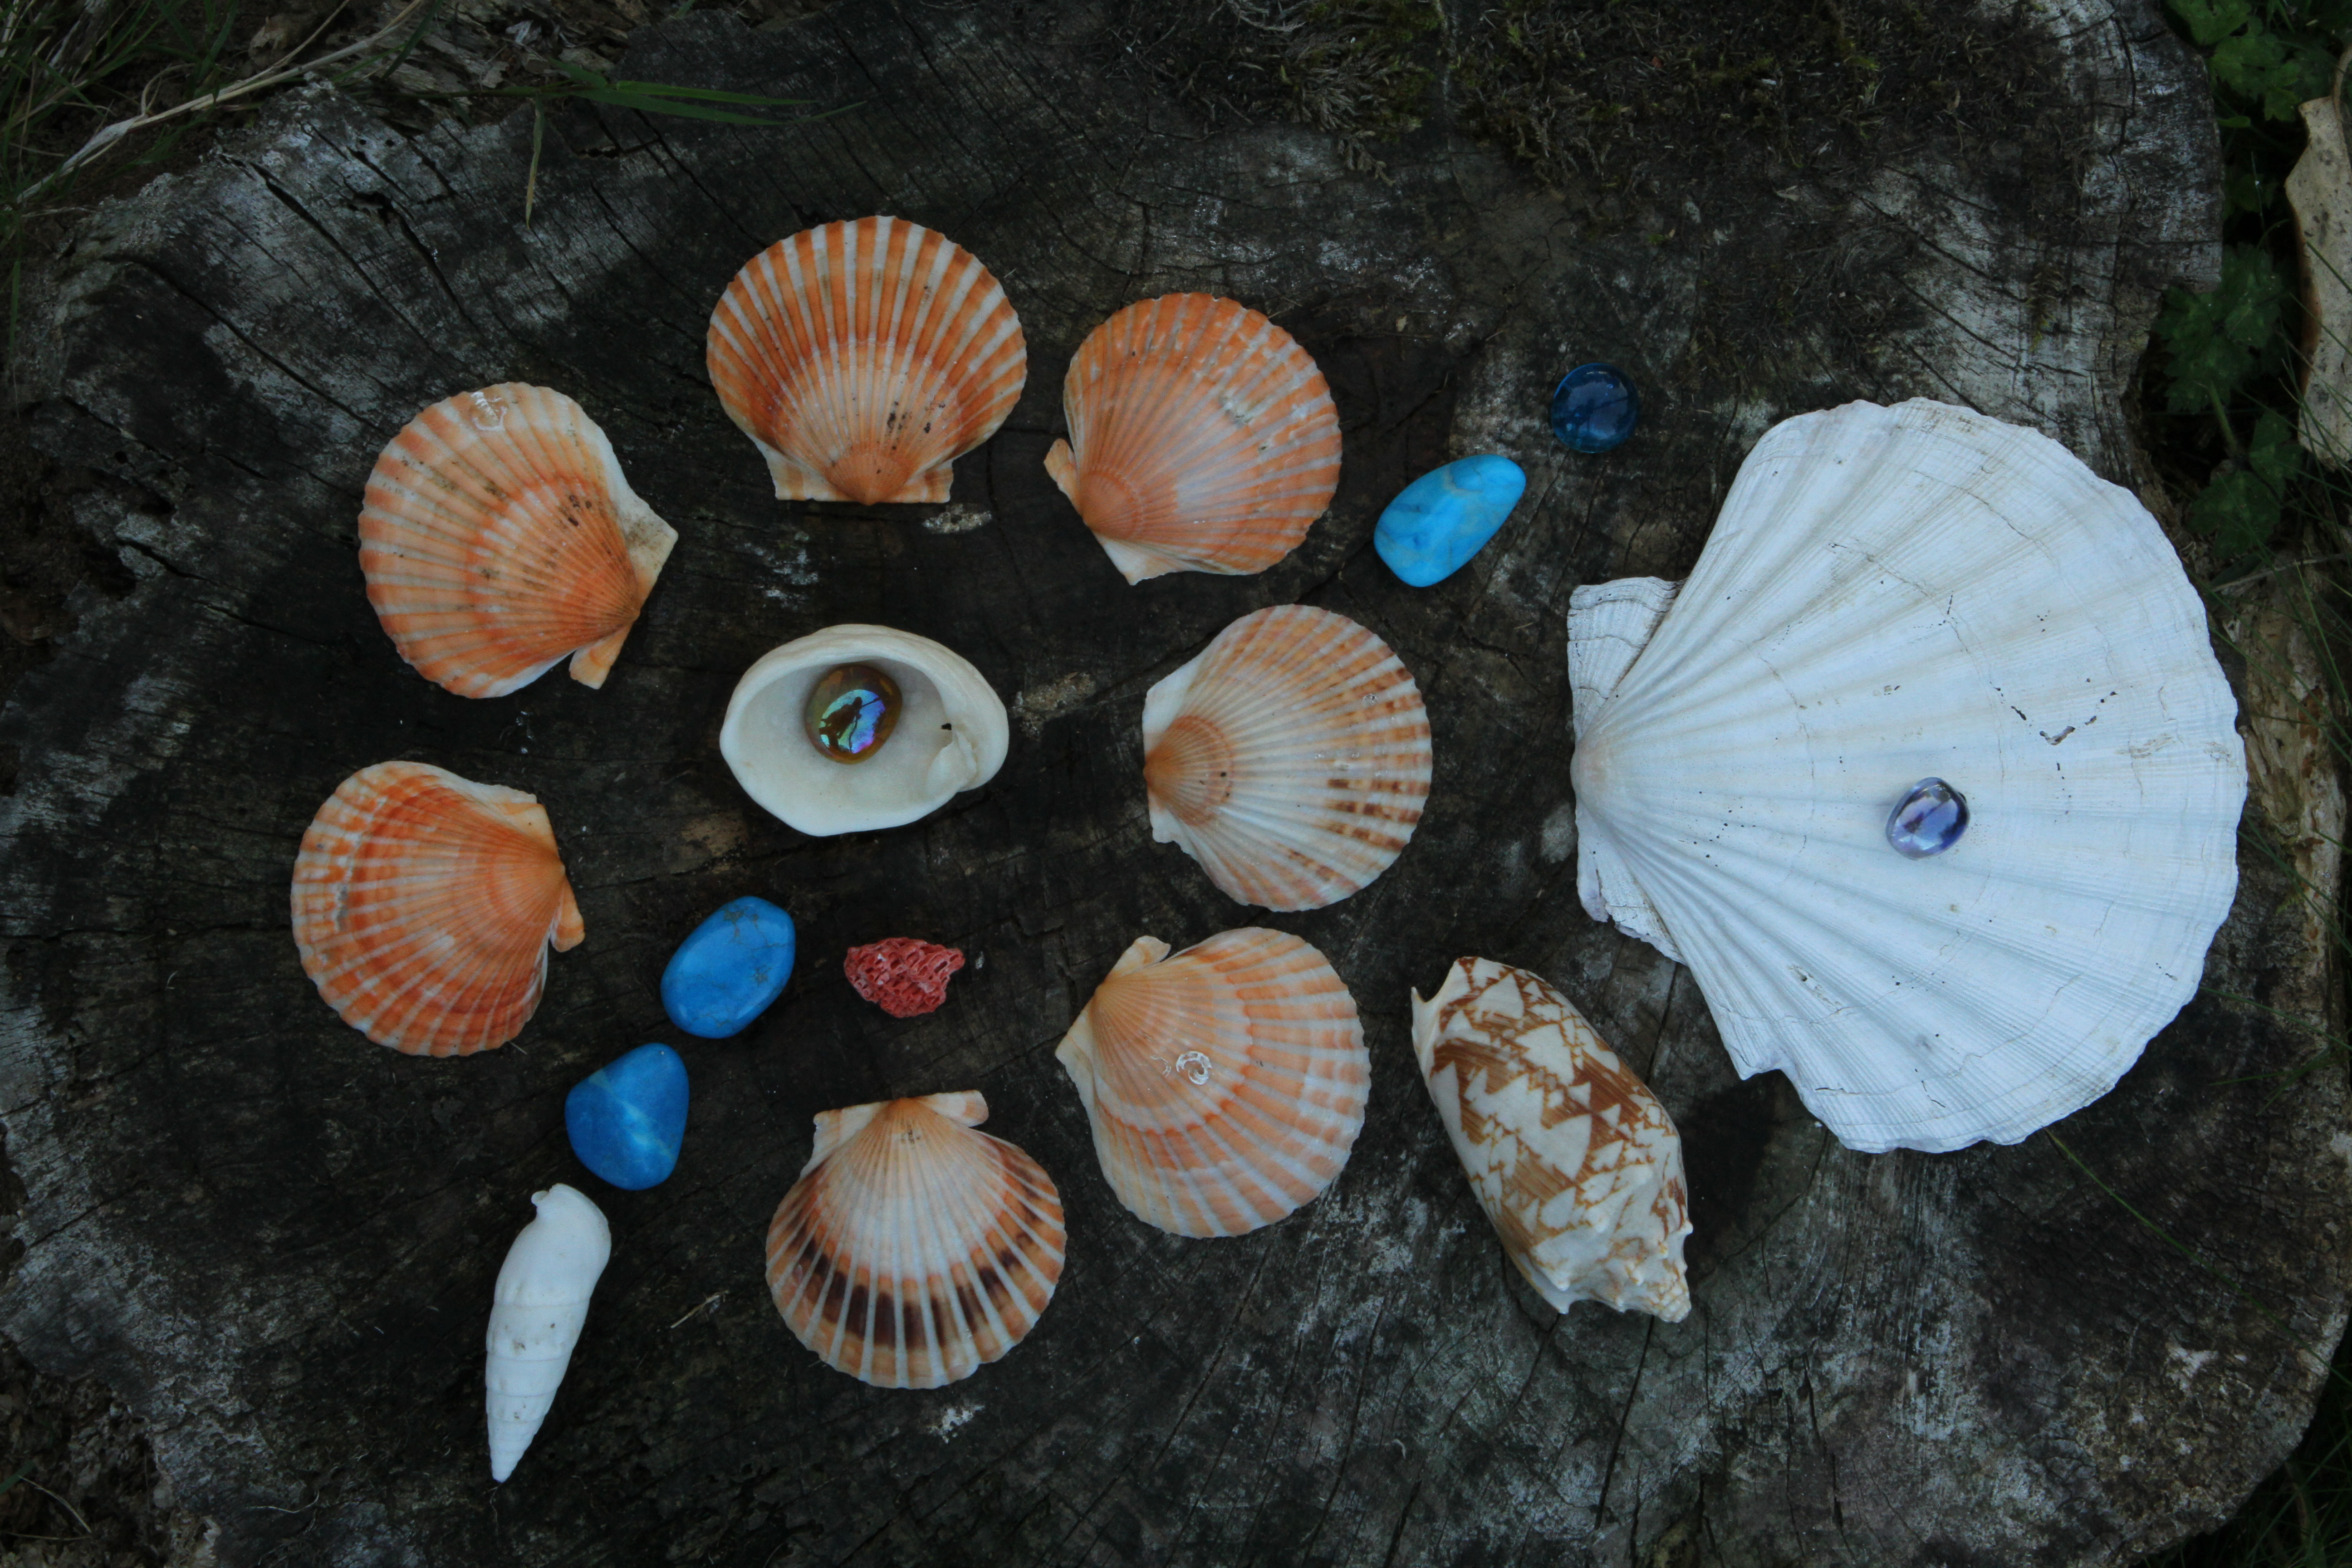
21. As a final touch I placed a small glass drop on the large scallop shell. The project now seemed to have reached a conclusion so I finished there.
—– o0o —–
DISCUSSION
At first I approached this Exercise with trepidation and concern that nothing would come of it. However, I was pleasantly surprised that after a few aborted starts I became quite engaged in the process and was very interested in the development of the design. This interest and engagement resulted in my spending more time on the exercise than I had anticipated and producing more photographs than I had intended. The final result is, I believe, a design of some interest and merit and is not one that I would have arrived at without a process of trial and error.
———- o0o ———-
